
This post is also available in:


This guide covers creating a one-off email campaign with a single newsletter to advanced campaigns containing multiple newsletters.
Creating a new one-off campaign
Select “New Email campaign” in the One-off Campaigns>Email campaigns section.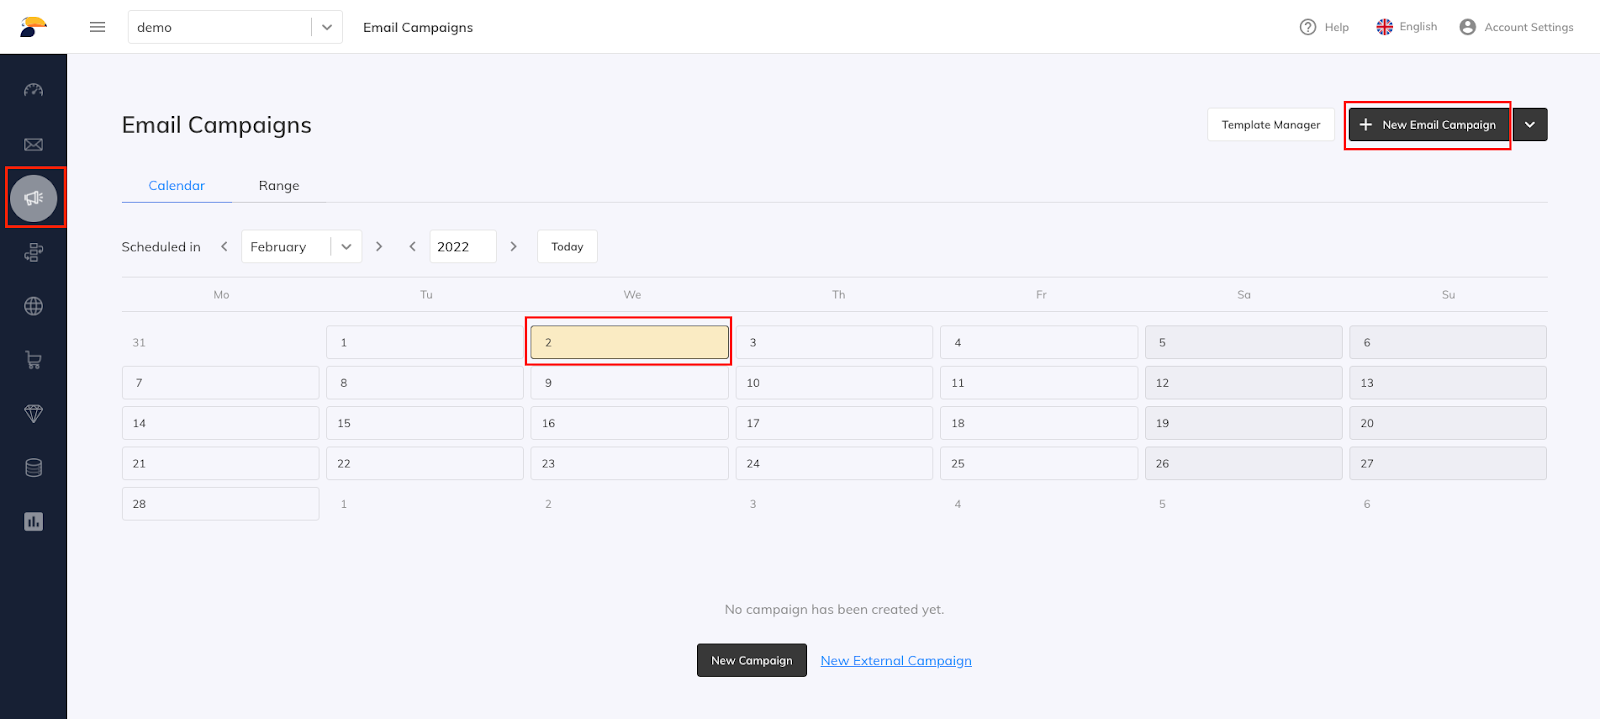
New newsletter
Every One-off campaign can contain one or more newsletters.
Click on “Add Newsletter”: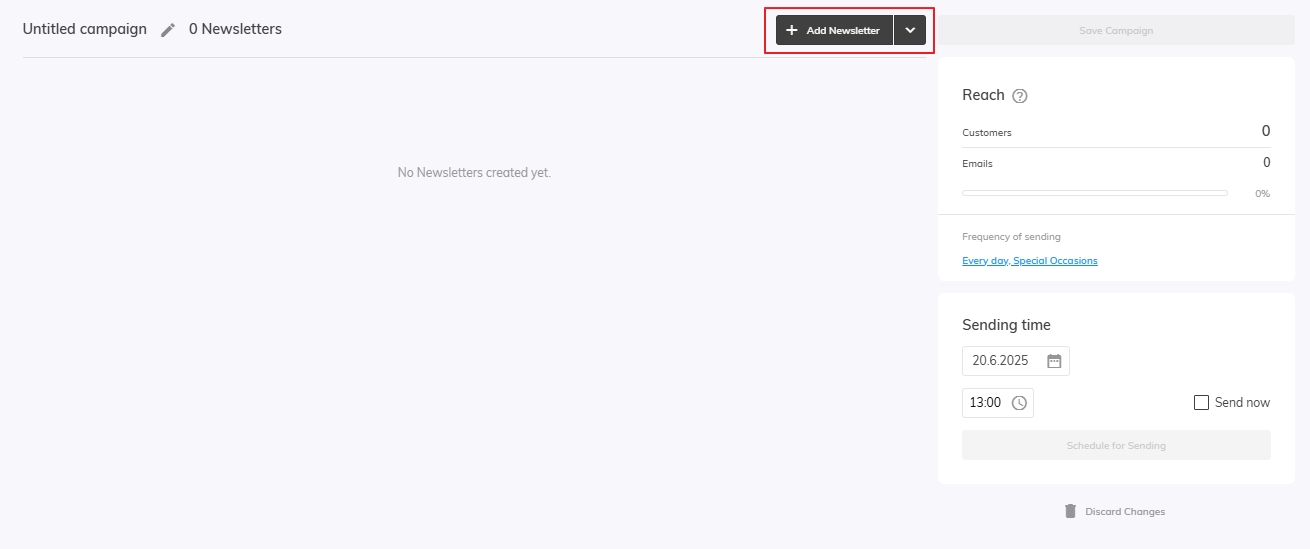
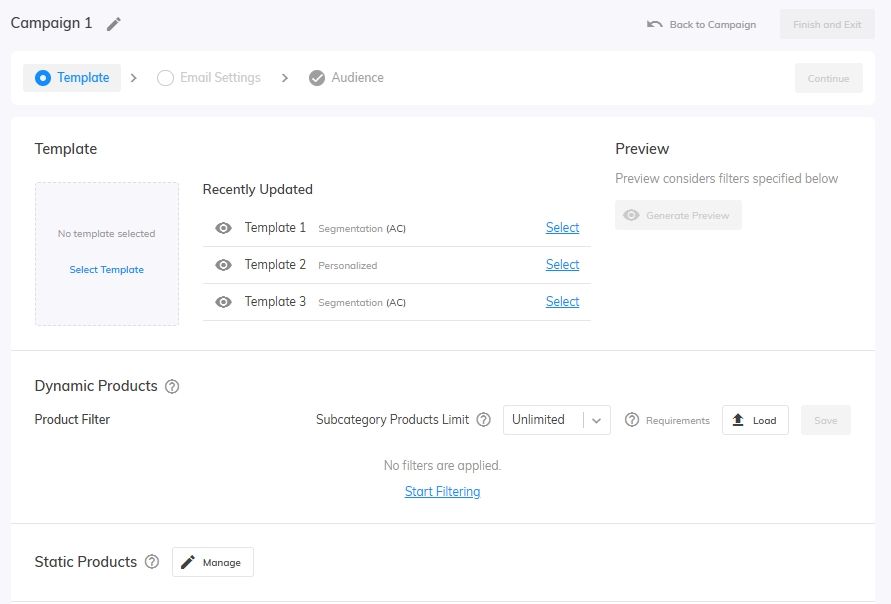
Template and Product Filter
First, select Template. If you do not have a template created yet. See this detailed manual on how to create a new one.
Types of templates
- Segmentation – products can be added by using 2 options mentioned above
-
You can add static products to your template using:
-
- Personalized – this template allows you to use personalized placeholders. At the same time, you can also add placeholders for static products in your template and combine personalized and static products in one template.
Dynamic Products
Product recommendations tailored to your customers based on their behaviour.
Product Filter
Use this option if you want to recommend products with a certain characteristic. (For example, set Samba to recommend only products from a certain manufacturer in a certain category…)
You can learn how to use product filters in our article on this topic.
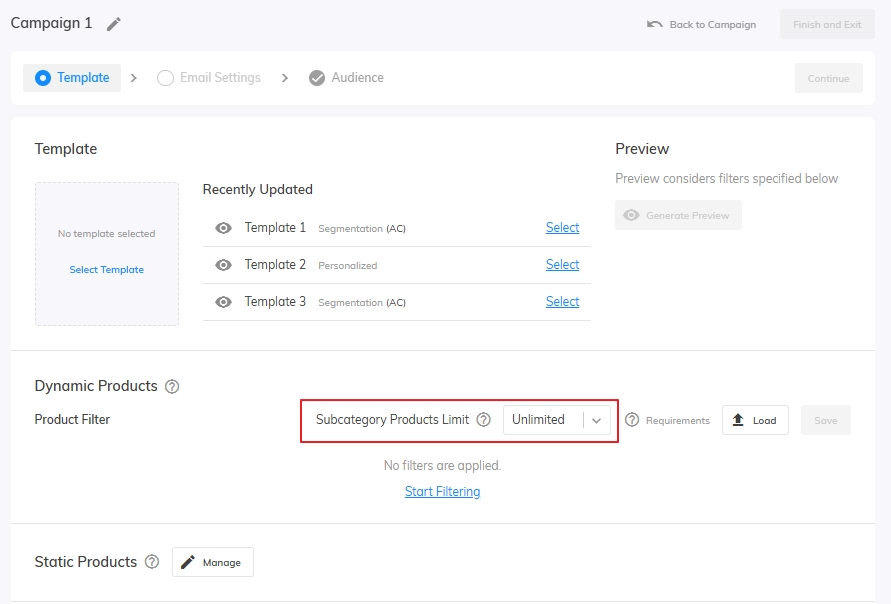
Products from the subcategory limit
This option configures the maximum number of recommended products from 1 subcategory, which can help you to make Samba recommendations more diverse.
Remember also, that the same product won’t be recommended to the same customer in a certain period, so if you are planning to send this campaign more often, or the customer has received another campaign with similar products, your product pool should be even bigger. Otherwise, Samba will recommend products outside of your selection based solely on an internal algorithm, but, on the other hand, these will be products that are of higher interest and relevance to the customer.
Product Filter & Segmentation Template
When using the Segmentation Template, the product filter should not be used. If you only want to include a specific set of products, you can insert them directly into the template (see Manage Product Tiles or Static Products).
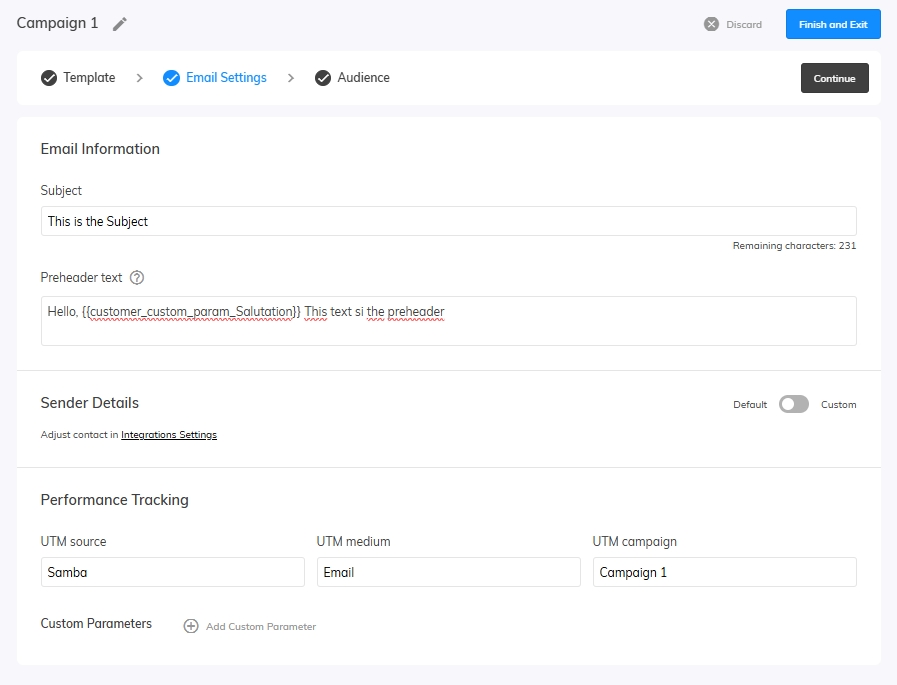
Email Settings
- Fill in the Subject and Preheader text. Include a Custom customer salutation in the subject.
- The Sender Details are set to default. You can also add and select custom contacts.
- Performance tracking: Fill in the UTM source, UTM medium, and UTM campaign according to your wishes.
Audience
Target audience
- “Everyone”
- Target all your subscribed customers. (Recommended setting)
- “Active”
- All customers who are subscribed and are defined in Contact management as being active for a certain period.
- “Inactive”
- “Everyone” minus “Active”
By default, your campaign respects the “Customer notification limit”. To Ignore the daily limit check the box below.

Audience
- Precise Segmentation Approach
- Select the “Filter Audience” button to check how large the audience would actually be targeted with the selected filter.
- Smart Targeting Approach
Send testing e-mail
Check your settings with the Send Testing Email functionality

After setting up everything, you hould click the “Finish and Exit” and save your campaign, with the “Save Campaign” button.
Campaign Settings
When creating a campaign, the right sidebar features a “Reach” display which tells you how many customers the campaign will target and how many unique emails those customers have.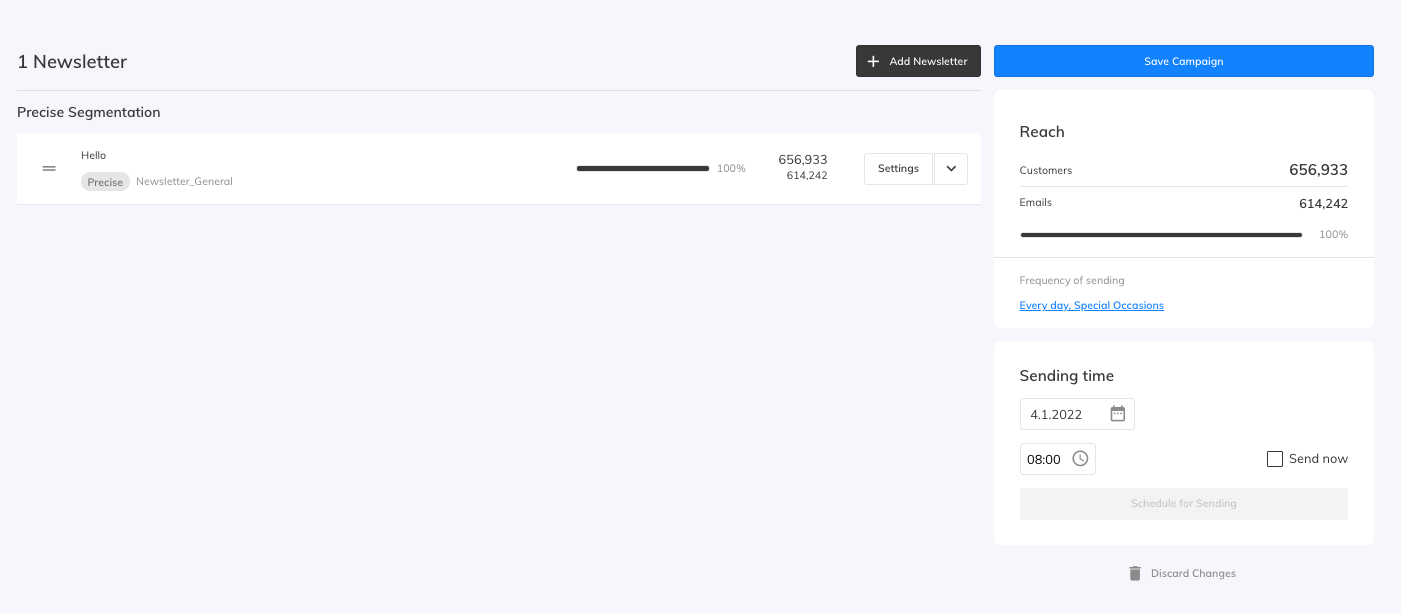
The Frequency of Sending is set to Every day and Special Occasions by default. Select Never option only to announce important non-promotional messages in case of email targeting since these customers have opted out. To change it click on the blue link. Don’t forget to set the sending date and time. Finally, save your campaign as a draft or activate it right away with the “Schedule for Sending” button.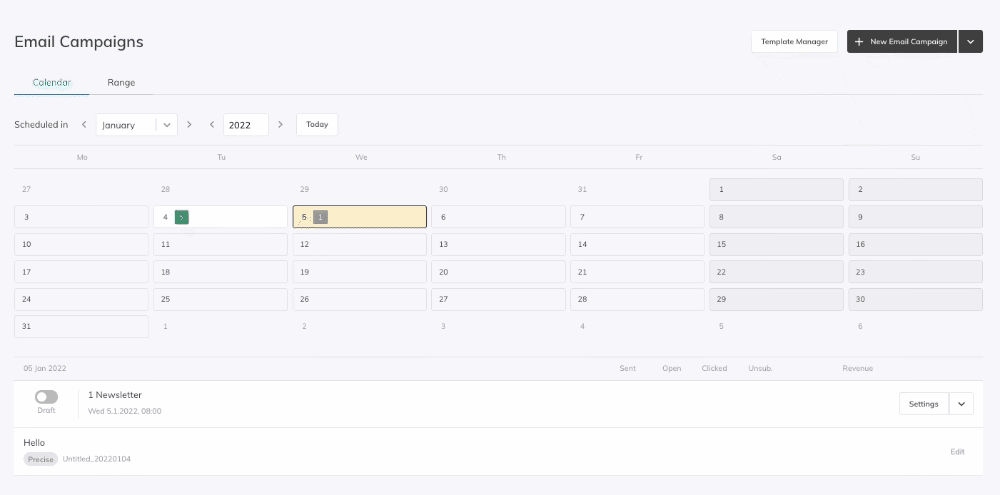
You can activate the campaign by using the toggle on the main screen.
Multiple newsletter campaign
Each campaign can contain multiple newsletters and each of these newsletters can target different parts of your audience.
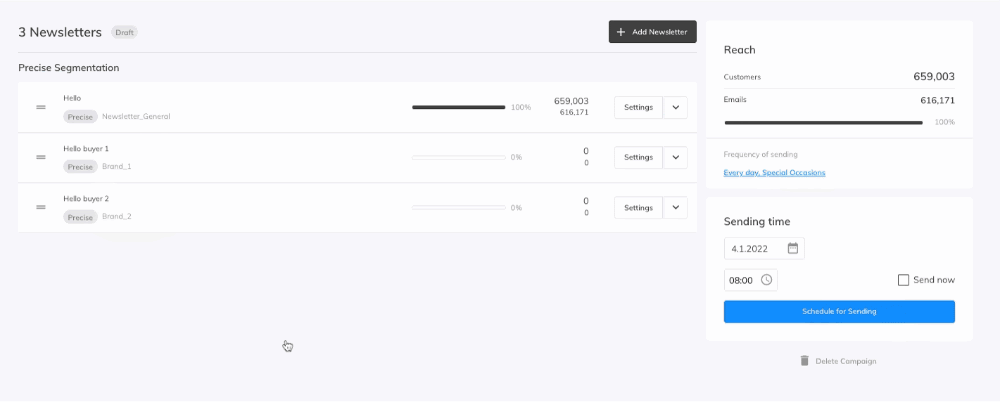
When having newsletters with “Precise” and “Smart Targeting” included in one campaign, then newsletter with the Smart Targeting Approach will have priority over other newsletters where Precise Segmentation has been used.
Use Find optimal audience to distribute the audience based on Samba’s smart algorithm.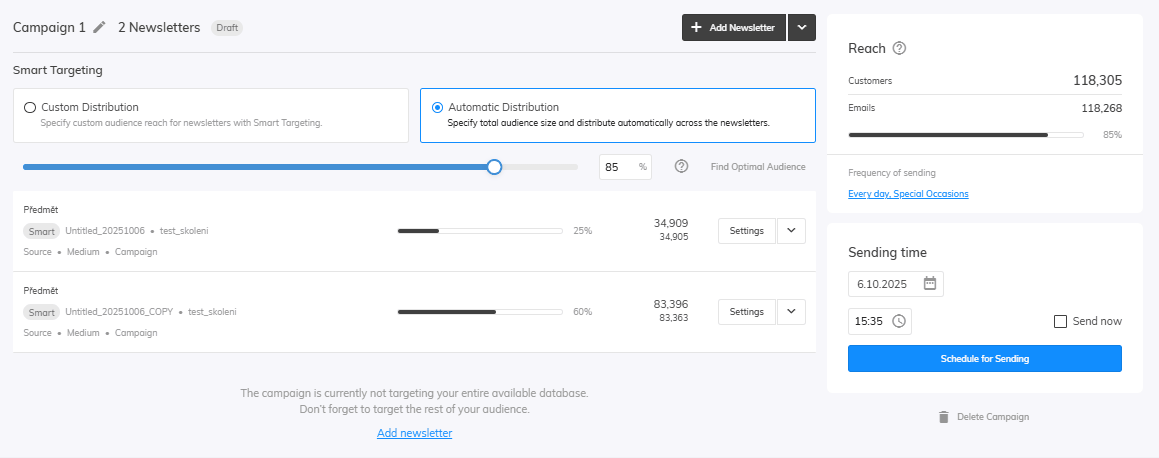
You can select a portion of the audience with automatic distribution, where the amount will change the distribution of the Newsletter with Smart Targeting.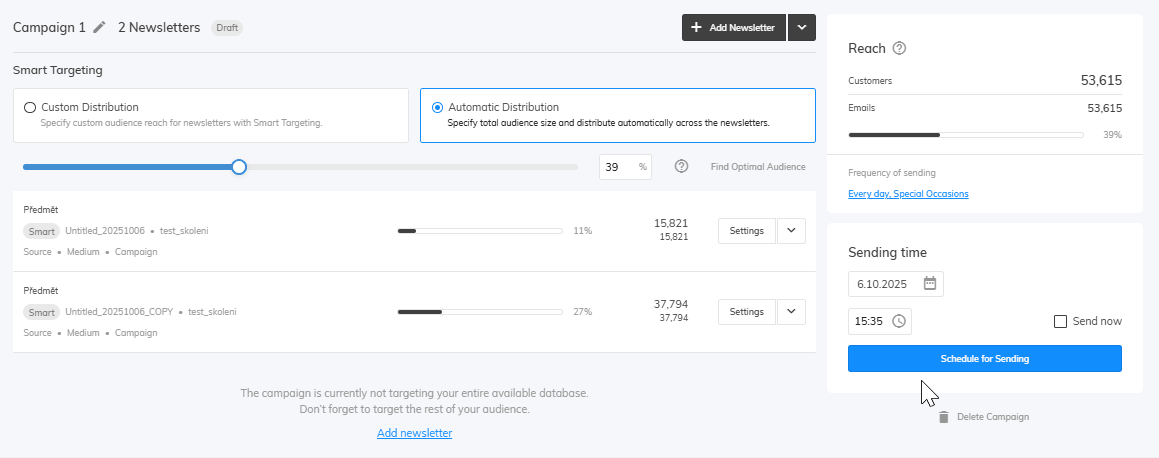
Campaign Performance
After sending a campaign you can view the statistics by the “Report” button.
Let’s see Performance statistics:
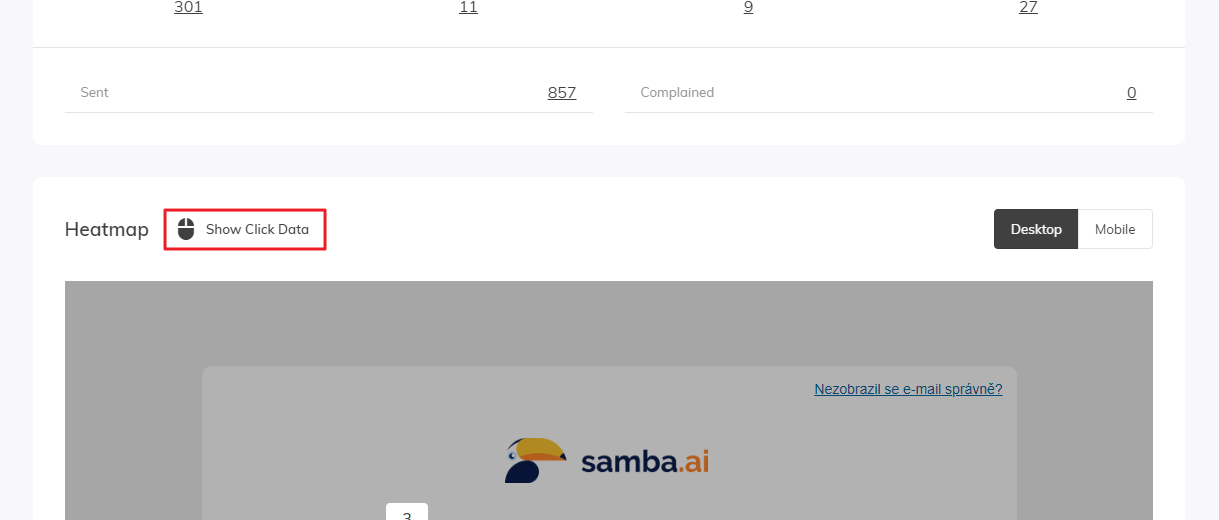
Below you will find a heatmap for both the desktop and mobile versions of the campaign.
The data displayed in the heatmap is deduplicated. When one customer clicks through different locations of the template, only 1 click will be displayed for each location from this customer, even if for example the main banner of the template is clicked through multiple times by that customer.
You can view a summary of all unduplicated interactions by clicking on the “Show Click Data” button.
The Activity tab will show you lists of customers with email addresses depending on their status (e.g. Sent, Open, etc.). Each list can be exported into CSV.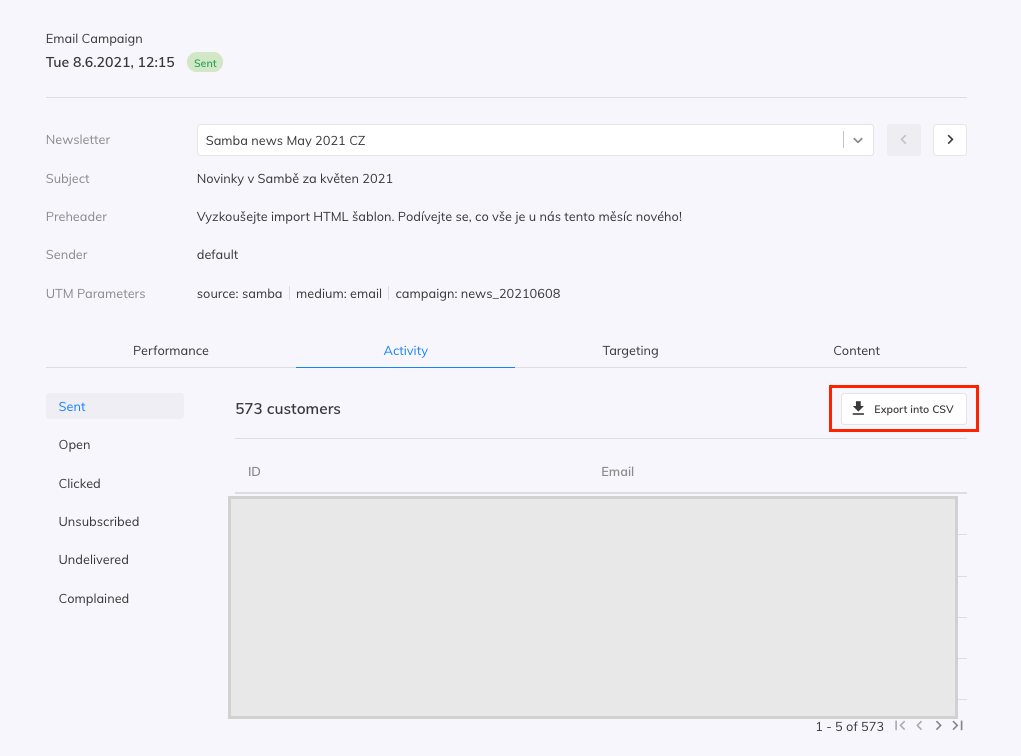
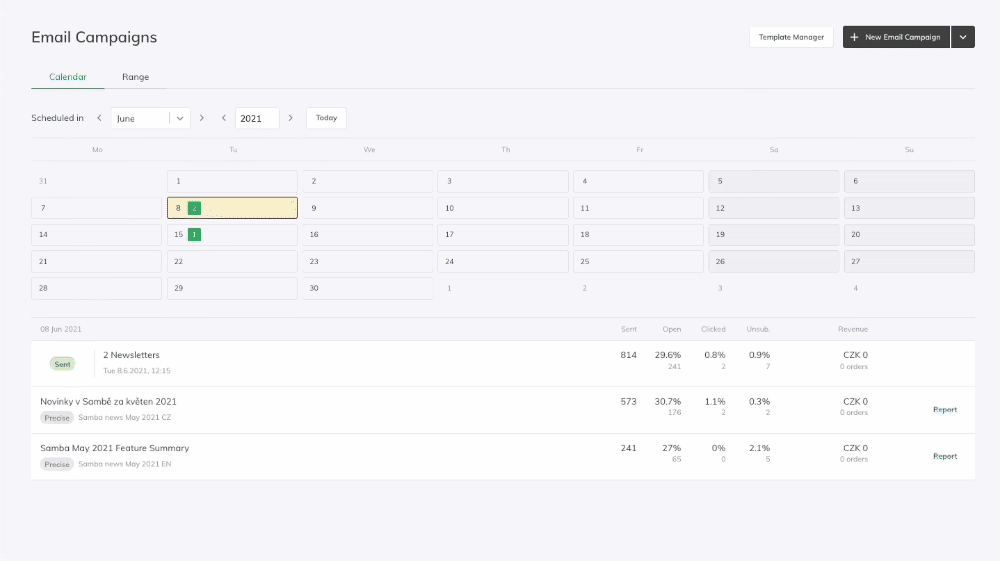
To view the statistic for all your one-off campaigns, go to the dashboard and select the desired period.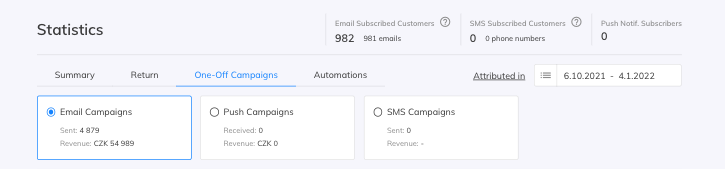
This post is also available in: