This post is also available in:


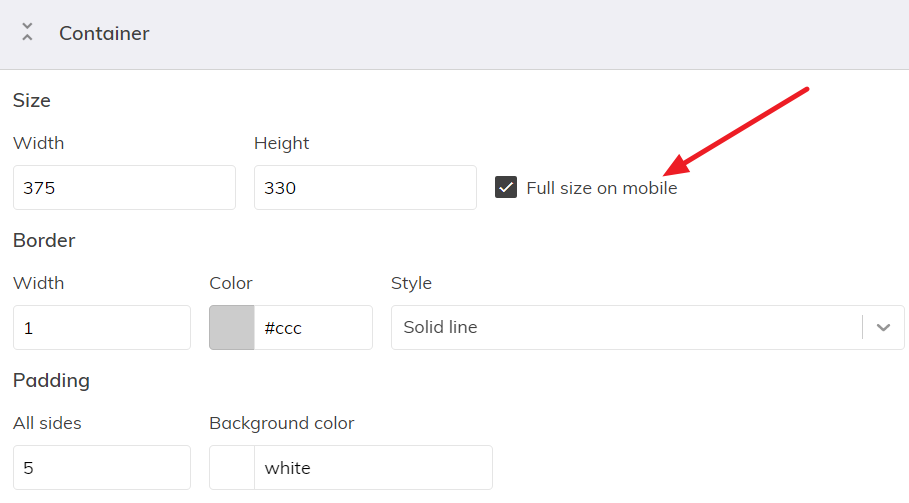
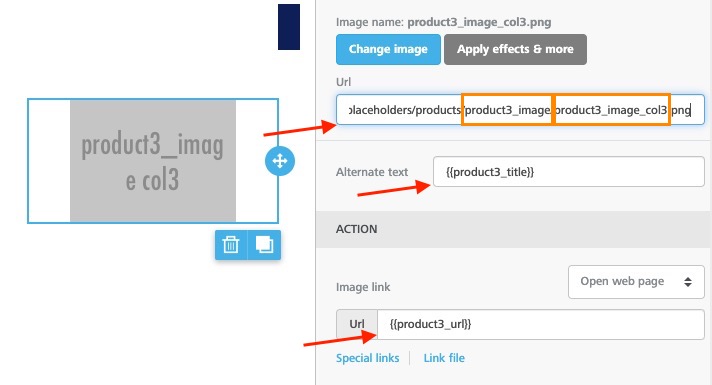
Samba Drag & Drop editor uses 4 different Template types: Please note, that the Picasso editor is not compatible with Drag & Drop template types. Picasso templates use different logic for adding products and for content management in general. Type of the template can be changed after the template is created. Prior to switch, make sure that the Merge Tag variables are relevant for the particular type are included in the template. Otherwise validation will throw errors and template cannot be saved. Be aware that HTML templates cannot be edited in a Drag & Drop designer since they were created in editors with different representation of the template structure. When you convert Drag&Drop type to HTML, the reverse action is not possible. In order to use product personalization, you need to use so-called dynamic merge tags. Which Merge Tag should be used to represent the product? It depends on the type of the template. Samba supports 4 template types (personalization for one-off email campaigns and flow campaigns, and 3 trigger types). 1/ Personalized template: Static Products Merge Tags + Personalized Product Merge Tags 2/ Every trigger template type slightly varies in available Merge Tags variables. 2b/ Shopping Intention Merge Tags 2c/ Repeated Orders Merge Tags For personalization purposes, Samba algorithms automatically attach products’ details to an email content delivered to a specific customer. How does the Samba know, where exactly in a template will be those product details presented? There are multiple ways to add Merge Tag to the template. 1/ Each account has prebuilt collections with ready-made snippets from us for easy template creation. You can find these template rows either in the Collection Manager or directly in the Drag & Drop template editor. 2/ Either you write them manually. This requires knowledge, which Merge Tags can be used in which template type. The section below in this article covers the topic of differences among template types. 3/ Choosing from the list of Merge tags 4/ If Merge Tag is a variable that represents link, you can also choose from the list of Merge tags. Here is a list of product-related attributes that can be represented by Merge Tag variables. Merge Tags representing these properties will be replaced with the data from your platform data feed. This is the minimum. Additional properties are listed in a specification of a specific template. Placeholders (example below) represent the size of the final product image and the place, where the image of a specific product will be replaced. Size of the image and product ID can be specified through the property panel on the right side. URLs for the image placeholder have to be copy-pasted and changed according to desired product ID and image size. Alternatively, you can use directly selected sizes of personalized images using merge tags instead of placeholders, see this article. In this case, when inserting using the Drag & Drop editor, you need to:
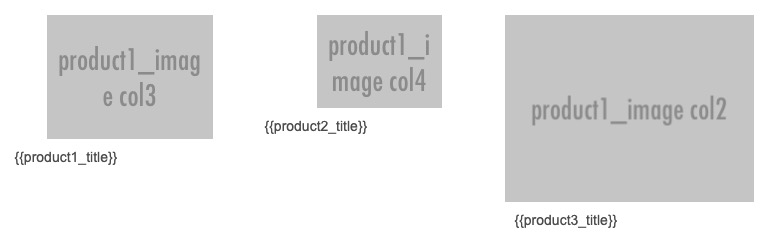
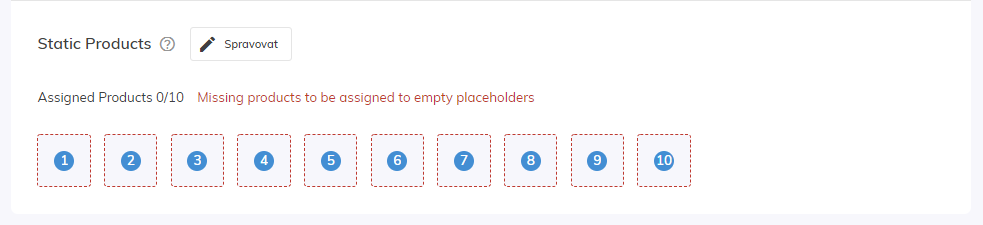
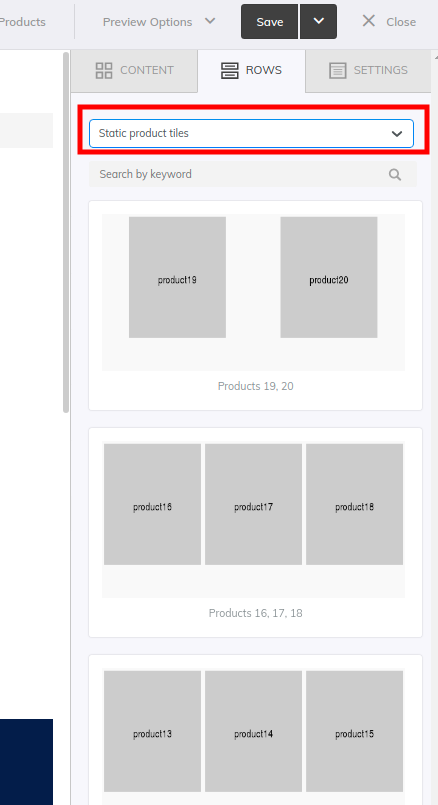
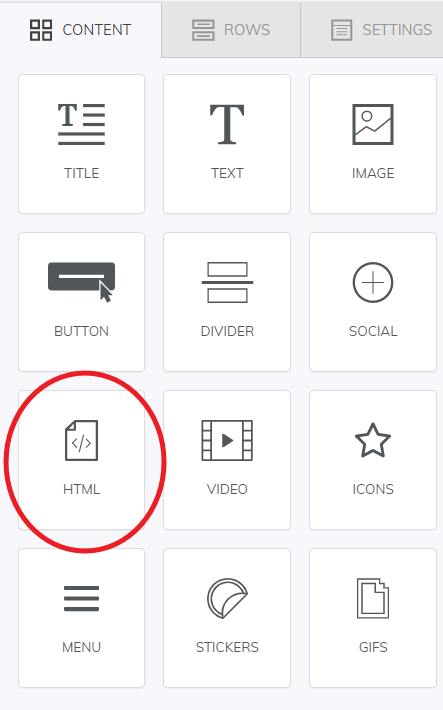
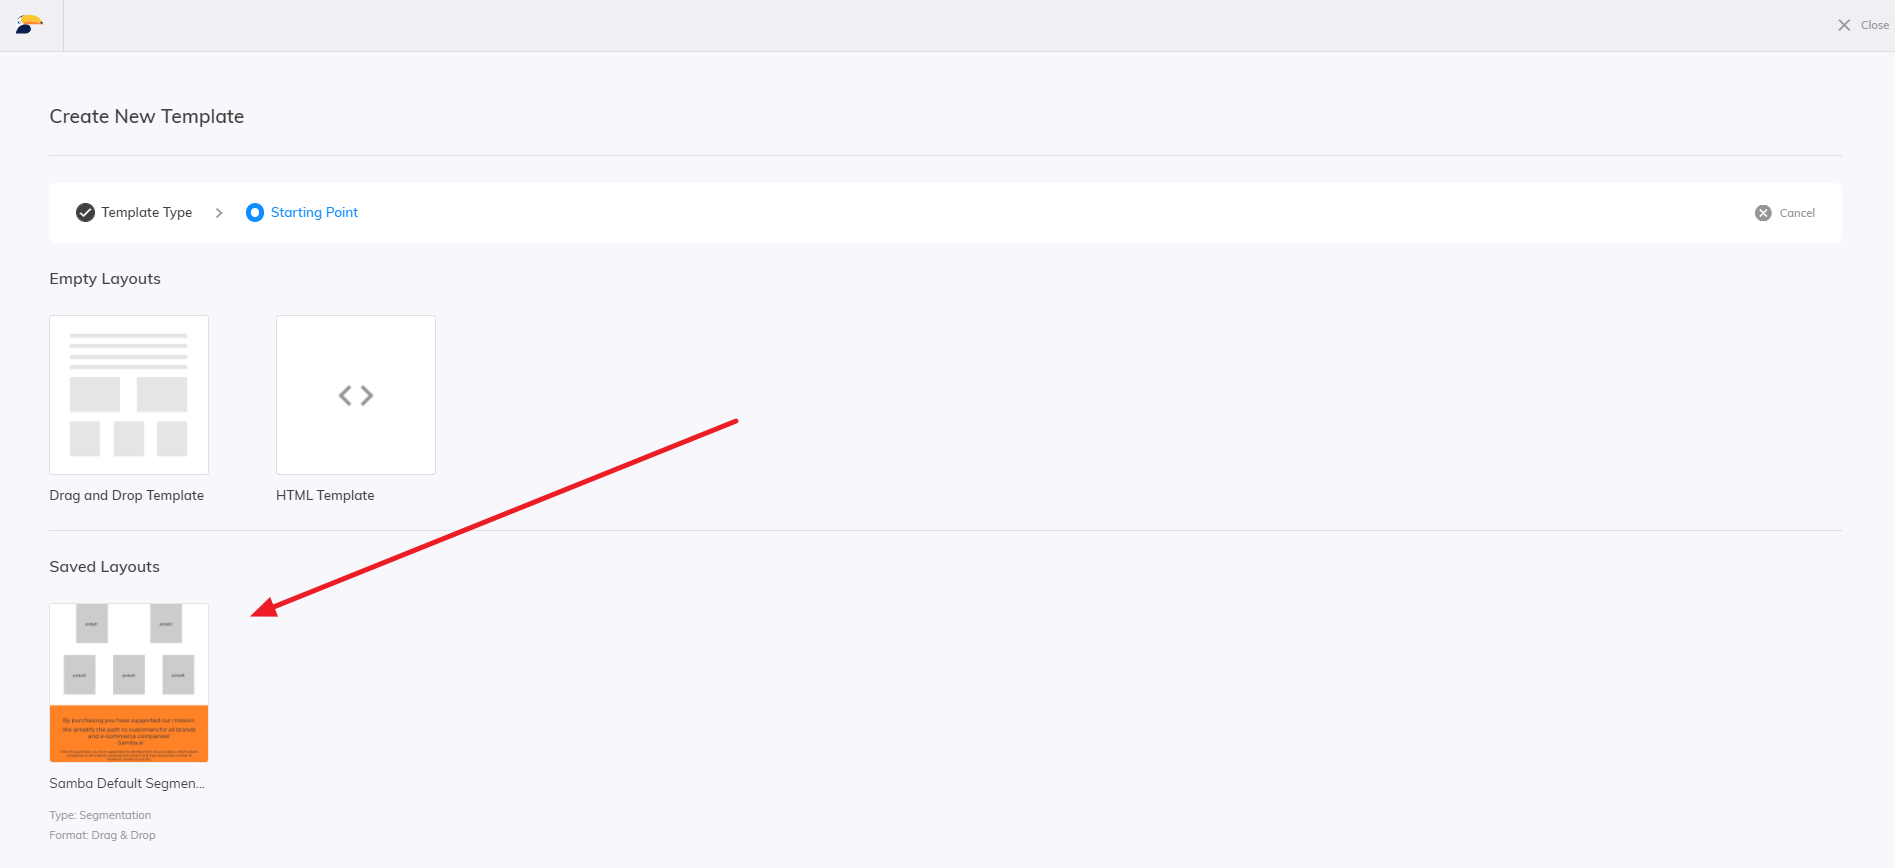
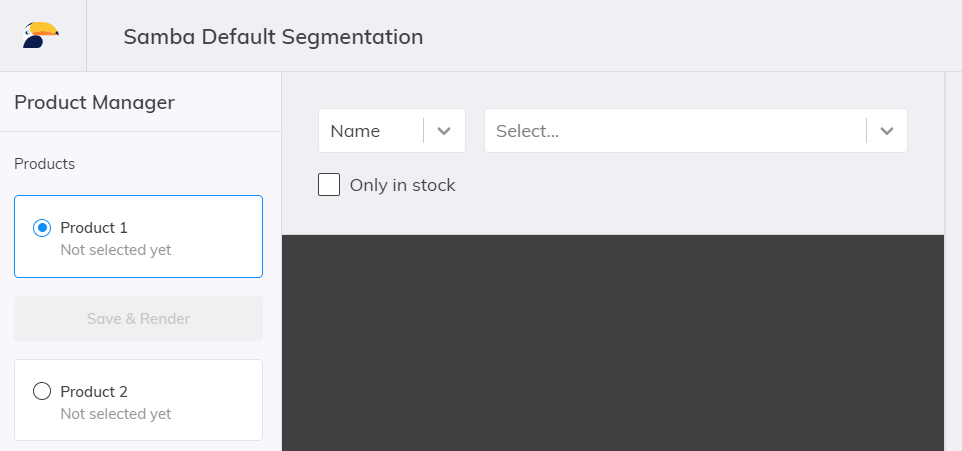
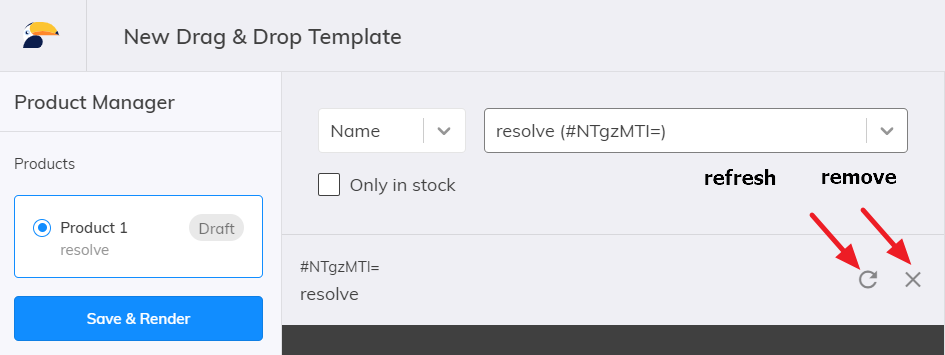
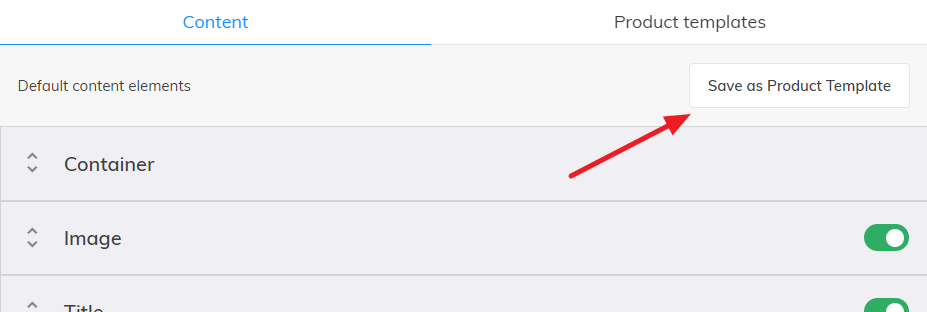
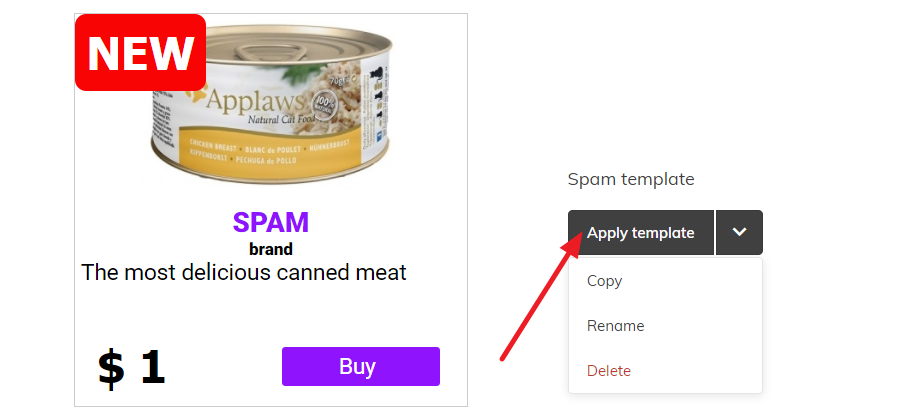
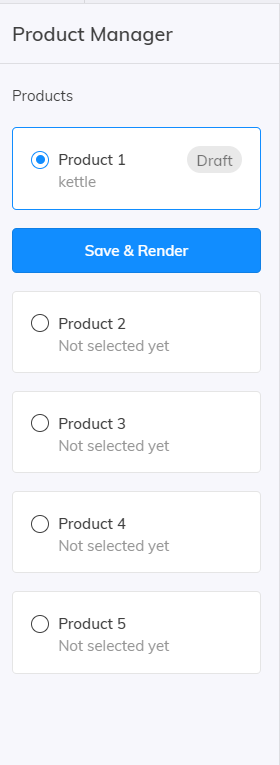
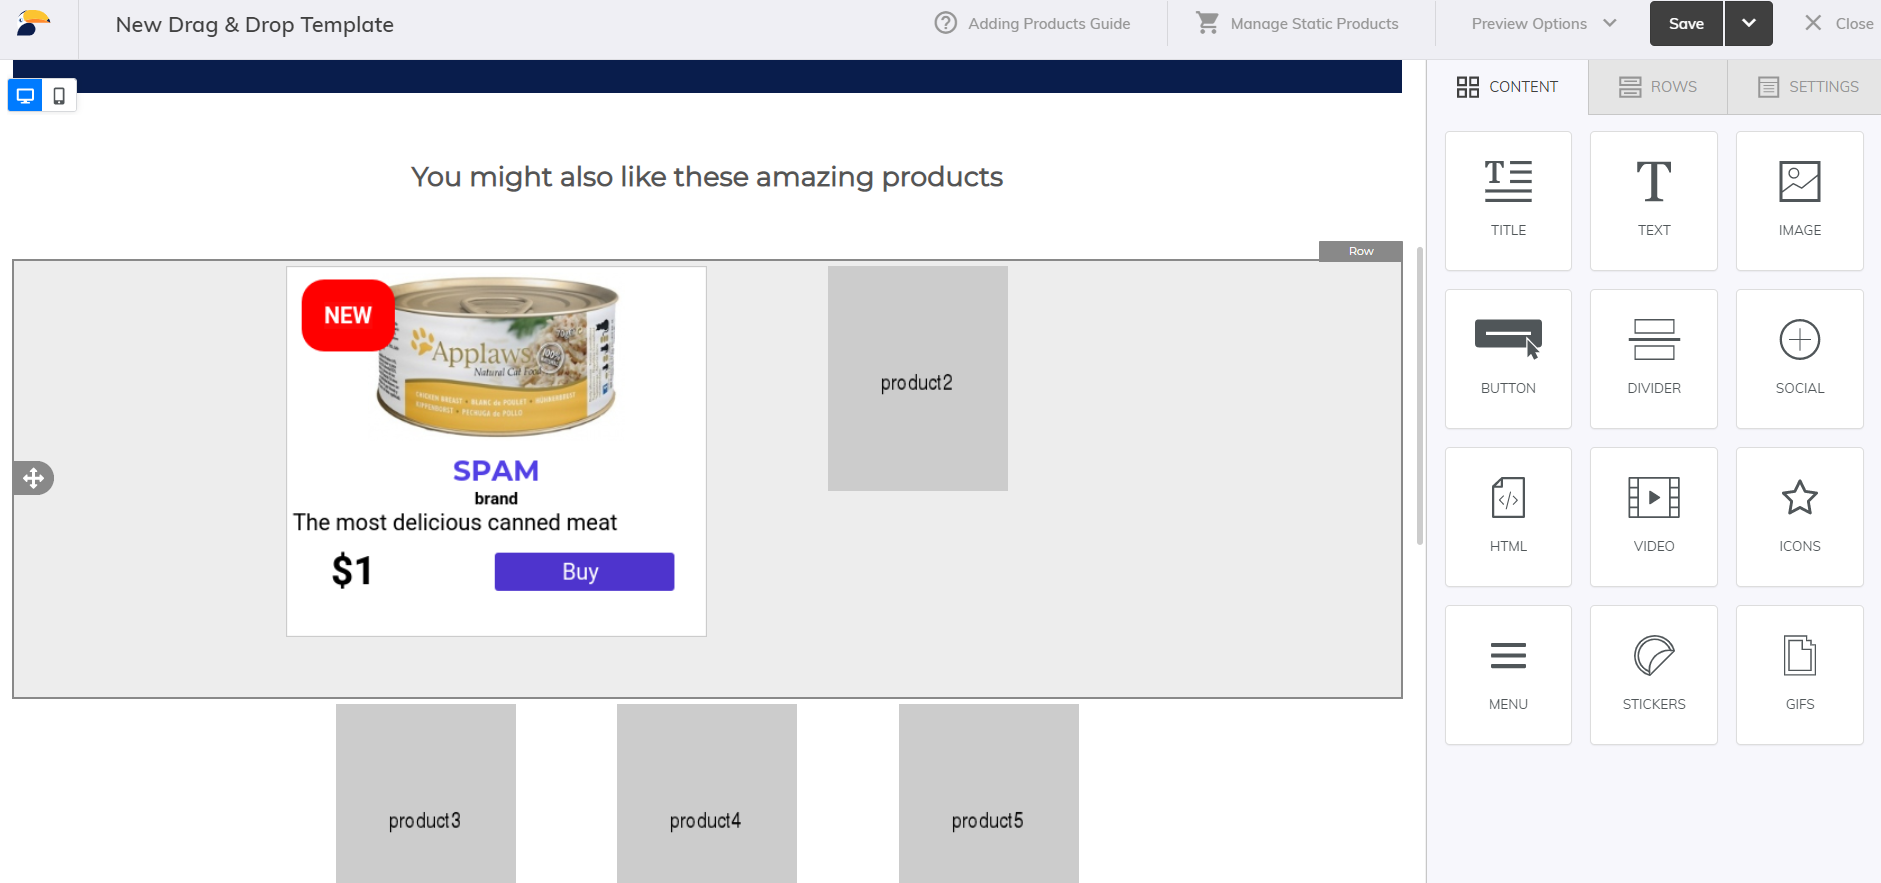
Some product attributes might not be specified in your data feed. For example, not every product is a discount, and it can also be only a temporary state. If the product ends up discounted, presenting the original price before the discount is desirable. For that matter, we can use an additional Merge Tag, which presents the value, only if it exists. In the example above, it is the situation when the product is currently discounted. It’s required to use special opening (#) and closing (/) directives inside the Merge Tags. Here is an example considering the use case mentioned above. Anything that is in between Merge Tags {{#main_product_price_before}} and {{/main_product_price_before}} will be visible only if the value for main_product_price_before exists. This can be applied to any Merge Tags in any template type. It’s beneficial to check, whether the template is valid. There is a possibility of multiple problems. Make sure that the Merge Tags variables are not duplicated. Merge Tag variable with the same name will include the same value in one email template. Assigning {{product2_title}} where Product 1 Title suppose to be will cause confusion. Ignore this warning, if the duplication is intentional. Sometimes you do want to use a Title of the specific product in an introduction paragraph. This is completely OK. Send the test email to your email address to see the product pictures and real product attributes represented by Merge Tags. Note that the products are filled based on the filtering criteria and/or our A.I. algorithms Preview the template and test responsivity by switching between desktop and mobile preview. If you don’t want to insert personalized products into the template, but some selected by you, you have the option in Samba to insert static product placeholders into the segmentation or personalized template. With this option, you just need to create one template for your general newsletter and in each new campaign, you then select the desired products for the placeholders. In practice, you no longer need to create a new template for specific static products each time. The use of merge tags for static products is only supported in One-off email campaigns and Flow campaigns. If the product disappears from the feed at the moment of sending the campaign, the recommendation will fail and the newsletter will not be sent. If a change occurs in the email template for an already set up campaign with a template in the sense of REMOVING one of the placeholders (e.g. position 4 which has product A set up in the campaign), the newsletter will not fail. Only the products (e.g. product A) will be skipped from the campaign settings. When a campaign set up with a template changes the email template in the sense of ADDING placeholders (e.g. position 4 which has no product set in the campaign), the newsletter will fail because Samba has no information on what product to insert in the new position. With this functionality, you can easily generate product tiles using information from your product database. The resulting tiles are rendered images. Properties To take advantage of this functionality, you must first insert a short piece of HTML code into the template for each such product position. This can be done simply by using a pre-made collection or manually. Each account has prebuilt collections with ready-made snippets from us for easy template creation. You can find these template rows either in the Collection Manager or directly in the Drag & Drop template editor. The rows for product tiles can be found under Static product tiles. Click CONTENT> HTML and paste the HTML code in the following form: For example, if you insert the first product on a row of 2 columns (see image above), the resulting snippet looks like this: After clicking the Manage Product Tiles button a new window will appear where you can search for a product by Name or ID. The search can also be limited to currently in-stock products. Use the Refresh button to reload the current data for the selected product from the product database, or use the Remove button to deselect the product and select another. The following content elements can be modified for the loaded product. Each element can also be completely hidden using the switch toggle. When selecting Position: Absolute, you can use the mouse to drag the element to the selected position in the tile. Using the Save As Product Template button, you can simply save the entire tile design for later use. You can find all designs saved in this way in the Product Templates tab, where you can later use the Apply Template option to use a previously saved design to style the product in the current selection. You can also Copy the template (even to another account in Samba), Rename, or Delete it. After further editing the product tile design, you can Save Changes to an existing template or Save as New Product Template. To finally save the changes into the template, i.e., render the product tile with the selected product to the given position, click Save & Render. For each product, where you have made a change, the generation must be confirmed in this way. Products with unsaved changes are highlighted by the “Draft” label. The appearance of the resulting tile is then immediately visible in the template. After closing the static product management interface and checking the resulting design in the template itself, you can switch to product management again by clicking the Manage Product Tiles as in the beginning. Positions where products have already been generated remember the product template used. The Refresh button reloads the current product information from the product database. Therefore, if your design adjustments also included rewriting text elements or product image change, you’ll need to make that change again. This post is also available in:
Template types
Switching to different template type
Converting HTML to Drag&Drop and vice versa
Using personalised products
Template specific Merge Tags for products
Adding Products in general
Samba uses variables as dynamic directives for product representation inside the email templates. Prior to sending it to a specific customer, variables are automatically replaced for product attributes (link to an image, link to a product, product name, and description), etc. Variables are called Merge Tags and must be used in a specific format – {{merge_tag_example}}. They use the double bracket to indicate where the variable definition starts ‘{{‘ and ends ‘}}’.Adding Merge Tags for Products

Product Images and placeholders
{{static_product1_image}}.https://thumbnail.samba.ai/generated-product-placeholder?width=160&height=200&text=product1), which will allow you to use the size settings for the dynamic image as well – see the explanation in the editor.
Product attributes visibility
{{#main_product_price_before}}

any information with conditional visibility, e.g. 3,456czk

{{/main_product_price_before}}
Before Sending
Duplicates and missing values
Final look
Static products
Special cases
Manage Product Tiles
Instructions for using rendered product tiles
HTML Snippet
Insertion using a prebuilt collection
Insertion using HTML content

<a id="productX" class="Y" href="https://samba.ai"><img src="https://thumbnail.samba.ai/generated-product-placeholder?width=160&height=200&text=productX" style="max-width:100%; " alt="Samba.ai" /></a>
<a id="product1" class="2" href="https://samba.ai"><img src="https://thumbnail.samba.ai/generated-product-placeholder?width=160&height=200&text=product1" style="max-width:100%; " alt="Samba.ai" /></a>
Product Search

Tile design
Product Templates

Save & Render
Product Reloading
Display on mobile devices