
This post is also available in:


The row is the fundamental building block of an email template. The rows are sorted into collections for clarity. Managing collections allows you to save part of a template (a row) and reuse it in any other template. This way you don’t have to create repetitive patterns in several templates over and over again.
This can come in handy, for example, for managing email template headers and footers – you simply create a header in just one place and conveniently drag and drop it into all other templates. You can apply this functionality to any template content, including personalized product elements or product tiles.
The collections in Samba are divided into 2 groups:
- My Collections
- Here you will find your rows that you have previously created and saved.
- Prebuilt Collections
- Here you will find ready-to-use rows created by Samba.
- These collections are regularly updated and enriched with new rows.
My Collections
Creating a collection
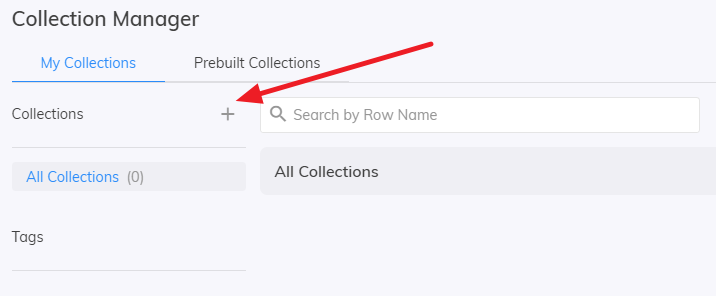
Simply create a new collection using the “+” button in the collections list, or create it while saving a new row.
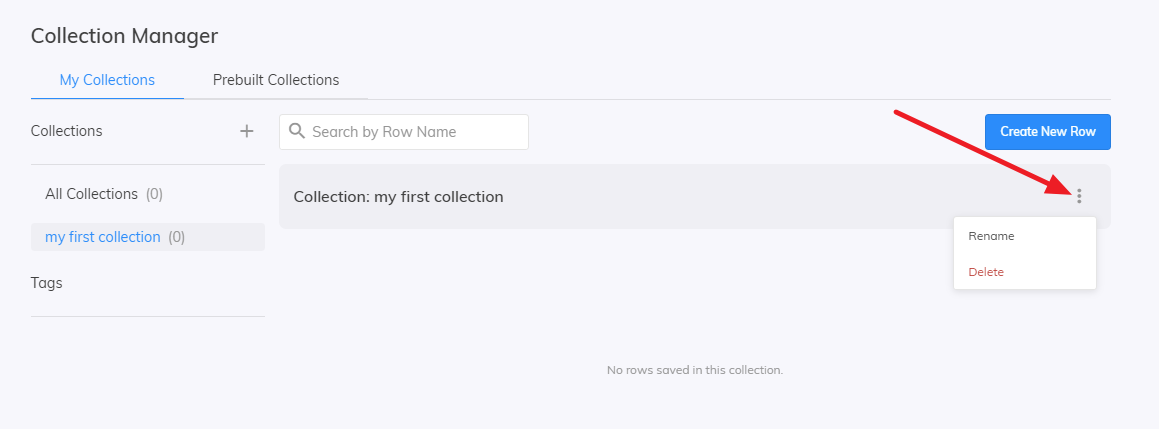
Each collection can be renamed or deleted (including all contained rows).
Saving a Row
There are 2 ways to save a new row:
-
Create a new row in the Collection Manager
-
Saving a row from an email template
Create a new row in the Collection Manager
- Go to the Collection Manager section.
- Click on Create new row.
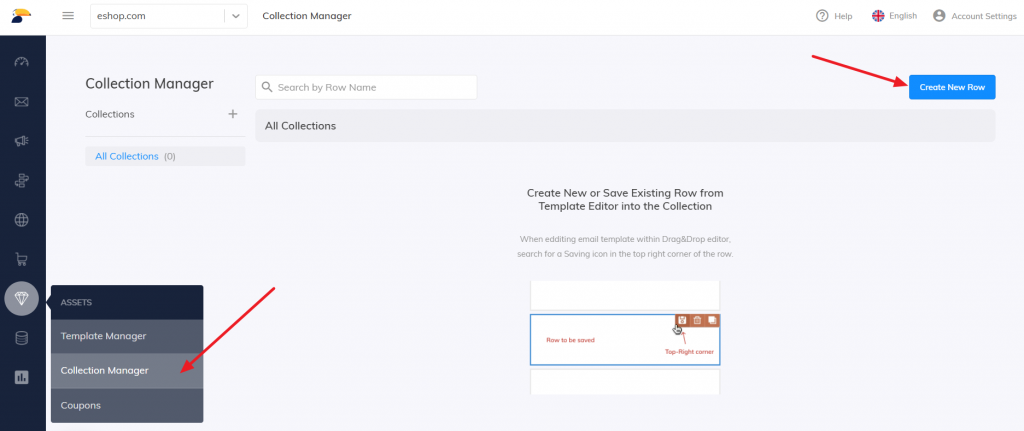
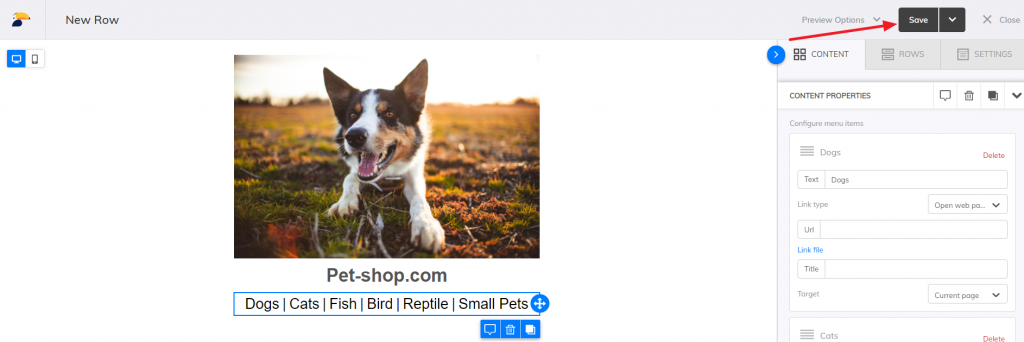
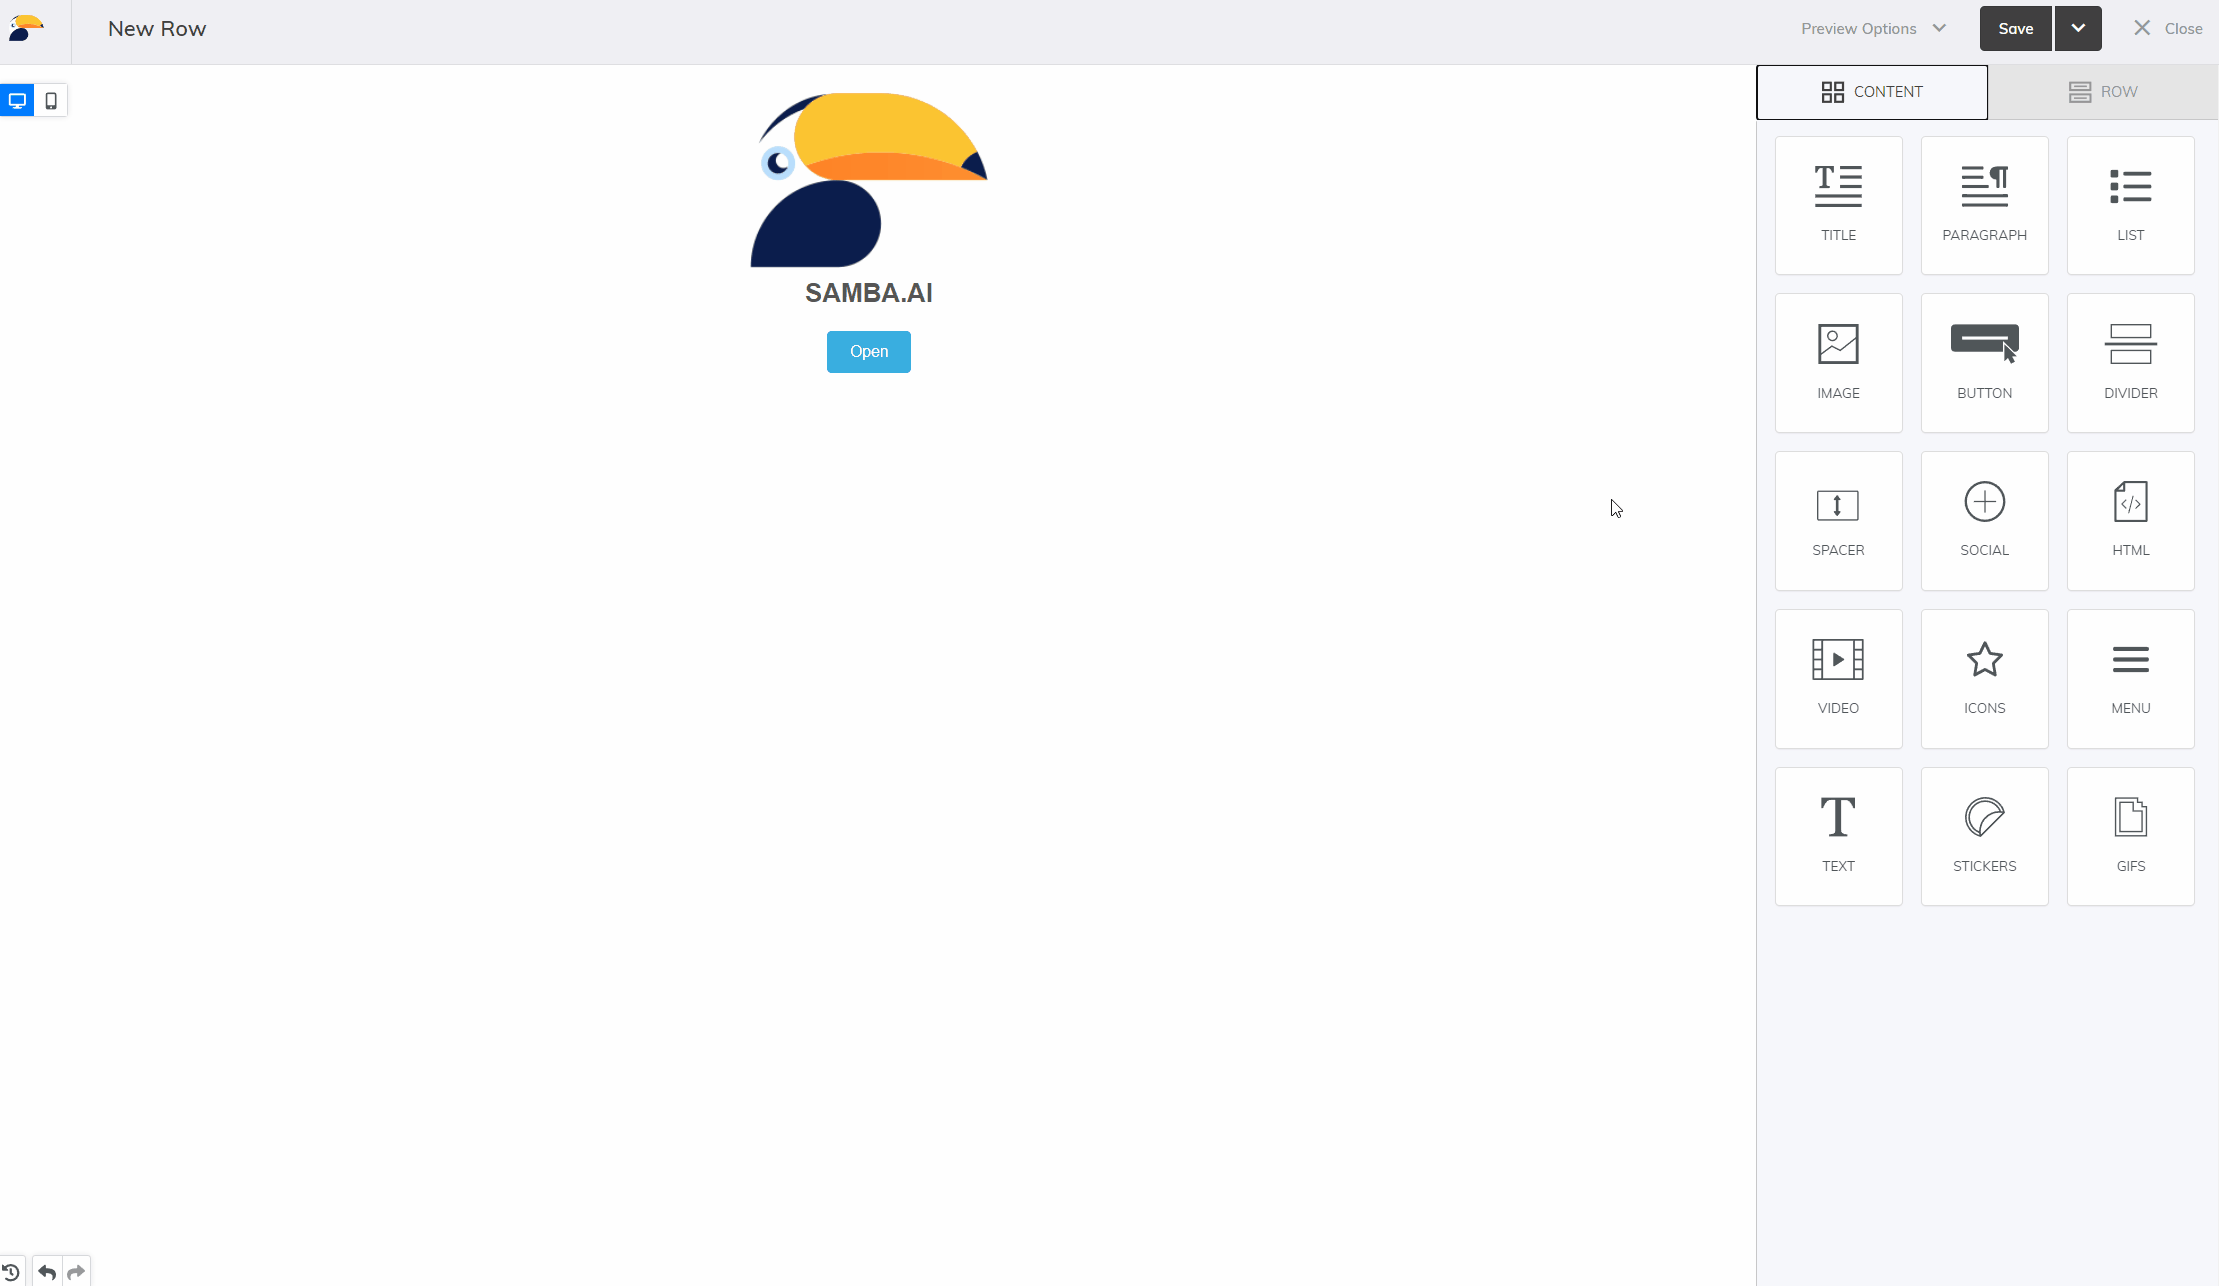
- Create the row design as you are used to from the email editor.
- Click Save.
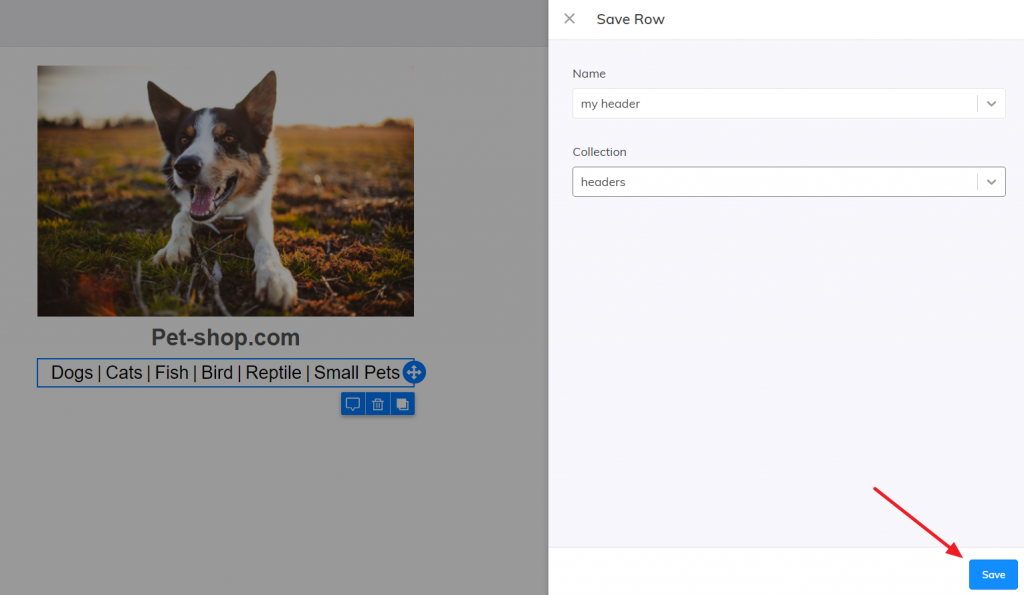
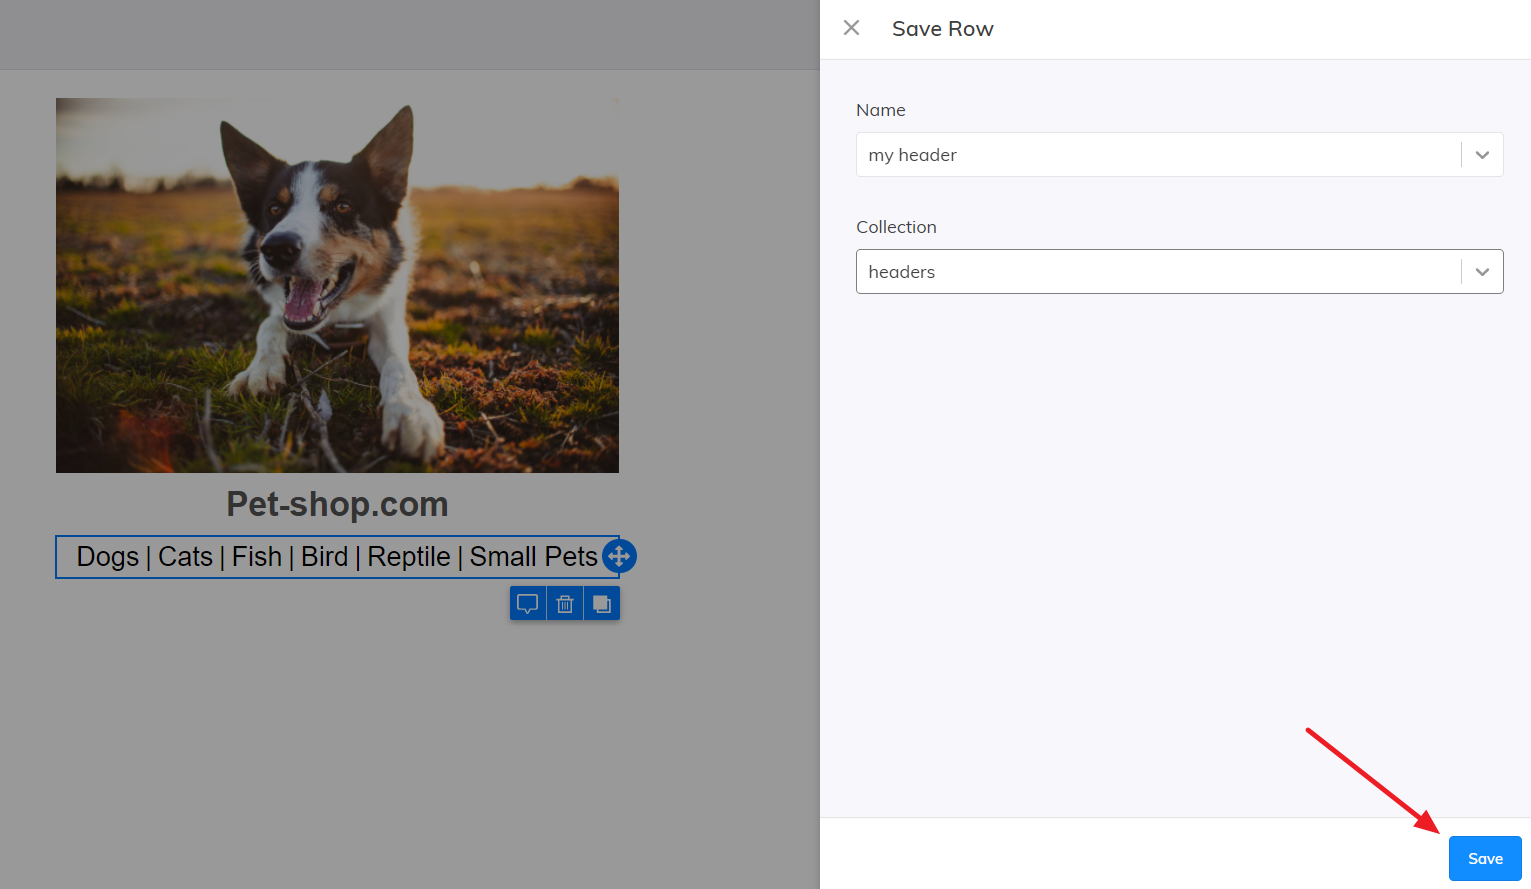
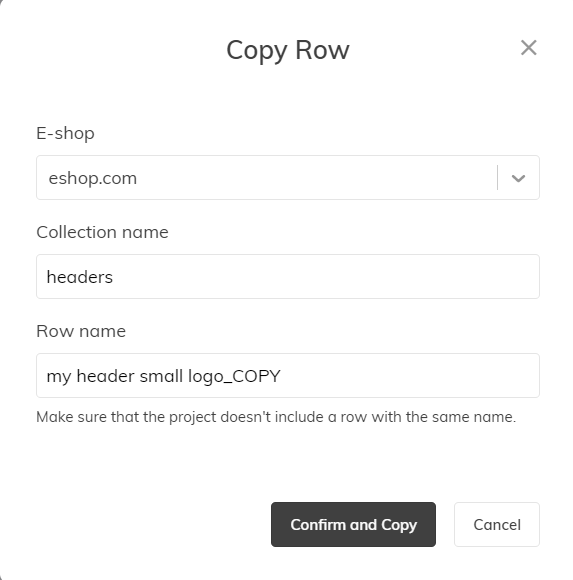
- Select the name of the row and the collection you want to include the row in.
- If you select an existing row name in the collection, you overwrite (update) that row. There may be rows with the same name in different collections – we just don’t recommend this to get a good handle on the names.
- Therefore, to create a new row, type in a row name that does not yet exist.
- Select the tags you want to tag the row with for easier searching.
- Confirm everything by pressing the Save button.


Saving a row from an email template
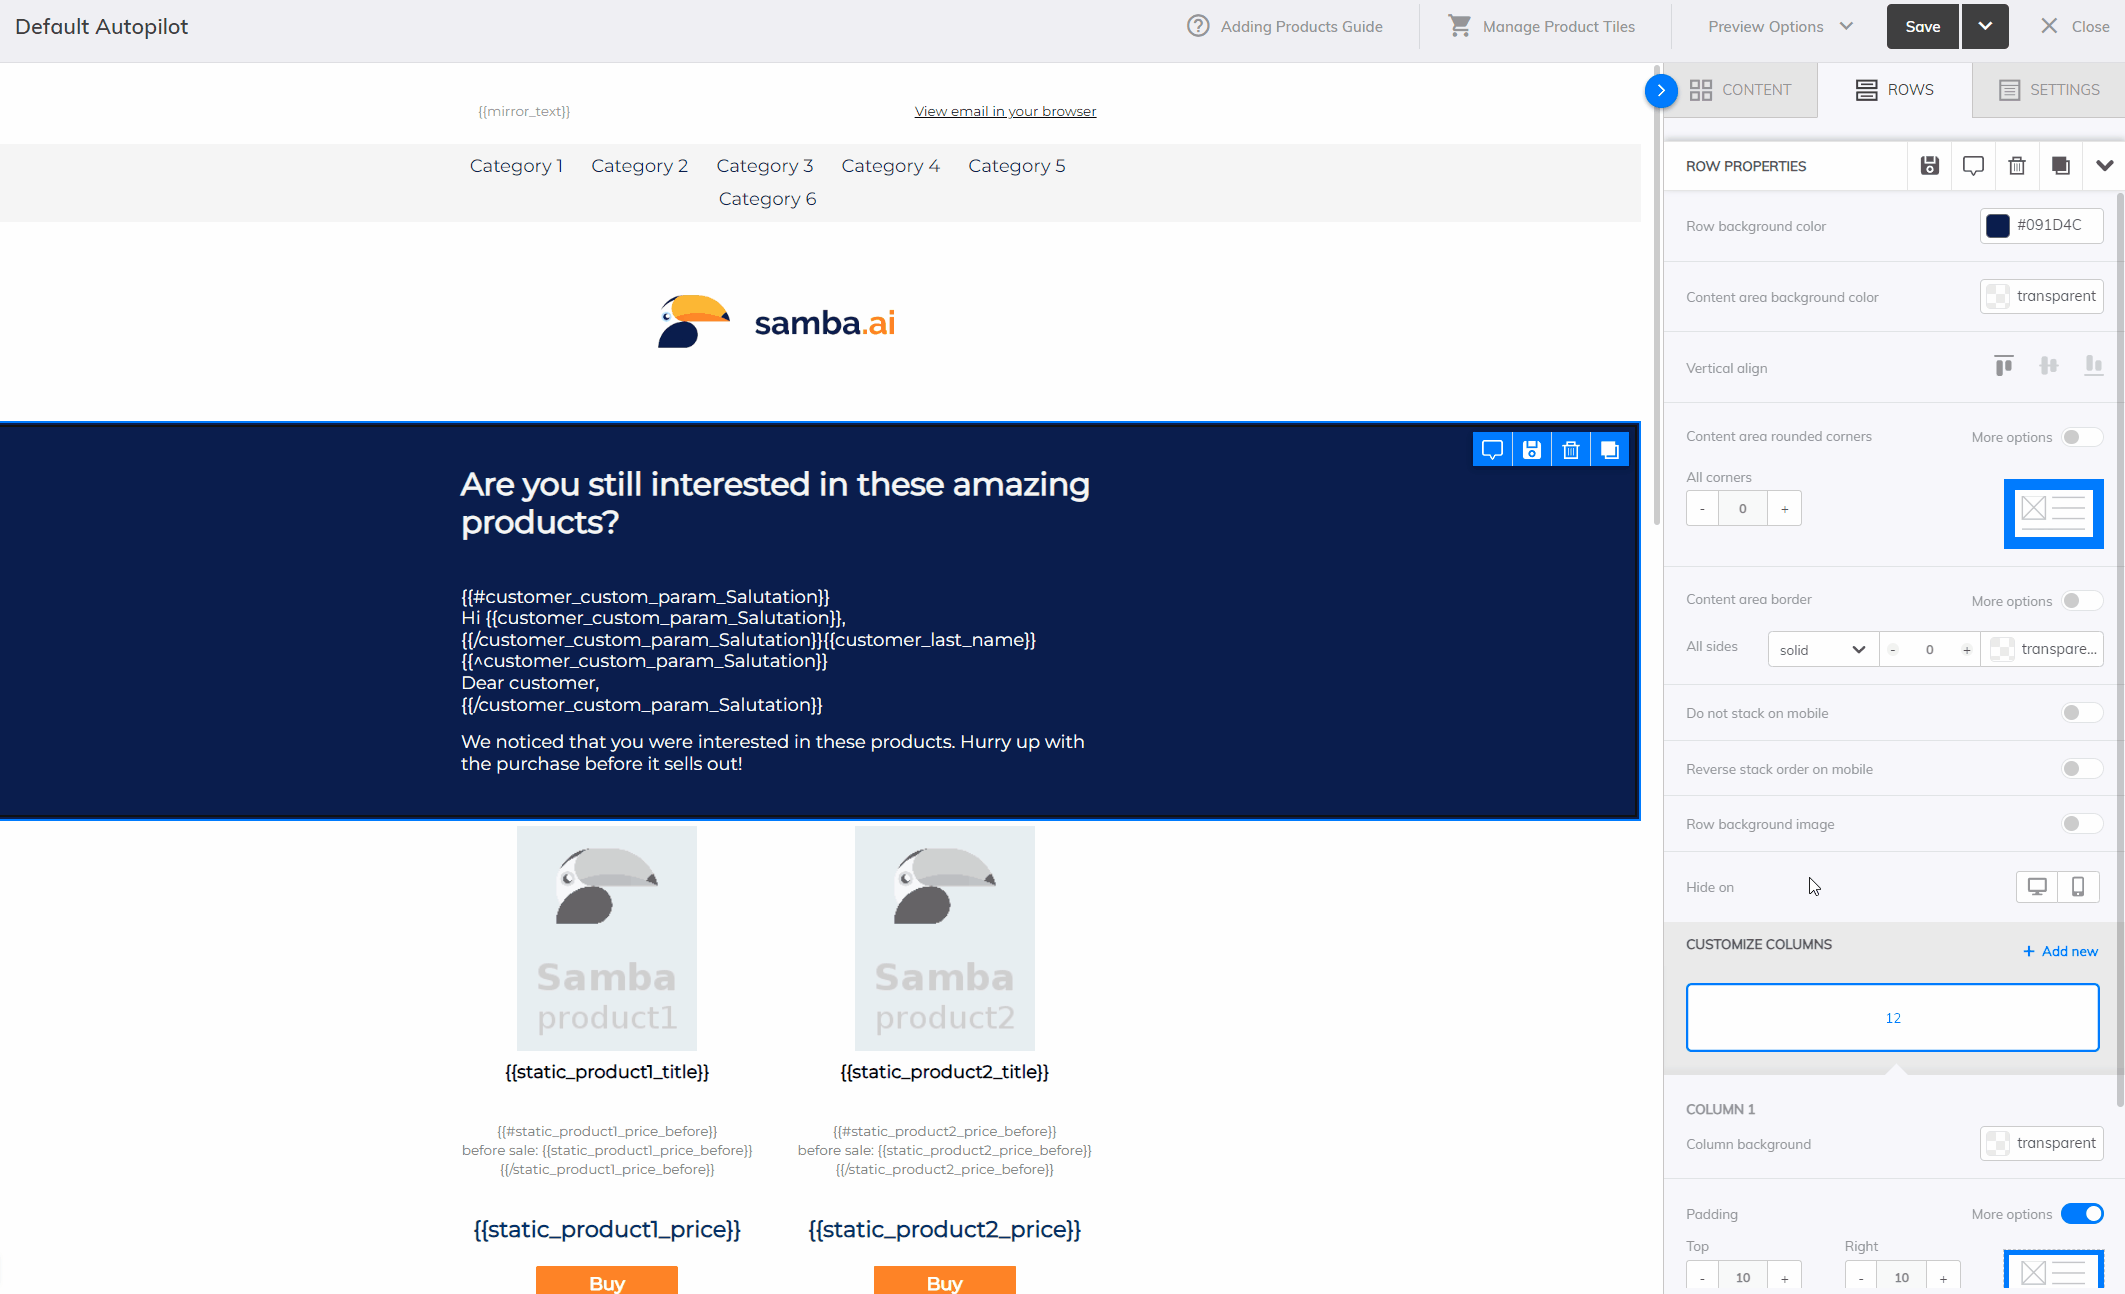
- In any email template, click on the right side of the template to bring up the menu for the line you selected.
- Look for the Save icon in the top right corner of the row, or in the right menu.
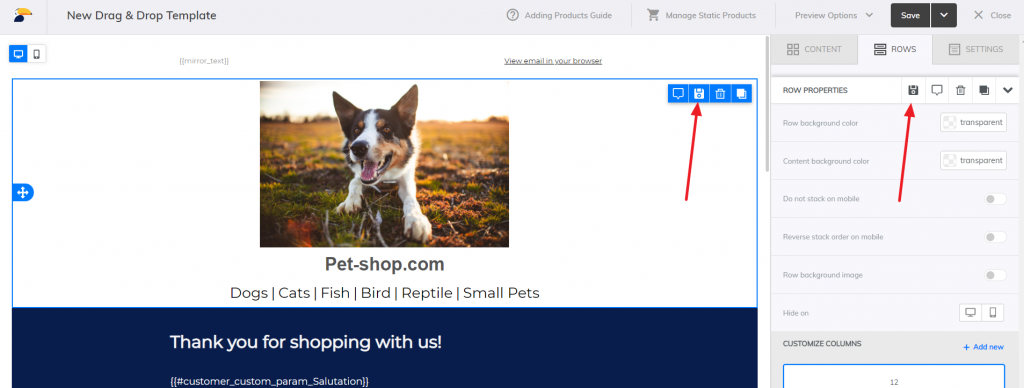
- Select the name of the row and the collection you want to include the row in.
- If you select an existing row name in the collection, you overwrite (update) that row. There may be rows with the same name in different collections – we just don’t recommend this to get a good handle on the names.
- Therefore, to create a new row, type in a row name that does not yet exist.
- Select the tags you want to tag the row with for easier searching.
- Confirm everything by pressing the Save button.

Editing a saved row
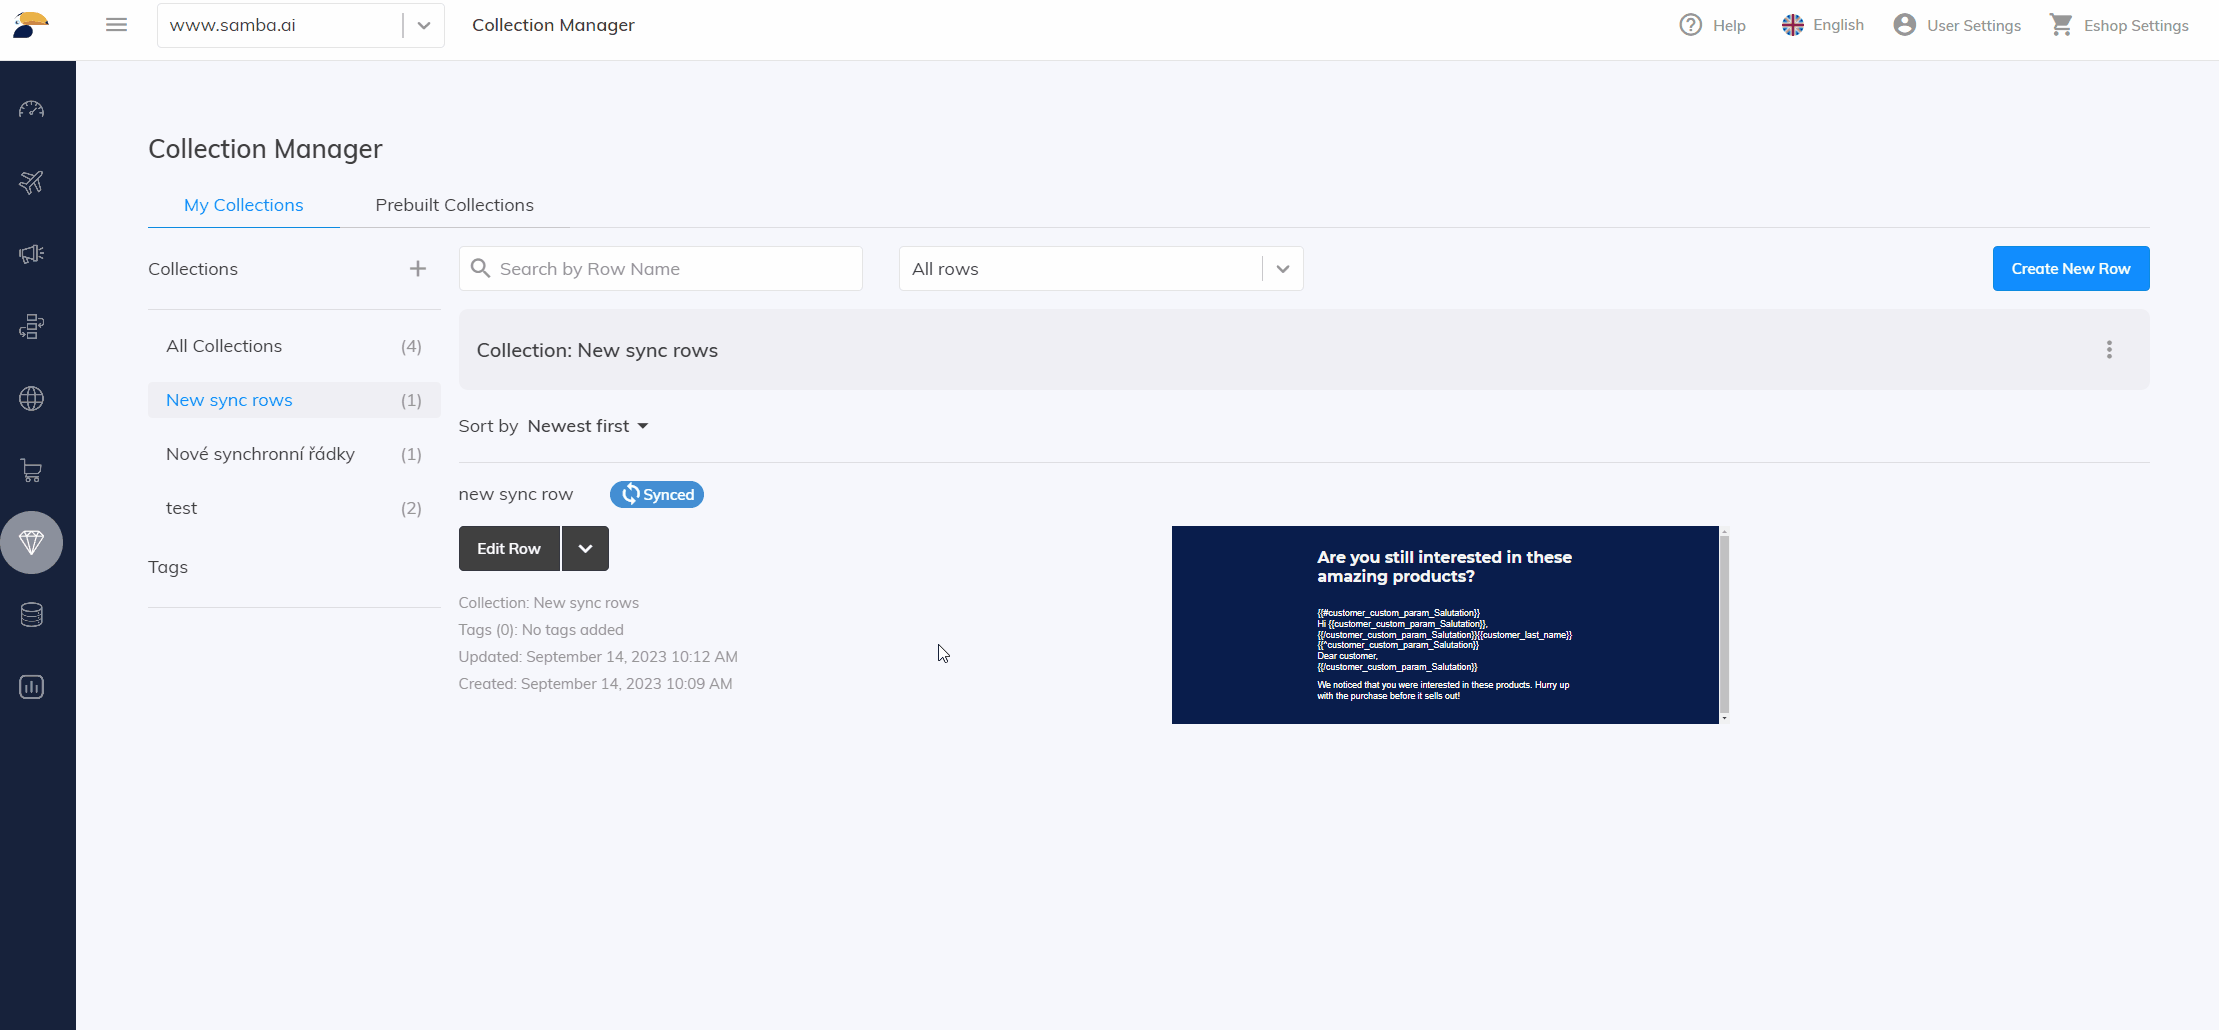
In the Collection Manager, you can search for your row by collection name and row name. The listing can be sorted by the name or the last update time of the row.
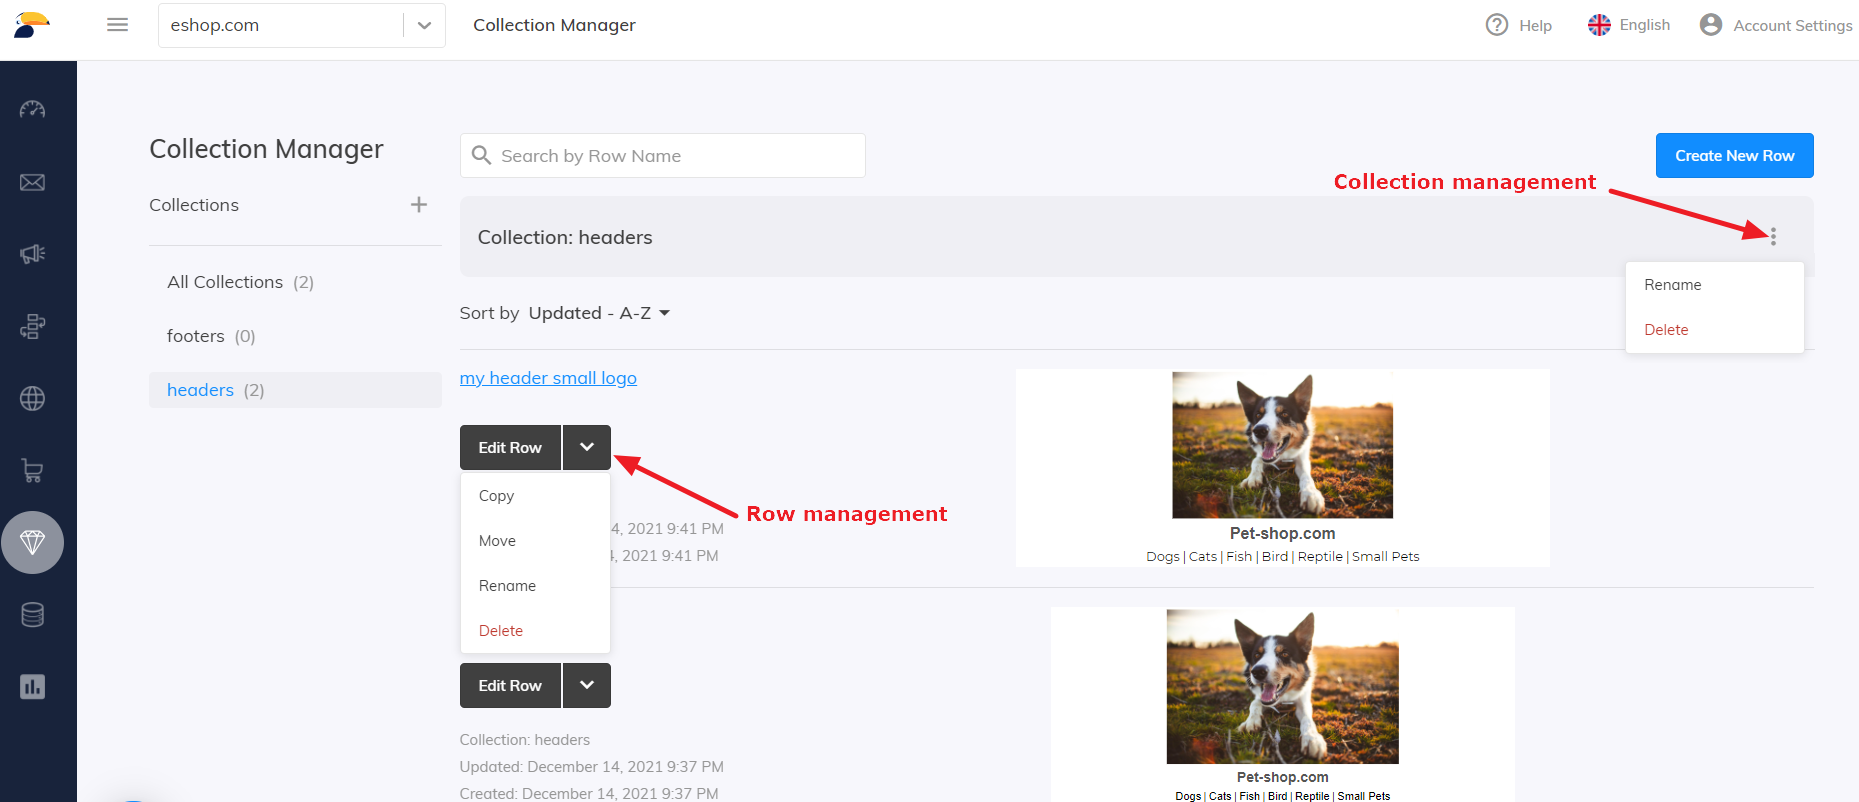
To edit a previously created row, click Edit Row and proceed as you did when you produced your first row. Finally, confirm your changes with the Save button.
- The Save As New option is used to save your changes to a new row.
You can use Rename or Delete the collection to keep your collections organized. You can Move each row to a different collection, or Rename and Delete it. Use Manage Tags to change the tag assignment for a row.
Each row can also be copied not only to another collection, but also to another account in Samba where the user also has access.
Using a saved row
In the email editor, click the Rows tab and find your collection and the row you want to use. Simply drag and drop the row to the position you want in the template.

Synced rows
Synchronized rows offer the ability to link a specific row across all templates where it occurs. This means that if you use the same row in several different templates (such as a header or footer), you can easily update it in a few clicks across all templates. All you have to do is edit the row and with synchronization, the changes will automatically be reflected in all your templates without having to edit each one individually.
Previously known rows are now marked as “Standard”.
Working with synchronized rows involves the following steps:
Synced row creation
You can create a synchronized row in several ways:
- By saving the row in the template editor.
- By creating a brand new row in Collection Manager.
- By changing the type of an existing row.
Editing synced row
Editing a synchronized row is different from a standard line. Changes can only be made in the row editor.
The row editor is traditionally accessible in the Collection Management section or directly from the template editor.
In case you want to edit a row through the template editor you will be given a choice of 2 options:
- Cancel synchronization of the row. This step will transform the row to standard and you will be able to edit the row in the template.
- Edit row across templates. In this option, edits made to the row are reflected in all templates where the row is used.

If you decide to edit the synchronized row via the template editor, be sure to save any changes in the template.
Synchronization
Once you save the changes to the synchronized row, a new side window will appear listing all the templates in which the row is used. In addition to simple sorting and filtering, you also have the option to apply the new row appearance to some or all of the templates where the row is used.
Prebuilt Collections
Here you will find all sorts of rows to make your daily work in Samba easier. You can use any row from these collections in your template at any time, just like the rows stored in My Collections.
If you want to edit any of the prebuilt rows, you must first save them using the Save to My Collections option.

What collections can you find here?
- HTML snippet for inserting product tiles
- Personalized products for different types of templates
- Use of unique coupon in template, customer salutation, sample header and footer, etc.
The database is constantly being expanded with more useful rows!
This post is also available in: