This post is also available in:


Welcome to the Basic Customization guide for Samba’s Picasso Email Editor, our built-in editing tool that allows you to quickly and easily create engaging emails that are wholly personalized for each and every one of your customers.
In this guide, we’ll cover all of the basic options available to you, including
GETTING STARTED
So you have your header and footer set and you’re ready to initiate your first campaign and all you need is the perfect email template to go with it.
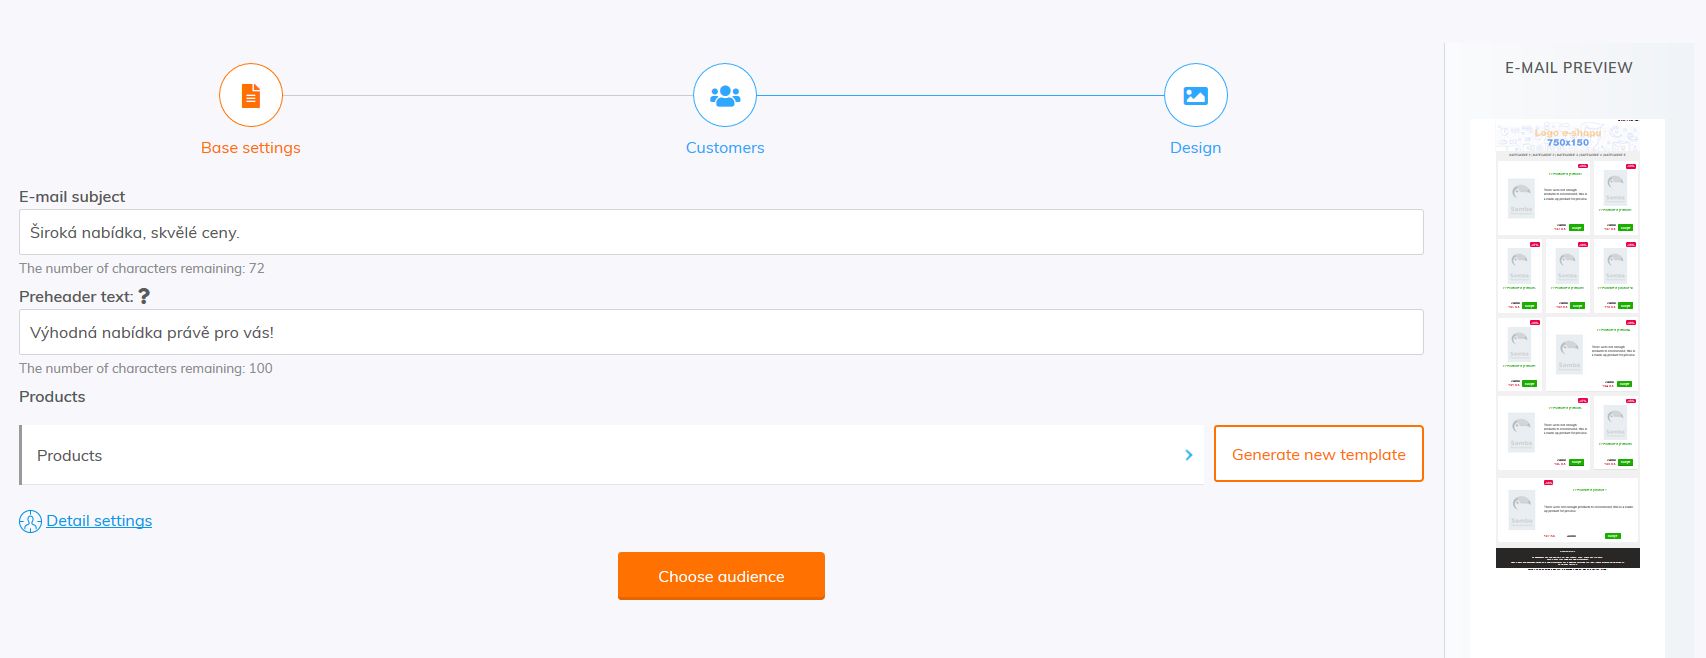
To get started, simply navigate to the email editor of one of your campaigns by clicking the “Design” button or the email preview image on the campaign settings (see below).
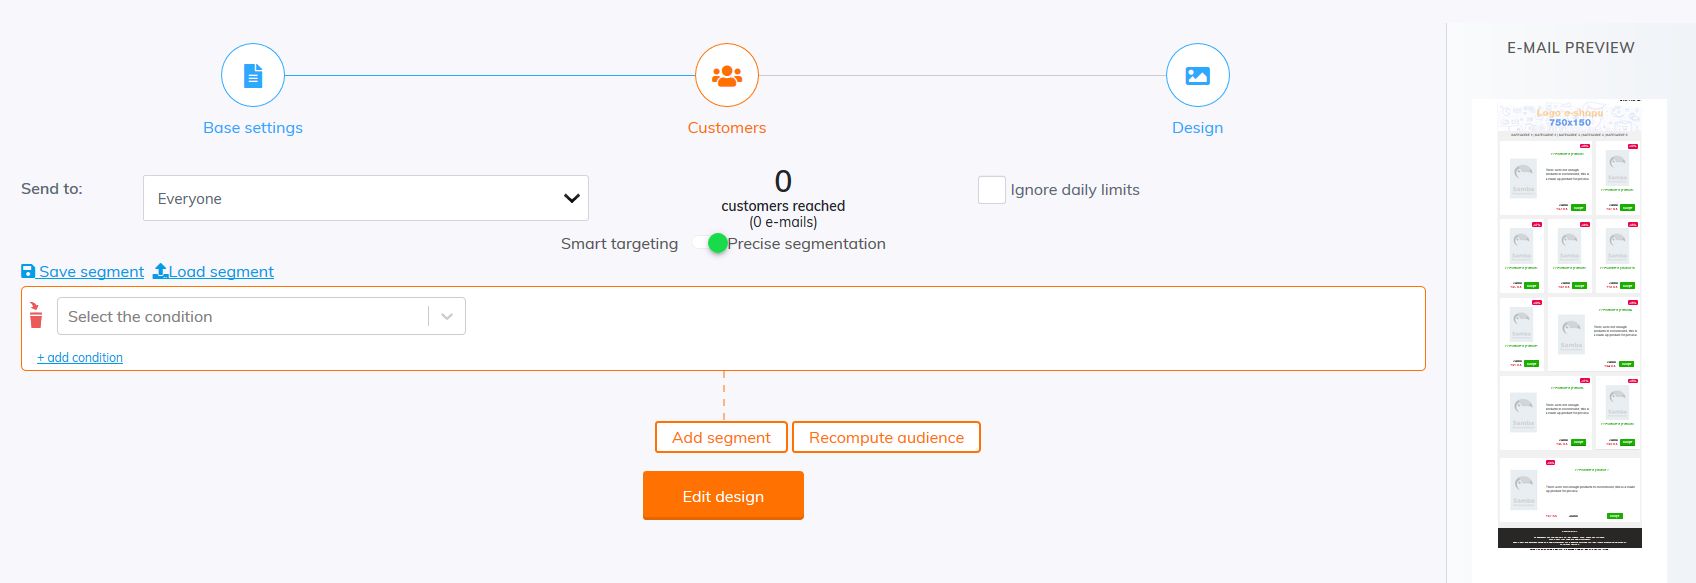
Alternatively, you can access the editor by clicking the “Edit design” button from the Customers section of the campaign settings (see below).
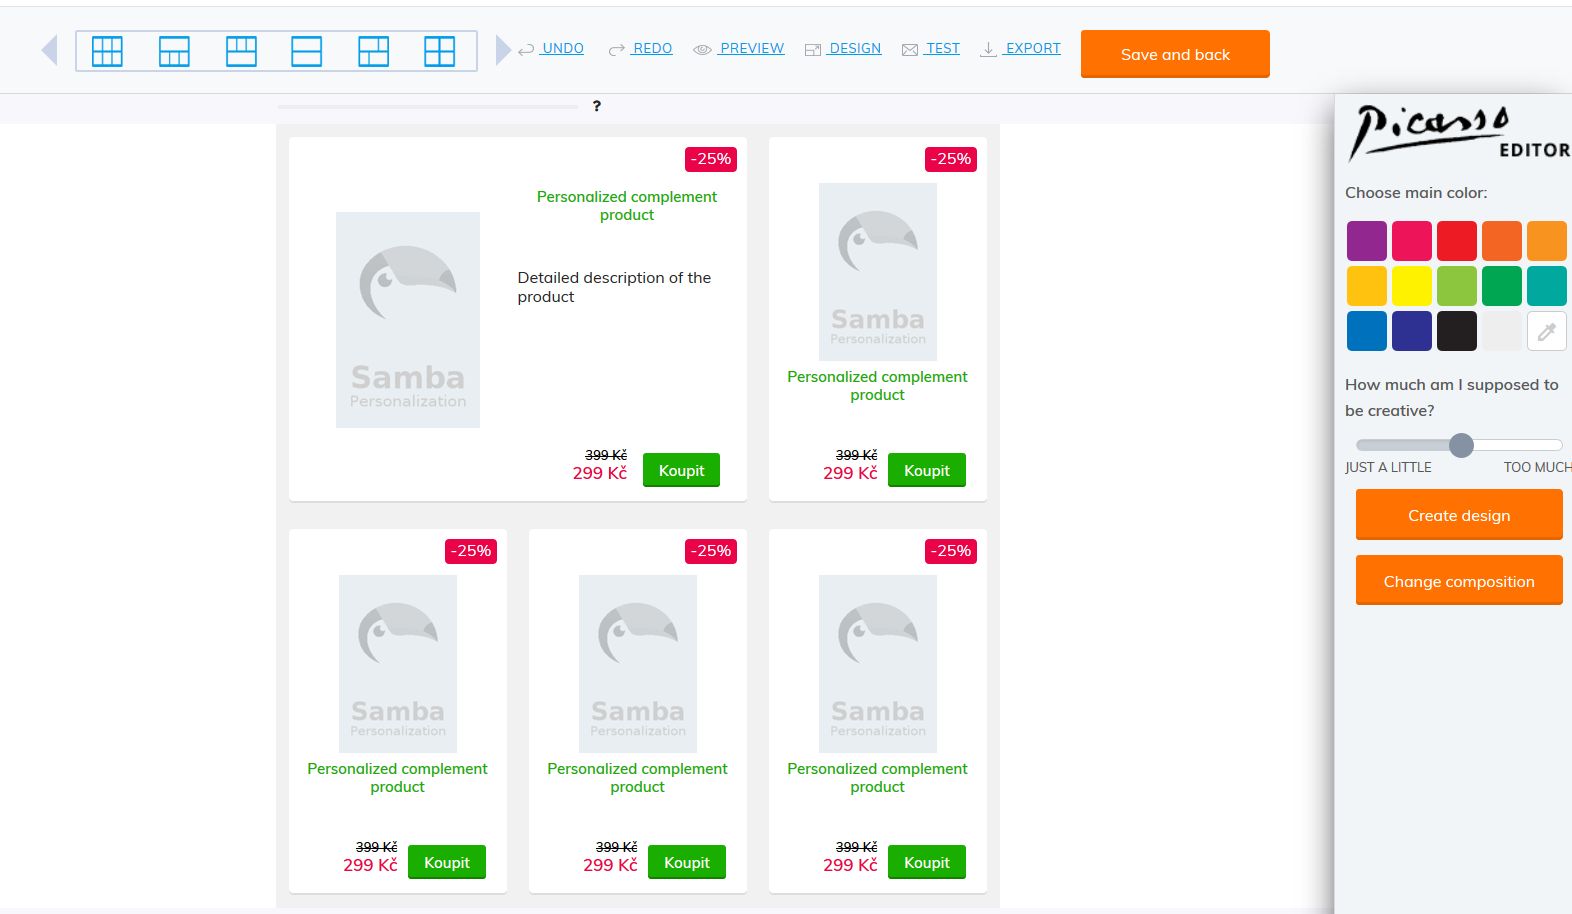
You should then be within the Picasso editor itself and it should look something like the image below.
The Picasso email editor was built to be user-friendly and intuitive, complete with easy-to-use controls and plenty of built-in functionality.
As you familiarize yourself with the editor, please take note of the product blocks, which may appear empty, but are actually where all the magic happens as Samba will automatically insert personalized products directly into them for each of your customers.
Also, for your convenience, any changes you make to the editor are automatically saved.
COLORS
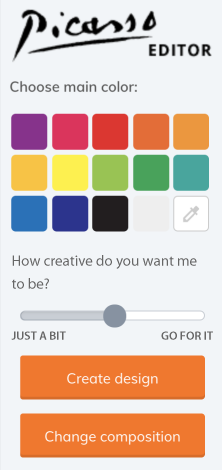
The first customization option you will probably see is the color palette located on the right-hand side of the editor. While you can customize the color of many of the various elements with your email, Picasso comes equipped with a handy tool for those who either can’t or don’t want to do so.
As pictured above, instead of you personally changing the color of particular elements, Samba will do it for you. Simply select an overall color, how much you want it used, and Samba will automatically craft your email based on those parameters.
- JUST A BIT – The closer the slider is to this side, the more conservative Picasso will be with the fonts and colors used in the overall design, resulting in a more sedate, simple template.
- GO FOR IT – The closer the slider is to this side, the more liberal Picasso will be with the fonts and colors used in the overall design, resulting in a more bold, yet harmonious template.
To see what a result could look like, click the “Create design” button, and Samba will automatically adjust the template in real time.
After that, you will have the option to have Samba reiterate on its customization by clicking the “Next design” button.
From here, you can also have Samba randomly modify the composition of the product blocks by clicking the “Change composition” button.
BLOCK SETTINGS
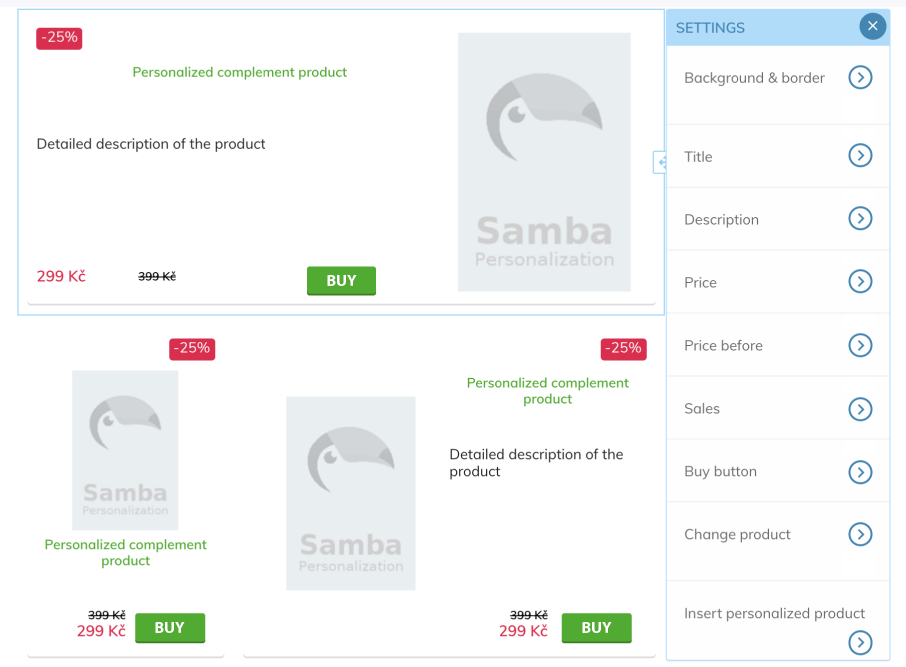
To access the settings of each particular block, simply click the corresponding window (see image below).
To access a specific setting, simply click the corresponding carrot. For example, here are the settings for the Title settings: On the left-hand side of the editor, you’ll see an overall preview of the email, as shown in the image below, and from there will be able to directly modify the layout of the email. Here are the basic options: You can also change the configuration of each block via the layout buttons located at the top of the editor (see image below). If you want to manually increase or decrease the width of a product window, you can simply click and drag the side of its respective window as shown in the video below: It’s also possible to reposition the entirety of a block by simply clicking and dragging it within the preview window as shown in the video below: When you’re satisfied with the look of the email, click the “Save and back” button to return to the campaign page. In addition, there’s a list of extended options available at the top of the editor:
To learn more about the Advanced Customization options, please have a look at our guide. Also, if you need any assistance with the Picasso editor, or anything else Samba-related, please contact our support at support@samba.ai. By modifying the various settings in this manner, you can set the overall look of your email as you see fit.
LAYOUT
SAVING & EXTENDED FUNCTIONALITY
ADVANCED CUSTOMIZATION OPTIONS

