
This post is also available in:

In our Picasso Basic Customization guide, we went over the various basic customization options at your disposal, including color, fonts, and the overall layout structure of the email.
With that in our rearview, we want to go over some of Picasso’s more advanced features, which include working with images, custom text boxes, and much more.
ADVANCED IMAGE OPTIONS
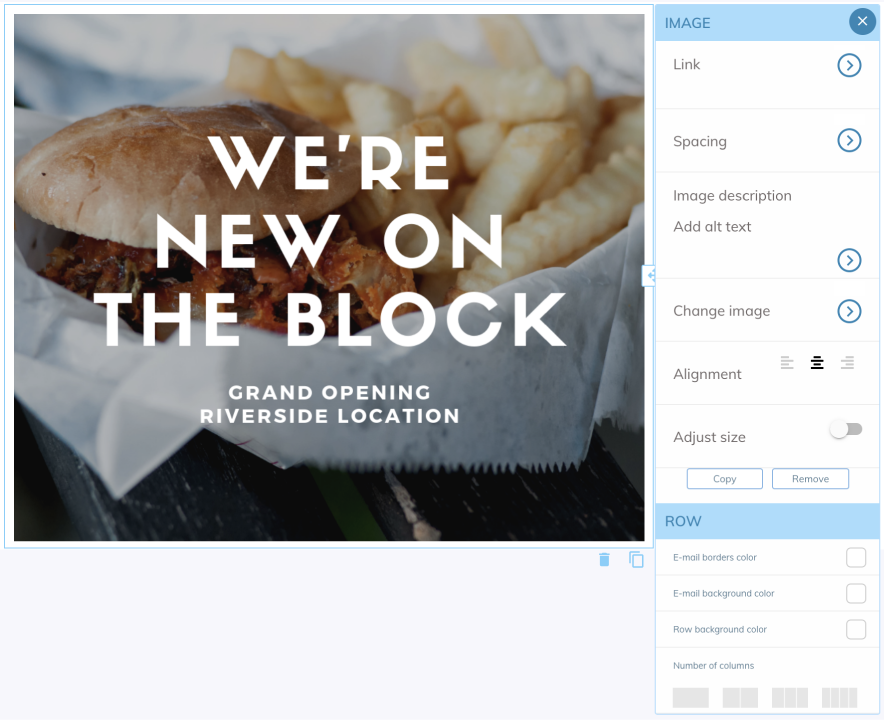
To give you a better idea of the image possibilities available to you with Picasso, we’re going to showcase an example of an email that is announcing their grand opening of a new retail location with a coupon attached.
To get started, we’re going to add a custom image by clicking on the “NEW HTML BLOCK” button on the left-hand side of the editor.

With that, a new blank block is inserted into the newsletter and you now have the option to add various elements to that block. Simply select and drag one of the options from the menu listed on the right to the newly-created block and drop it.
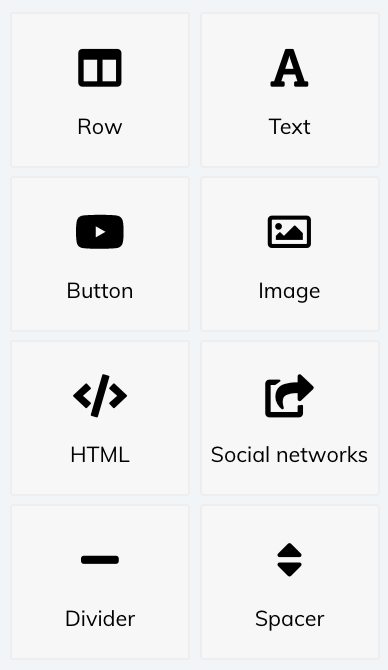
For our example, we’re going to start with a picture, clicking and dragging the “Image” button to the empty line and dropping it (see video).
Then just select whether you want to upload your own image or choose one from our catalog of free stock images.
After inserting the image, you can click it again to see the settings. For example, you can place a link below the image, set the border color, or change the image itself. With that set, we can move onto incorporating some custom texts into the email as well. These custom messages are great when you have a special, general message you want to get out there, like business announcements or invites to events. With our email, we’re going to add a custom greeting in the very same way as we inserted the image. Again, simply click “NEW HTML BLOCK” and click and drag the “Text” button from the right-hand side of the editor into the newly-created block (see video). Then simply type and edit the text as you wish. Before we initiate this campaign, we want to add a coupon to the email to offer an incentive for all that want to come to the grand opening. If you would like to learn more about how to do this, please check out our separate guide, which goes into greater detail. There’s even more you can add to your emails that we won’t cover in this guide, including adding buttons, social networks, or dividers, but adding and customizing them is handled just the same way as the other elements already listed in this guide. However, if you still need assistance with the Picasso editor, or with anything else Samba-related, please contact our support at support@samba.ai. This post is also available in:
CUSTOM TEXT FIELD
COUPON INTEGRATION
ADDITIONAL OPTIONS