This post is also available in:


Do you want to expand your customer database? If so, Samba is well-equipped to help you do just that via its potent Welcome Campaigns.
Samba’s Welcome Campaigns are made up of the following components:
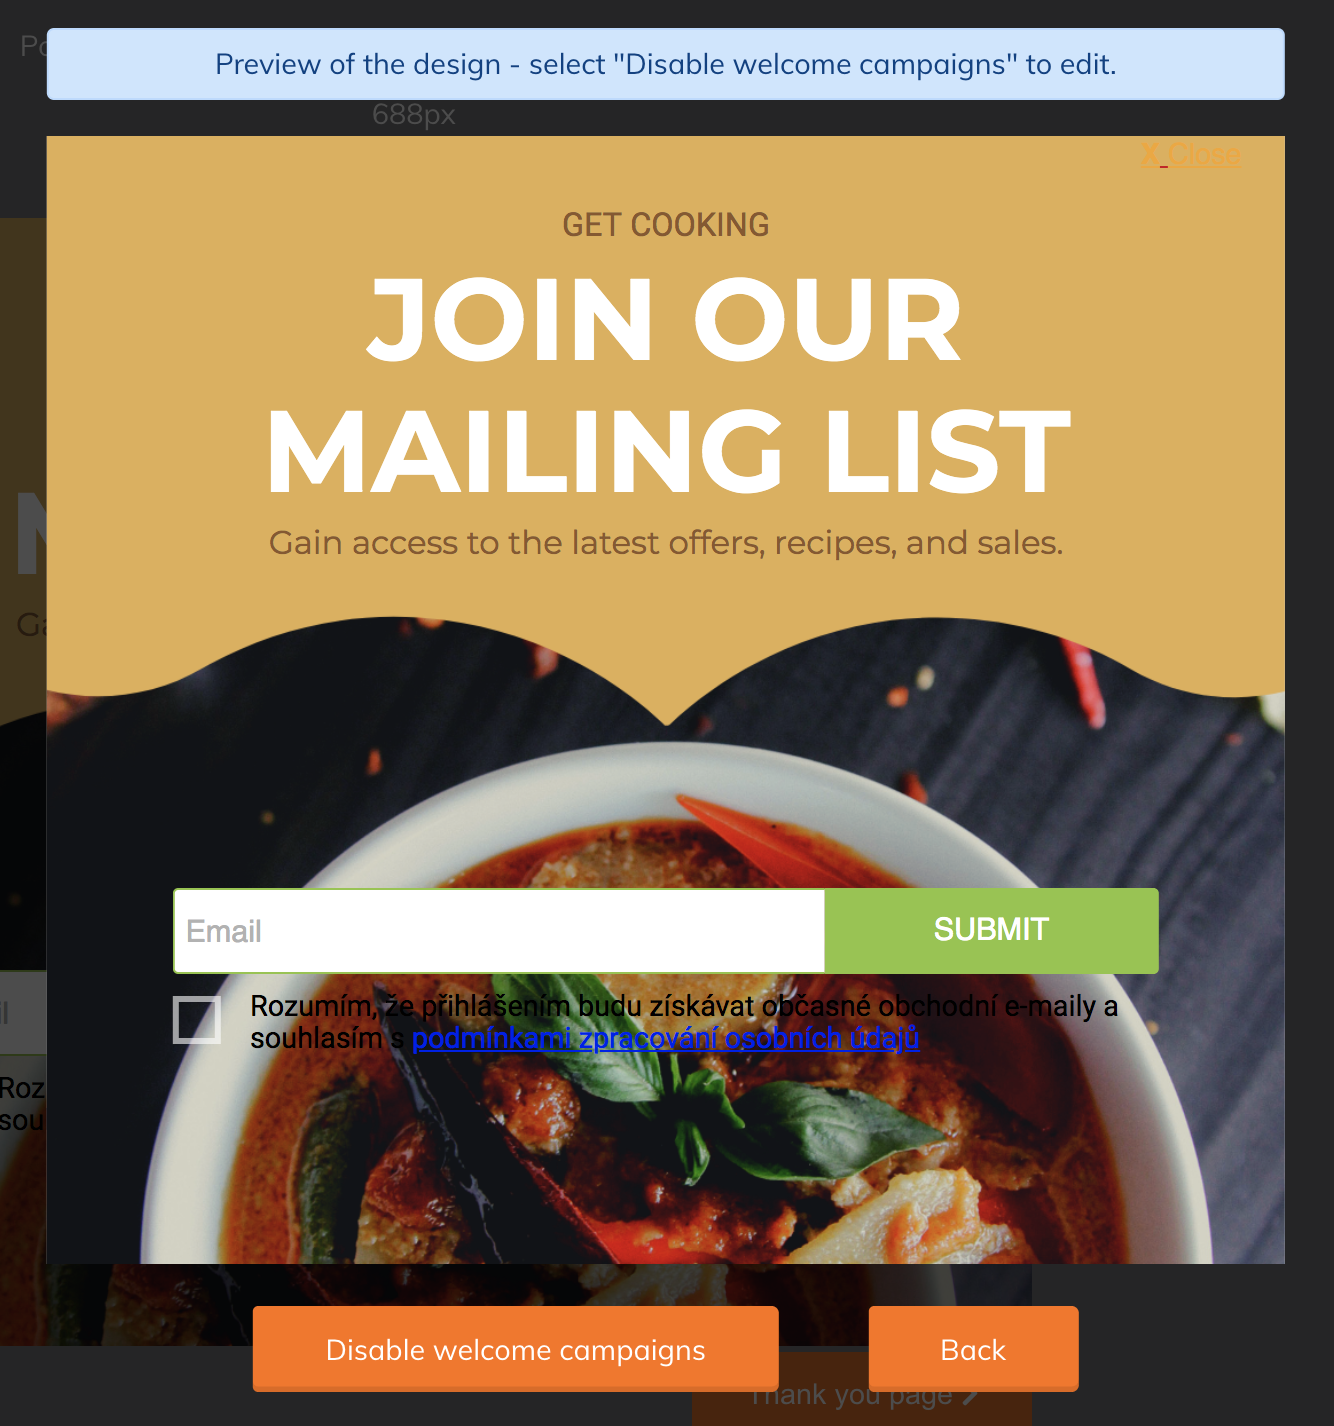
- Home page – The user enters their email address into the customizable pop-up window and agrees to processing of their personal data
- Thank You page – Appears after an email address is successfully entered
- Error page – Appears after an existing email address is entered in the database
- Double Opt-in email (optional but recommended) – Used to confirm their consent to allow us to add their email address to the database
- Confirmation email (optional) – This is sent to the user if the email address is successfully added to the database
Learn how to set up a pop-up in Samba in this tutorial.
When the pop-up appears
Of course, at Samba, we know that showing a pop-up right after a customer arrives on the page is discouraging. That’s why our pop-up window is displayed only when the customer is interested in making a purchase on the e-shop (browsing at least 1 product).
The pop-up will only be shown to visitors who have not already been shown this pop-up and also Samba has not linked them to any of the customer accounts in your database.
Where the pop-up appears
In default settings, the Welcome Campaign pop-up will appear on any page of your website once the conditions listed above are met.
In the Welcome Campaign settings, however, you also have the option to select specific URLs of your site where you do not want the pop-up to appear. Typically, this might be a shopping cart, etc.
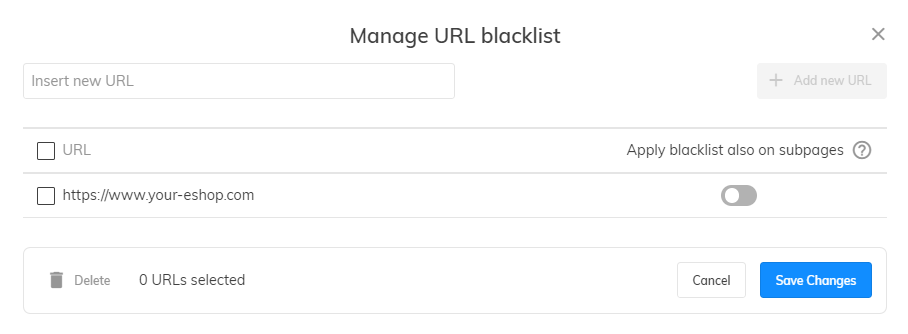
Within the settings, open the Manage URL Blacklist.
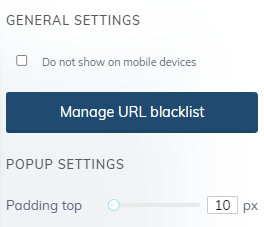
You can now enter all the URLs of your site where you want to disable the pop-up.
- If you also apply the blacklist on subpages for a given URL, the ban will be extended to pages that follow the URL you specify.
- For example, if you disable a pop-up on some category page and apply the ban to subpages. The pop-up will not be displayed on subcategory pages either.
Pop-up Appearance Settings
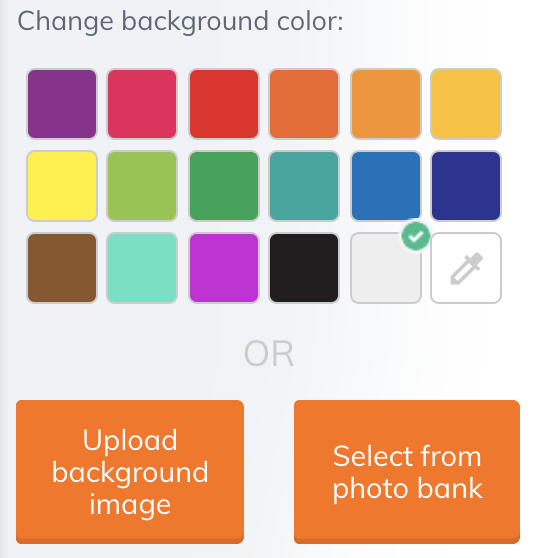
Not only are welcome campaign pop-ups extremely effective, but the look and feel of them are completely under your control. Whether you’re running a limited-time sale or just want to reinforce your brand, pop-ups are a great way of making an impactful first impression.
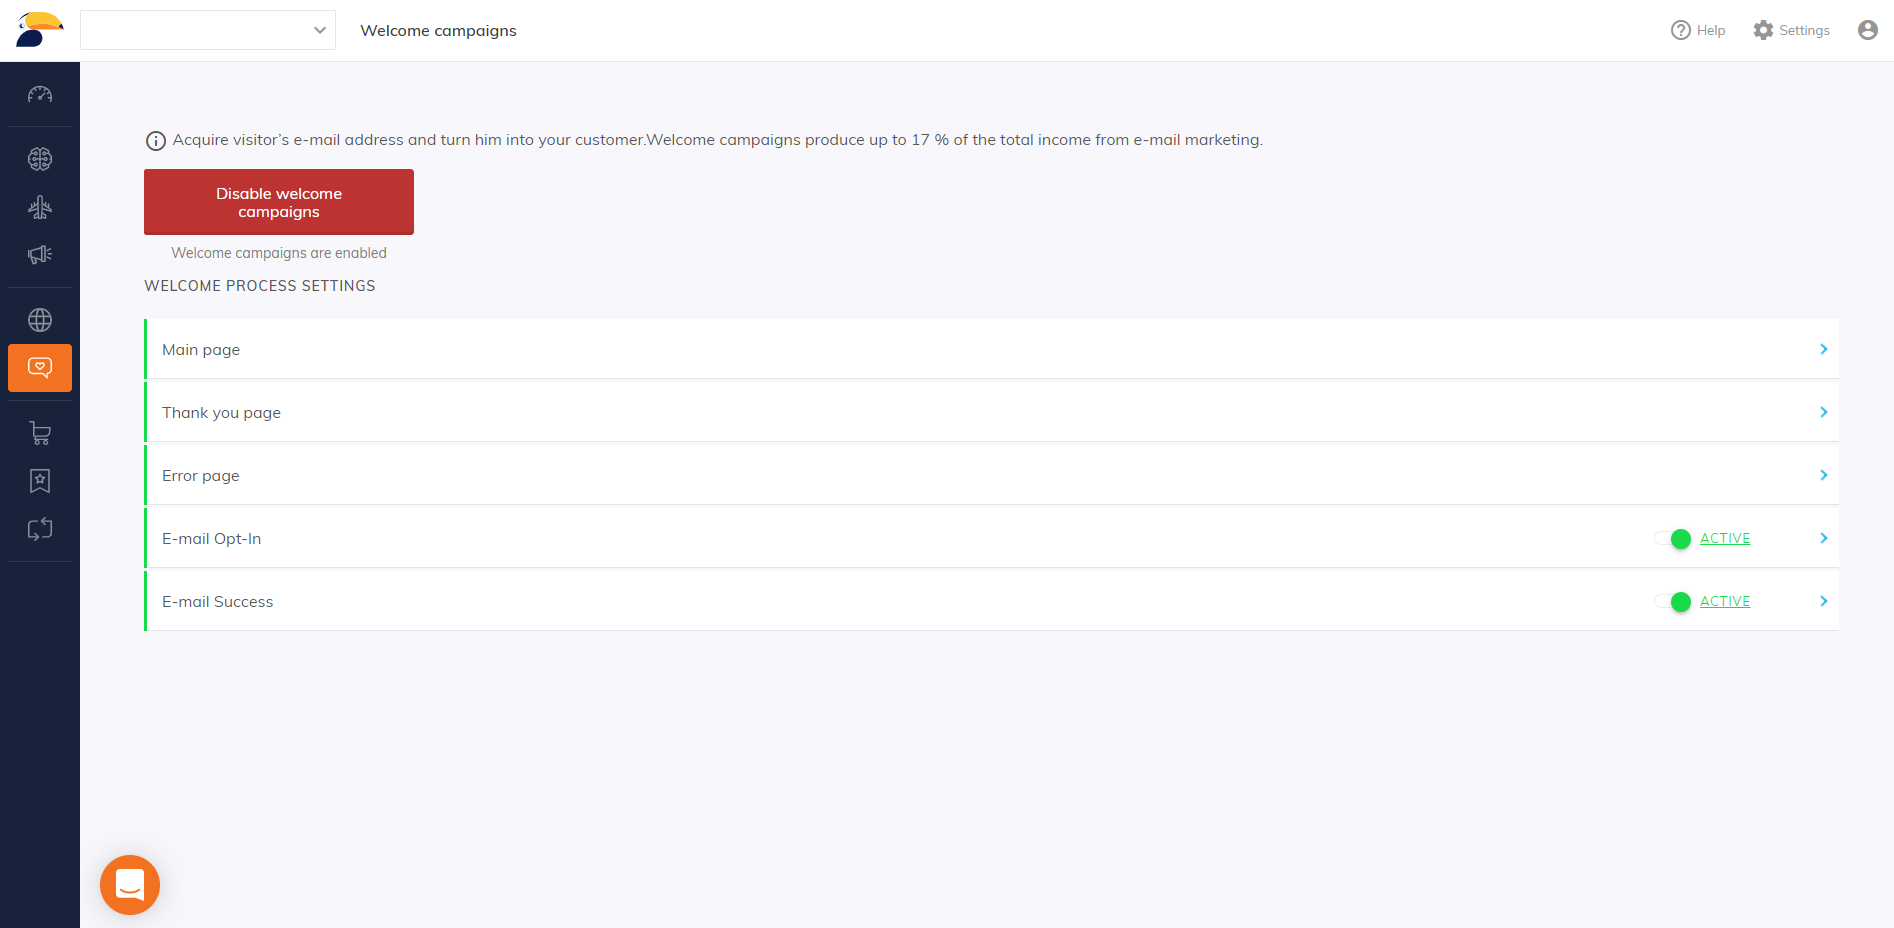
Best of all, customizing your pop-ups is an easy, user-friendly process. Firstly get to “Welcome campaigns” in the main menu.
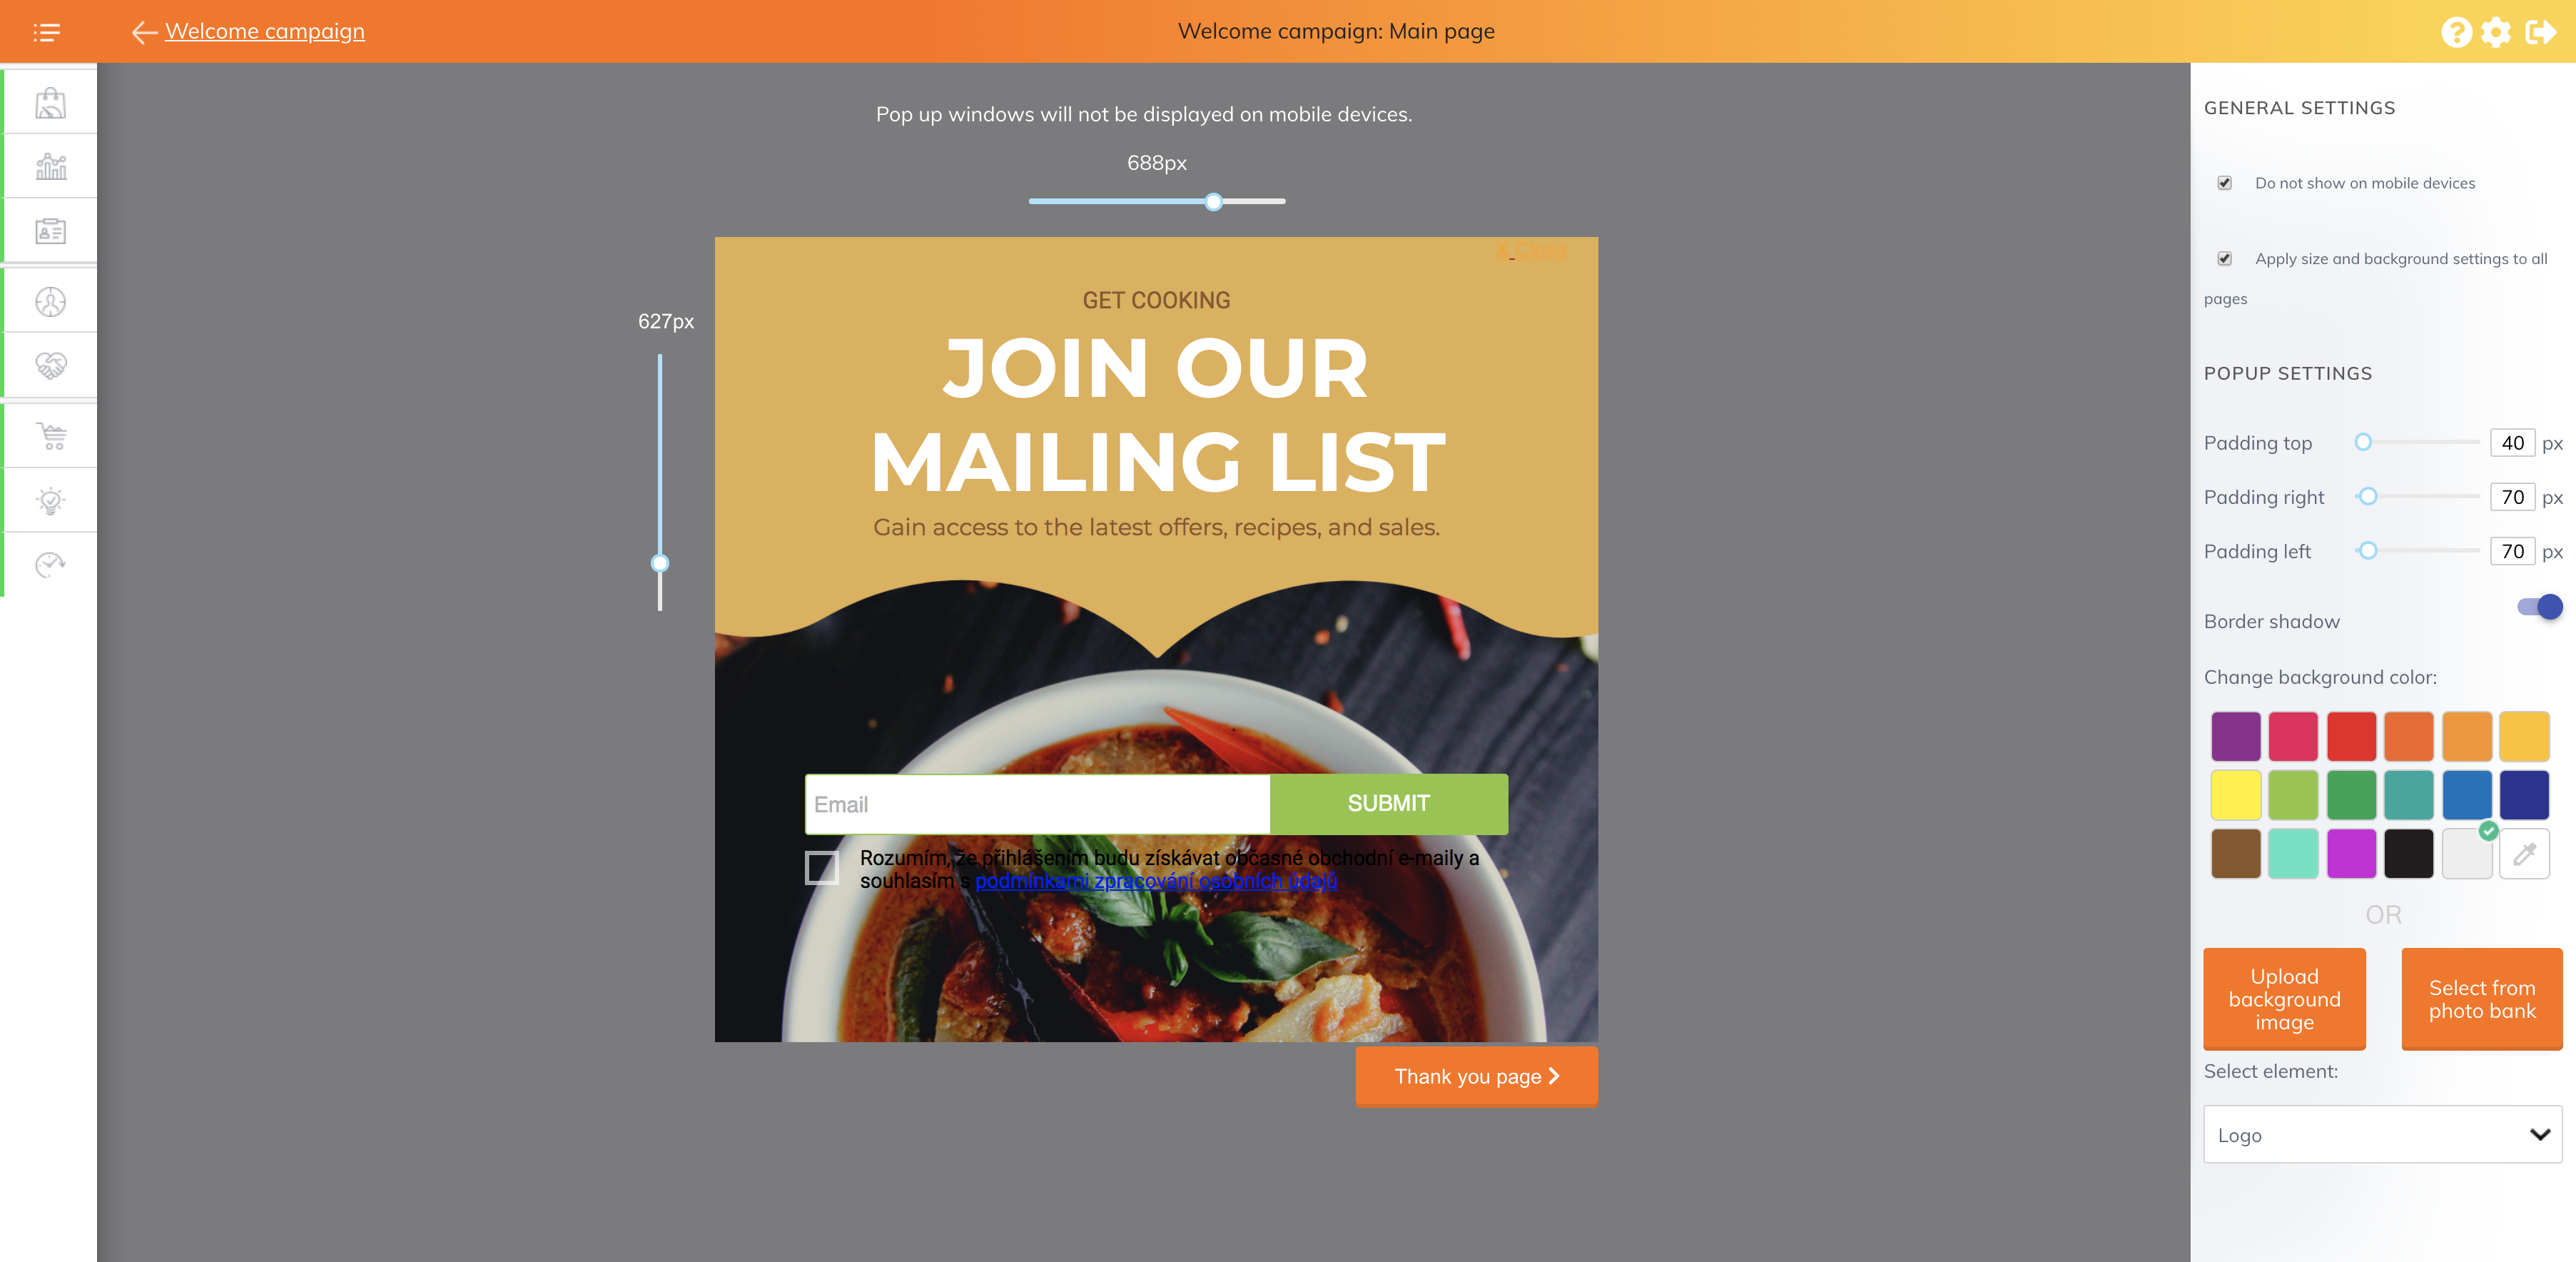
To start, you’ll want to customize your pop-up. To do so, click on “Welcome pop-up”.
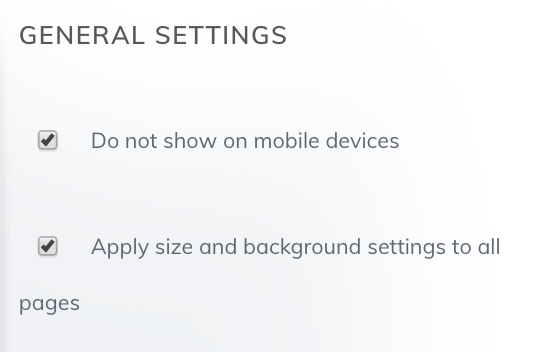
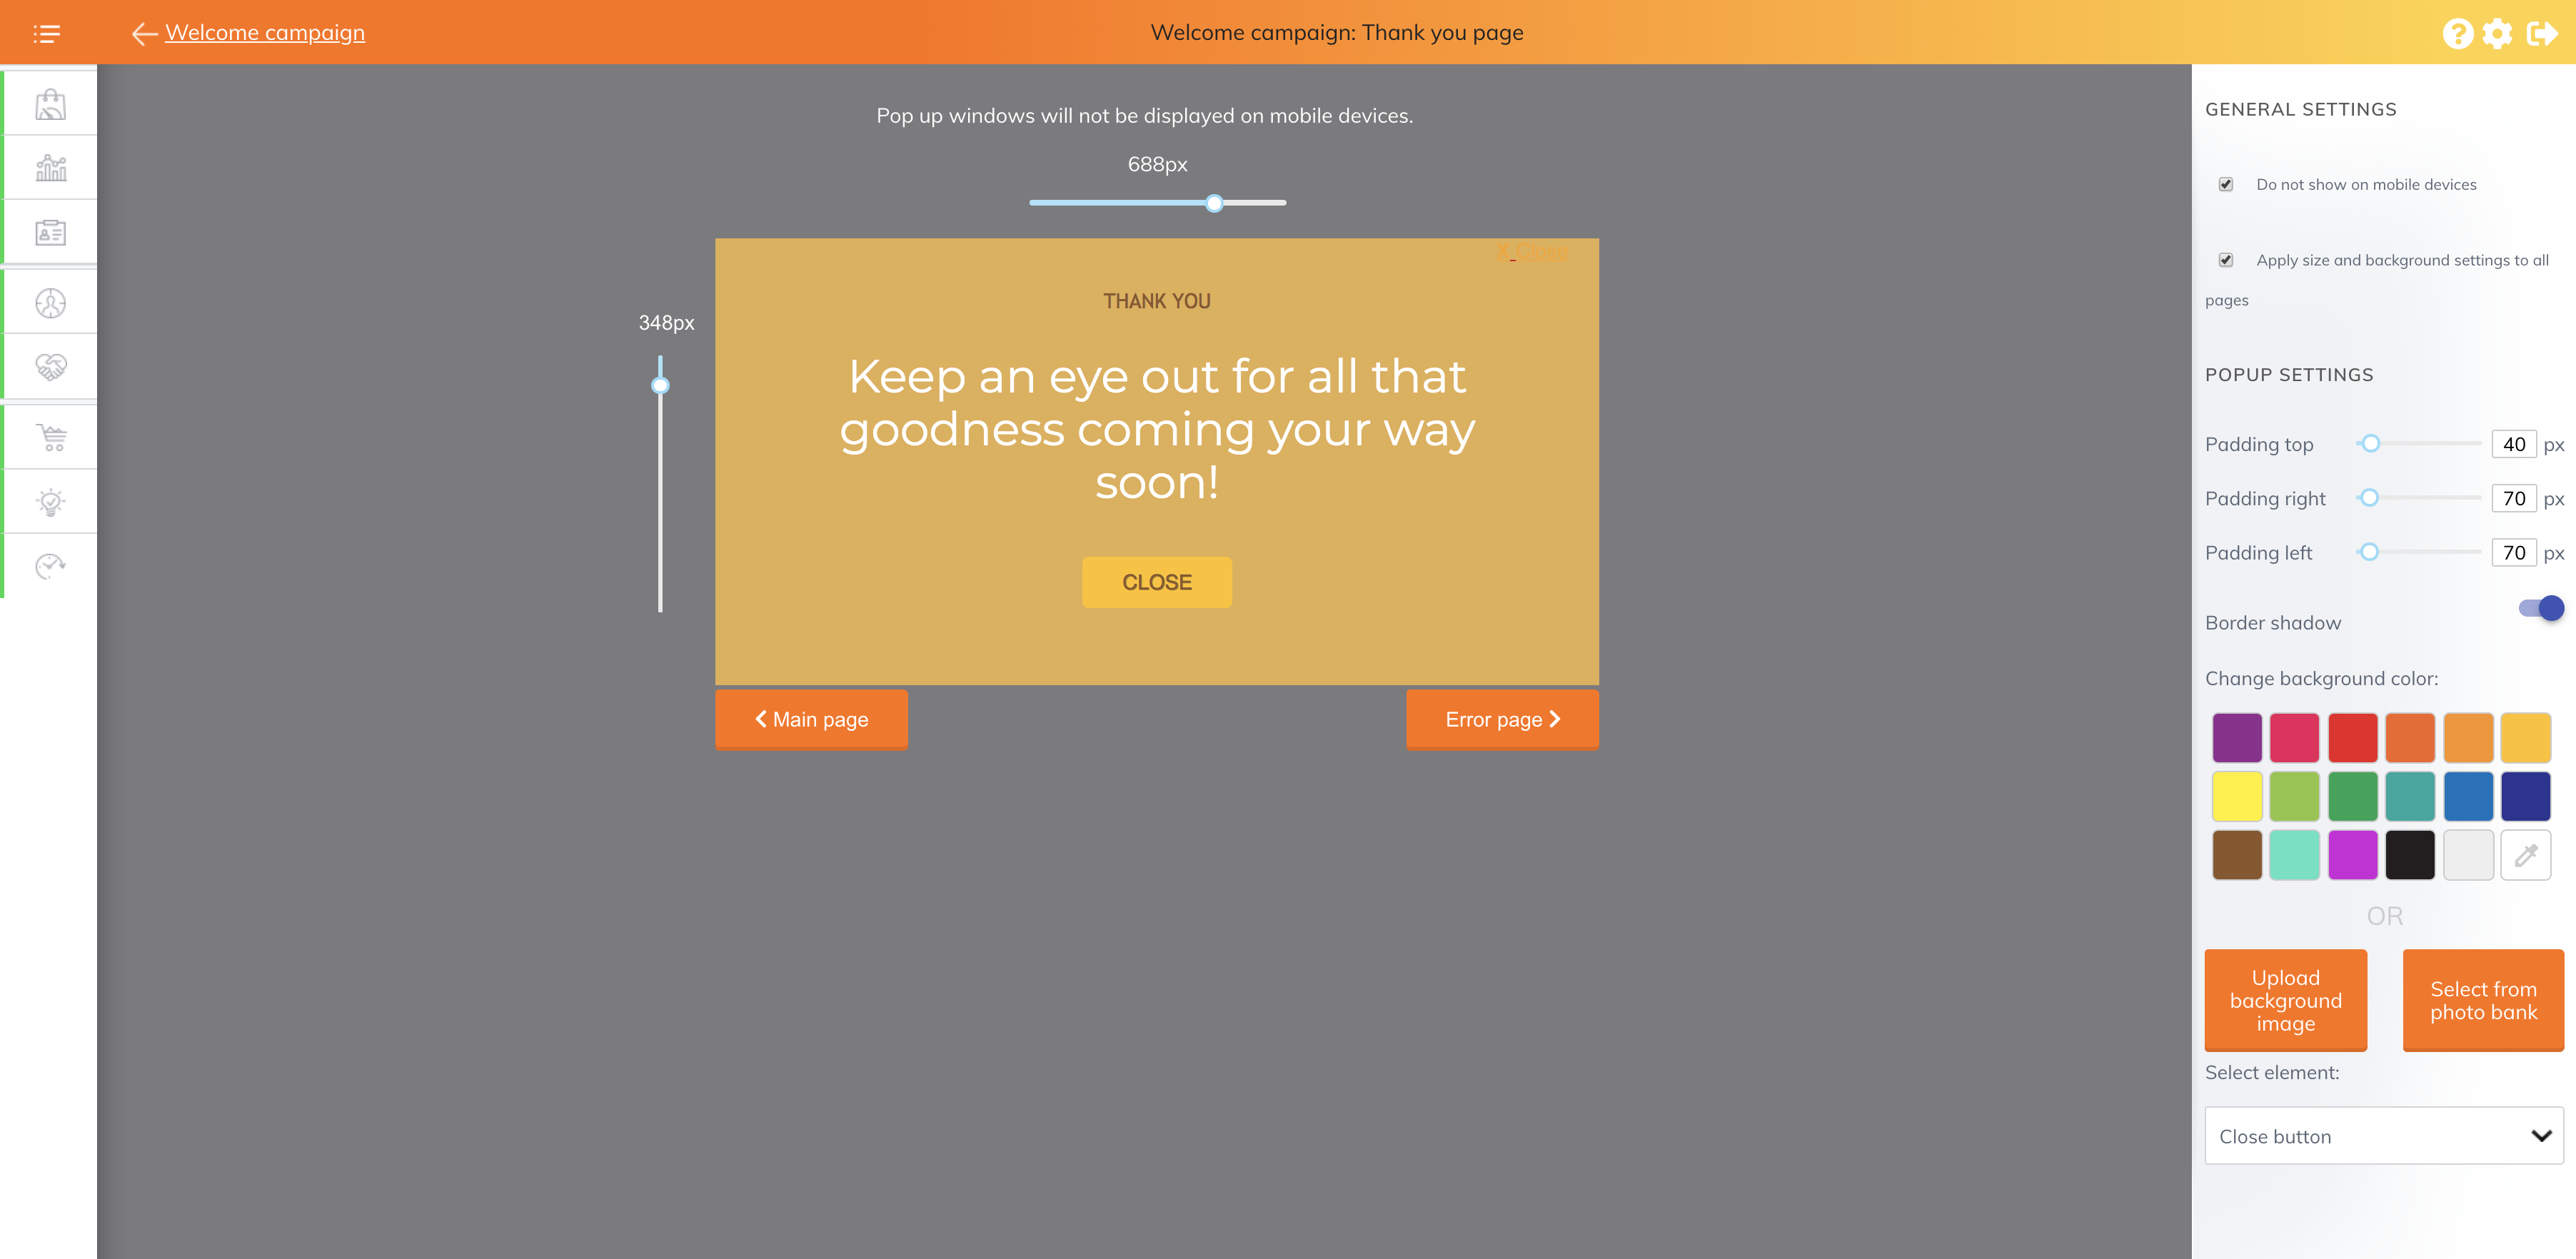
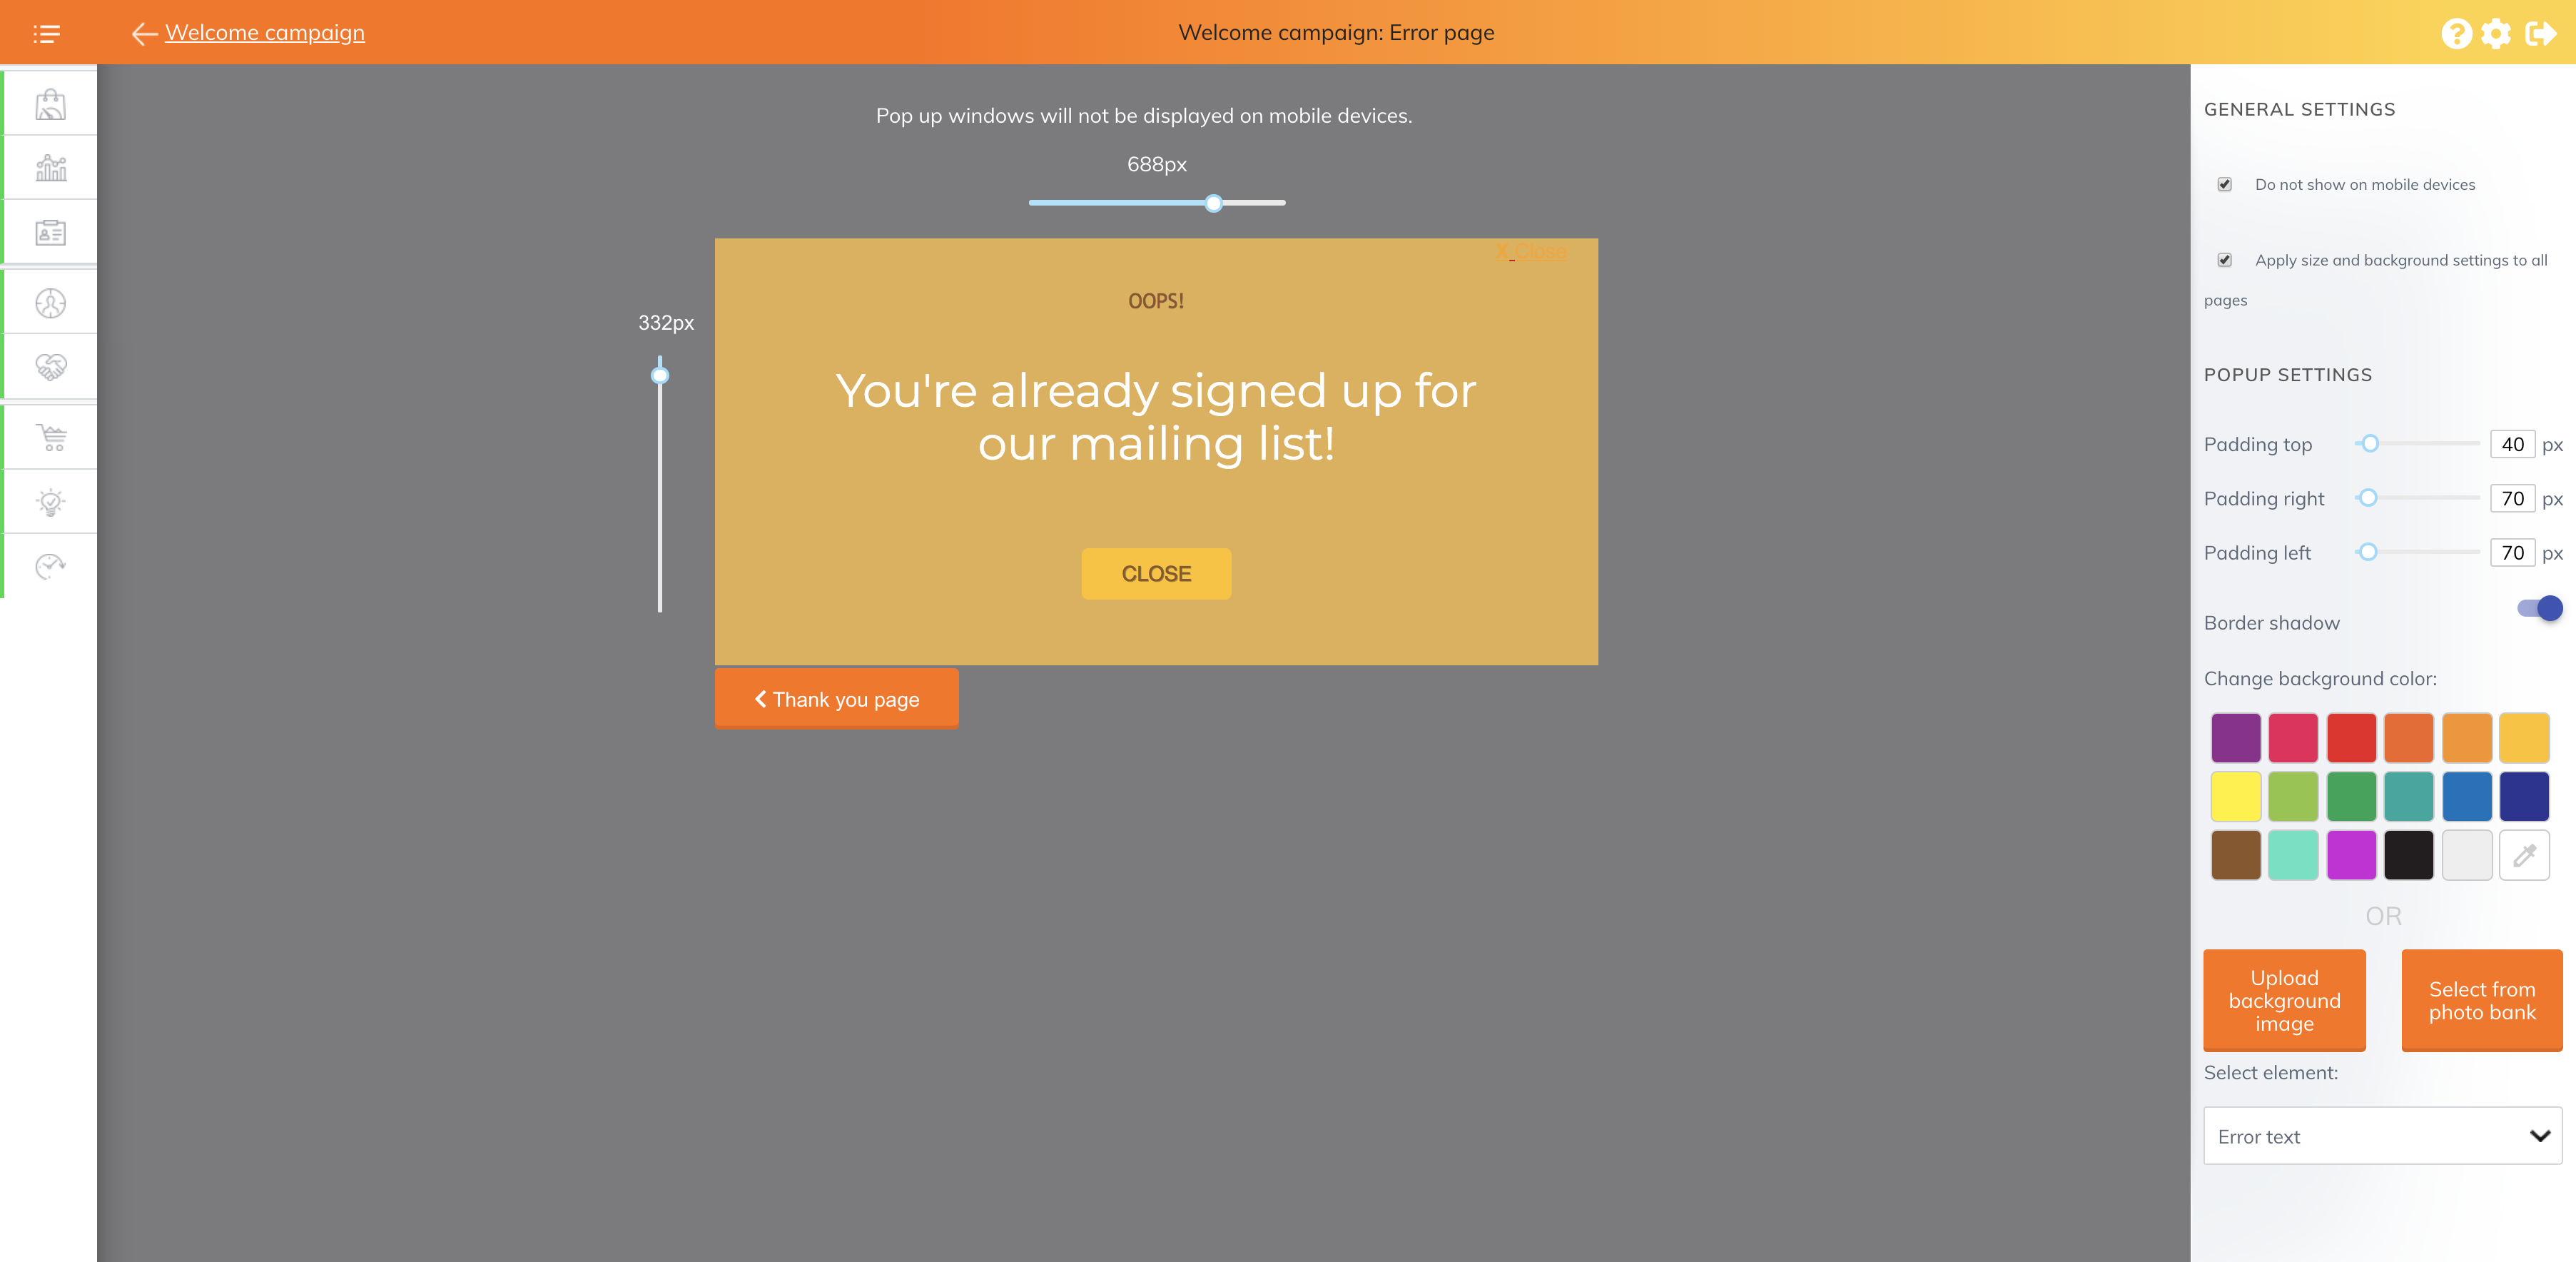
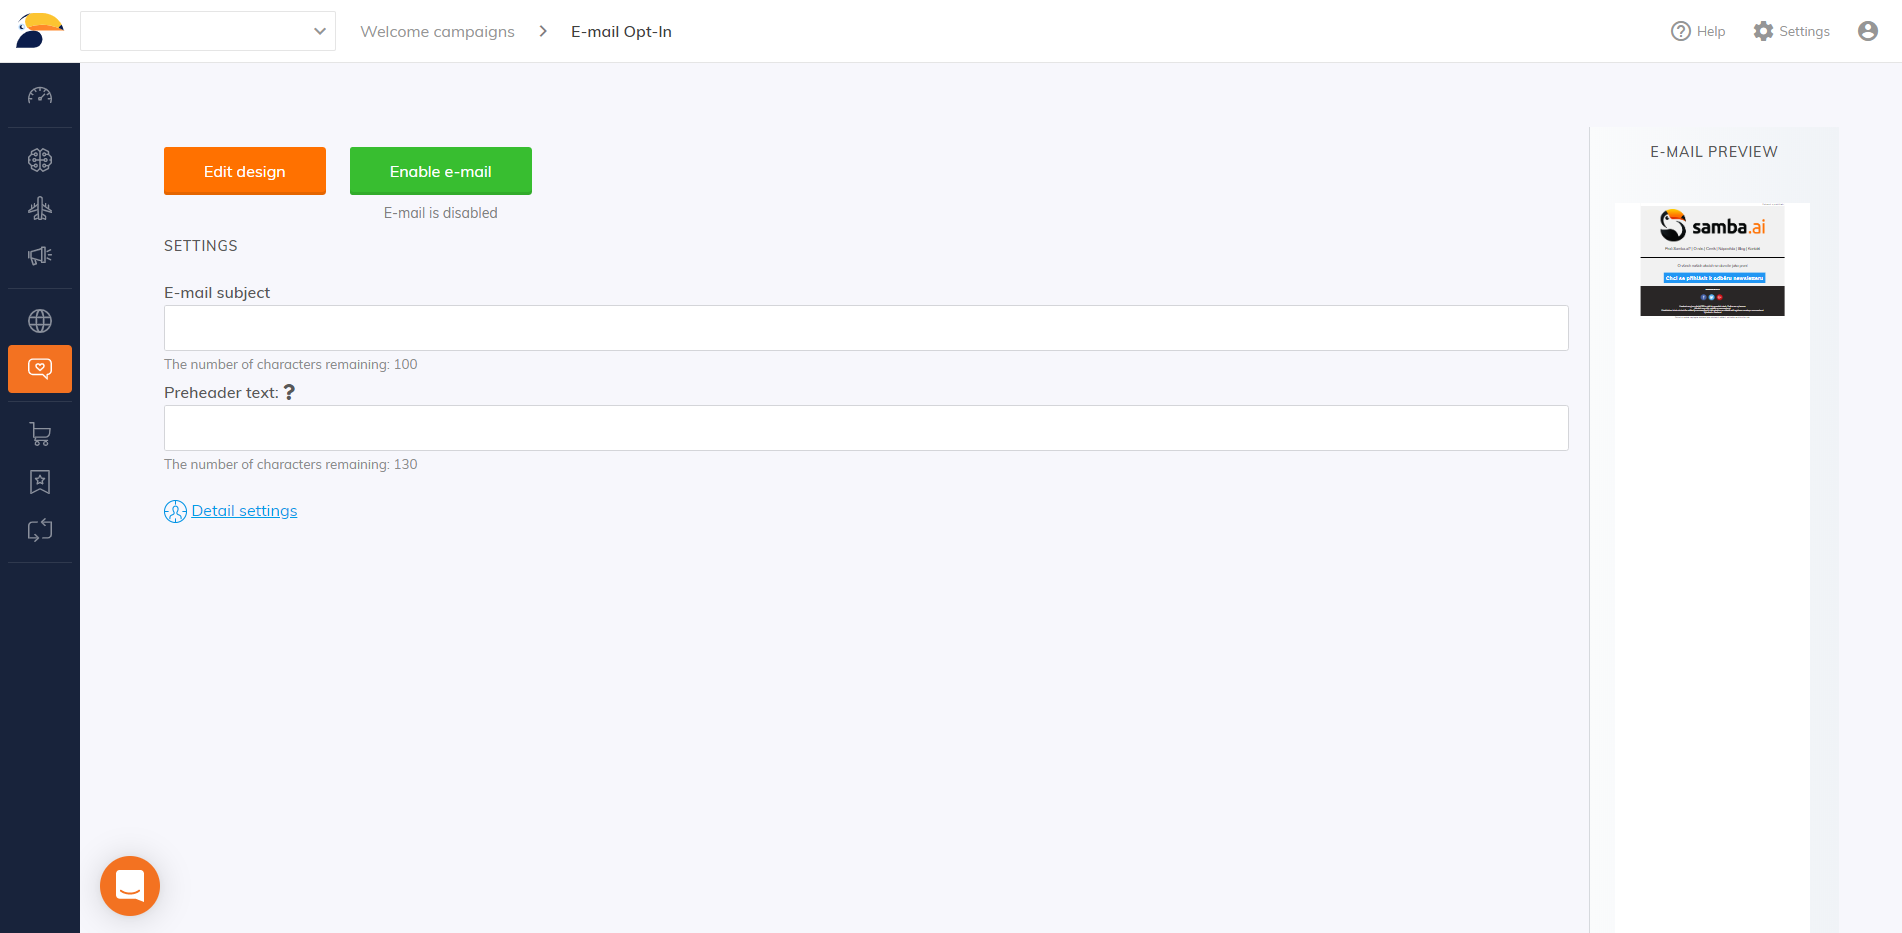
Once you disable your active pop-up, you’ll see your current pop-up and all the tools you’ll need to modify and adjust it. Here’s a quick overview of what you can do: In addition, mobile and page settings are listed at the top under “General Settings” (see image below). Additionally, you can switch between a desktop or mobile preview by toggling the buttons at the top of the editor (see below). Lastly, there’s a convenient drop-down menu located on the bottom-right of the editor to allow users to quickly navigate to the respective editing options of a particular component. When you’re satisfied with everything, simply click the “Thank you page >” button to proceed to the next section. The Thank You pop-up immediately appears after a visitors enters and submits their email address in the welcome pop-up. This is a great way to simply thank them or tease them a bit of what they can expect in the future. When it comes to modifying the look and content of the Thank You message, the controls and options are exactly the same as those used for the previous welcome pop-up. Once you’re happy with it, click “Error page >” button (see image below) to continue to the next section. Some customers will forget they’ve already submitted their email and enter it once again when prompted. This usually happens when they’ve somehow reinstalled their computer, deleted cookies, or are viewing your shop from a new device. In these cases, Samba automatically responds, sending them an Error message telling them that their email is already in the database. Just like the previous pop-ups, you can easily edit the appearance of this in the same way. Once you’re satisfied, click the “Welcome campaigns” button on the top of the window (see image below) to return to the main Welcome Campaigns screen. Double Opt-in Emails provide you with assurances that your subscribers are interested in receiving emails from you. Once set and enabled, Samba will automatically send the email to anyone who has submitted their email address via the welcome pop-up. To edit the email, click on “E-mail opt in” from the main Welcome Campaigns screen. From there, you’ll be able to set the email subject and pre-header texts (see image below). To edit the appearance of your email, click the “Edit design” button (see image below).
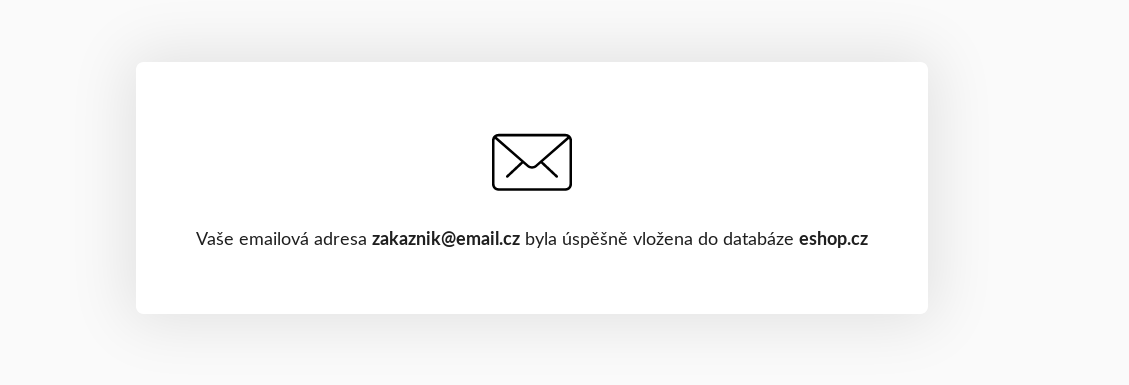
If you need help designing your email, please have a look at our guide. Please note, that we automatically enter button text into the email, through which the customer confirms his subscription to the newsletter a second time. If you accidentally delete the button, simply add a new one and add the following formula as a URL link. {{opt_in_confirm_link}} Once clicked, that button will lead the subscriber to a page that confirms their subscription (see example below). Once you’re finished, click the “Welcome campaign” button at the top of the window (see image below). As the final component of your welcome campaign, the Success E-mail will be sent to the subscriber after they’ve submitted their email address via the welcome pop-up or once they’ve confirmed their subscription via the Double opt-in email if you have the Double opt-in email active. Modify your subject and pre-header texts and design in the same fashion as the Double Opt-in email. With that, we recommend you include a welcome message in this email or use it as a selling opportunity. Once you’re finished, click the “Welcome campaign” button at the top of the window (see image below). Once all of your components are set, click the “Enable welcome campaigns” button (see image below) to get them running! Finally, check to select whether you want to activate the Double opt-in or Success email. And with that, you’re all set! Congratulations! This post is also available in:


Thank You Message
Error Message
![]()
Double Opt-in Email


![]()
Success E-mail
![]()
Enable