This post is also available in:


A.I. warm-up campaigns are primarily used to warm up your sending domain to build a good sender reputation with mailbox providers, which will increase your chances of being delivered to their inbox. It will also help Samba to train algorithms and understand customer behaviour patterns faster.
After the A.I. warm up is launched, a series of campaigns are created with a reduced number of target audience. In each subsequent campaign, the number of recipients increases so that your domain warms up gradually and safely. You can also create a warm up campaign series on your own, the procedure on how to do it can be found here.
We recommend running an A.I. warm-up before you create any custom campaigns or run Autopilot. If you are already using Samba, there is no need to run an A.I. warm-up.
Before you run the warm-up, creating a template for your emails is essential. You can find a detailed guide to creating a Drag & Drop template here.
Launching A.I. warm-up campaigns
Go to Account settings > Overview.
Here you will find the option to generate your warm-up campaigns. Their number depends on the size of your database.
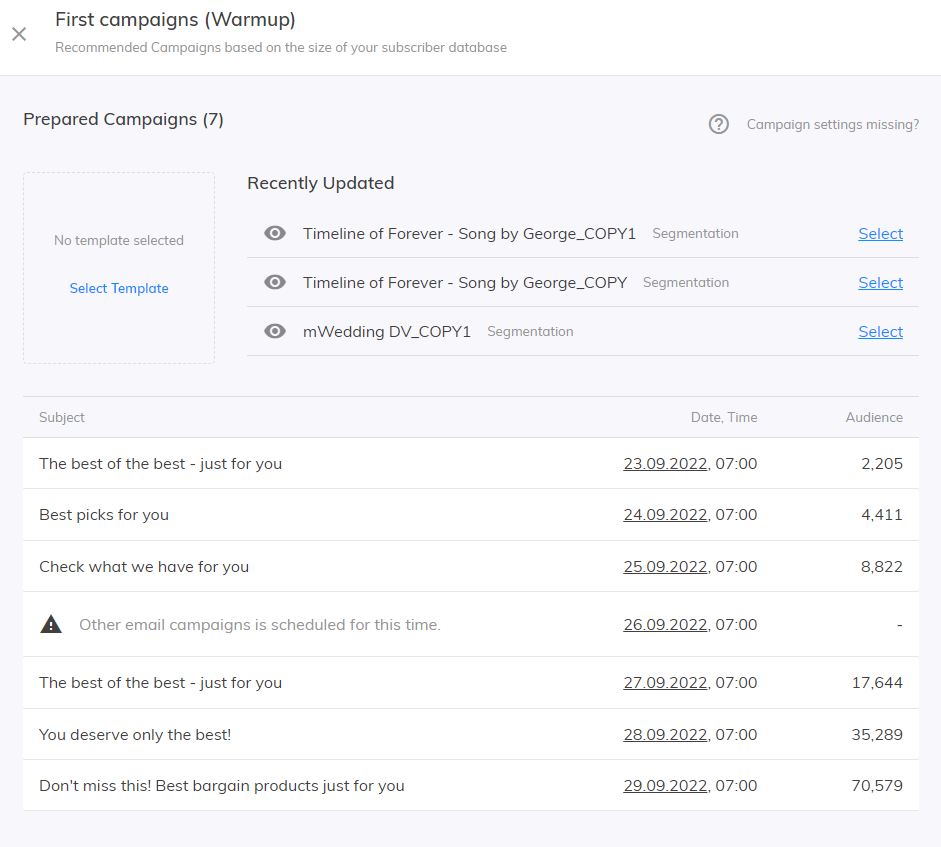
After clicking on Generate warm-up campaigns, you will be presented with campaign suggestions. You can see the subject line of each campaign, the date and time, and the resulting audience for each campaign.
The objects are predefined, but you can further modify the campaigns and make any necessary adjustments after they are generated. We recommend choosing product-neutral subjects for warm-up campaigns. After selecting a template, click on Generate Campaigns.
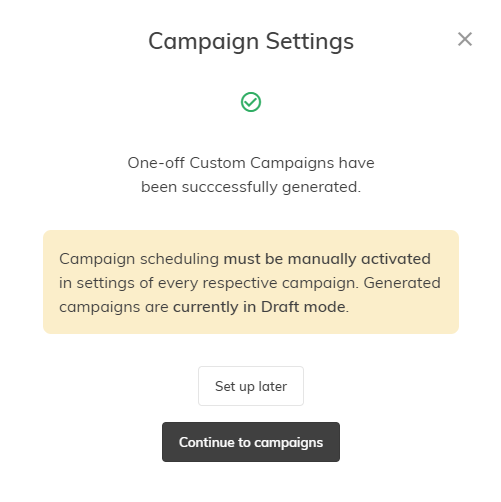
Campaigns are prepared in the One-off email campaigns section and you can decide whether you want to proceed with further campaign setup or continue editing later. At the moment, the campaigns are in a draft state and need to be manually activated to start them.
Setting up A.I. warm-up campaigns
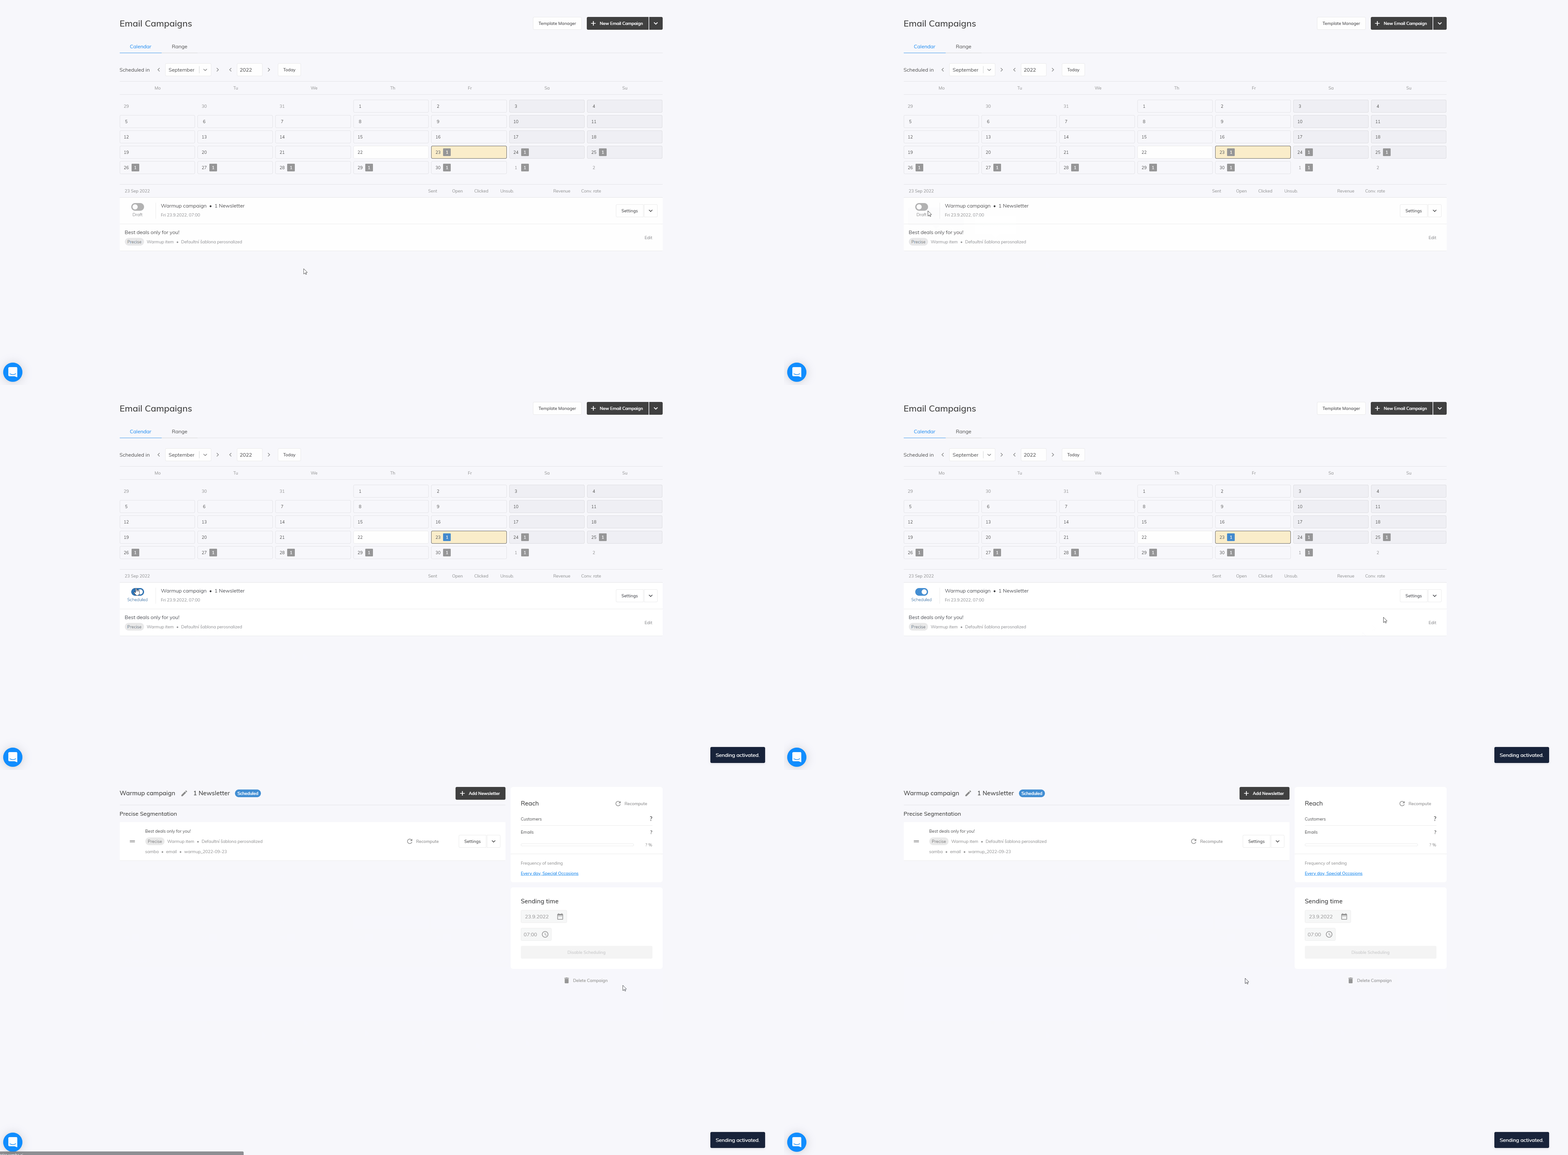
In the One-time email campaigns section, you will then see the layout of the generated warm-up campaigns. Here you can either activate the scheduling of the campaign directly or enter the settings and modify the campaign as needed.
Design and content settings
Click Edit to be taken to the campaign editor where you can edit your campaign as needed.
Your options are the same as for editing a regular one-off email campaign. For more information about working with the campaign editor, click here.
Scheduling a campaign
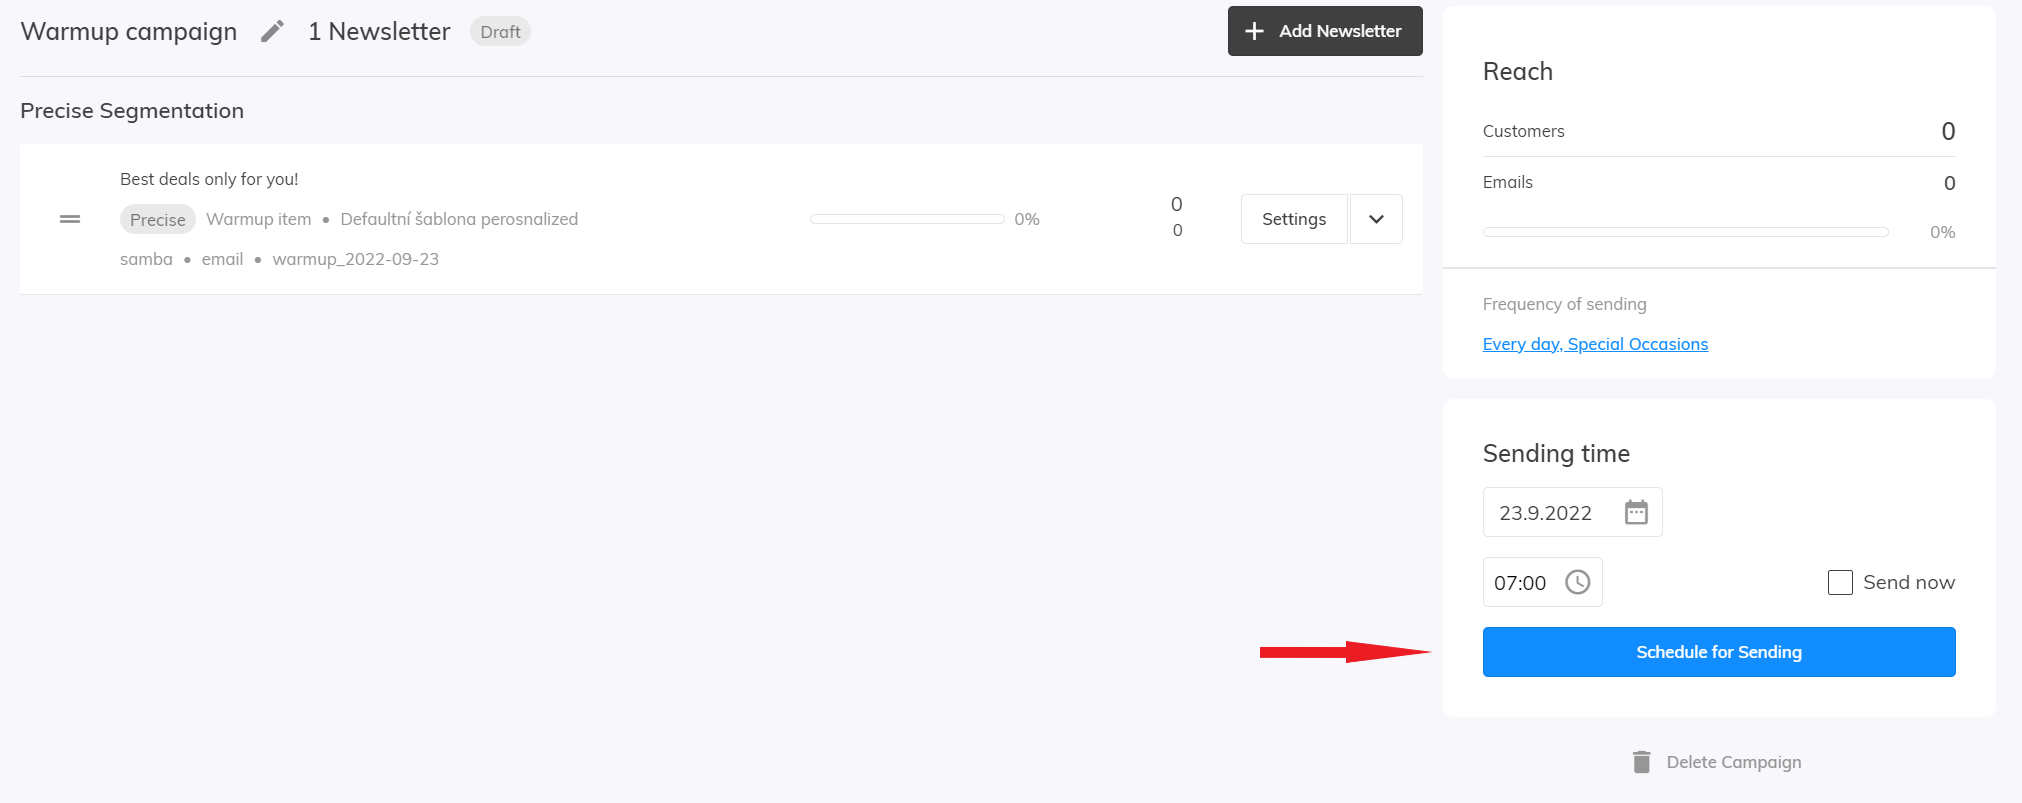
If you are satisfied with the appearance of your newsletter, click Finish and Exit.
 You can then change the date and time when campaign should be sent or leave the values as they are and just schedule the campaign for sending.
Warm-up campaigns on your own
By following a few rules, custom warm-up campaigns can be created using the “A/B test audience split” filter.
-
- Create a one-off email campaign in the usual way and use the audience filters “A/B test audience split” in the “audience” section (more information on this filter can be found here).
- We recommend that the first campaign is sent to a maximum of 2000 contacts. Set the filter values in percentages to match this limit. In our case, we have 30,000 opt-in contacts and the first campaign will target 1,800 contacts.

- Plan the second campaign to double the contacts of the previous campaign. To avoid retargeting the same contacts, make sure that no value matches the range of the previous filters. If the first campaign targeted more than 0 to less than or equal 6%, the next campaign will target more than 6 to less than or equal 19%.
Continue in this way until you have covered your entire audience.


