
This post is also available in:


Samba.ai for Woocommerce – module for WordPress e-shop
Installation
You can connect your WooCommerce e-shop with Samba.ai thanks to a pre-made module. It can be installed in two ways:
By installing the downloaded plugin
First, download the file from WooCommerce Connector
After logging into the WordPress administration, look for the “Plugins” section, click on the “Install plugins” section and then “Upload plugin”
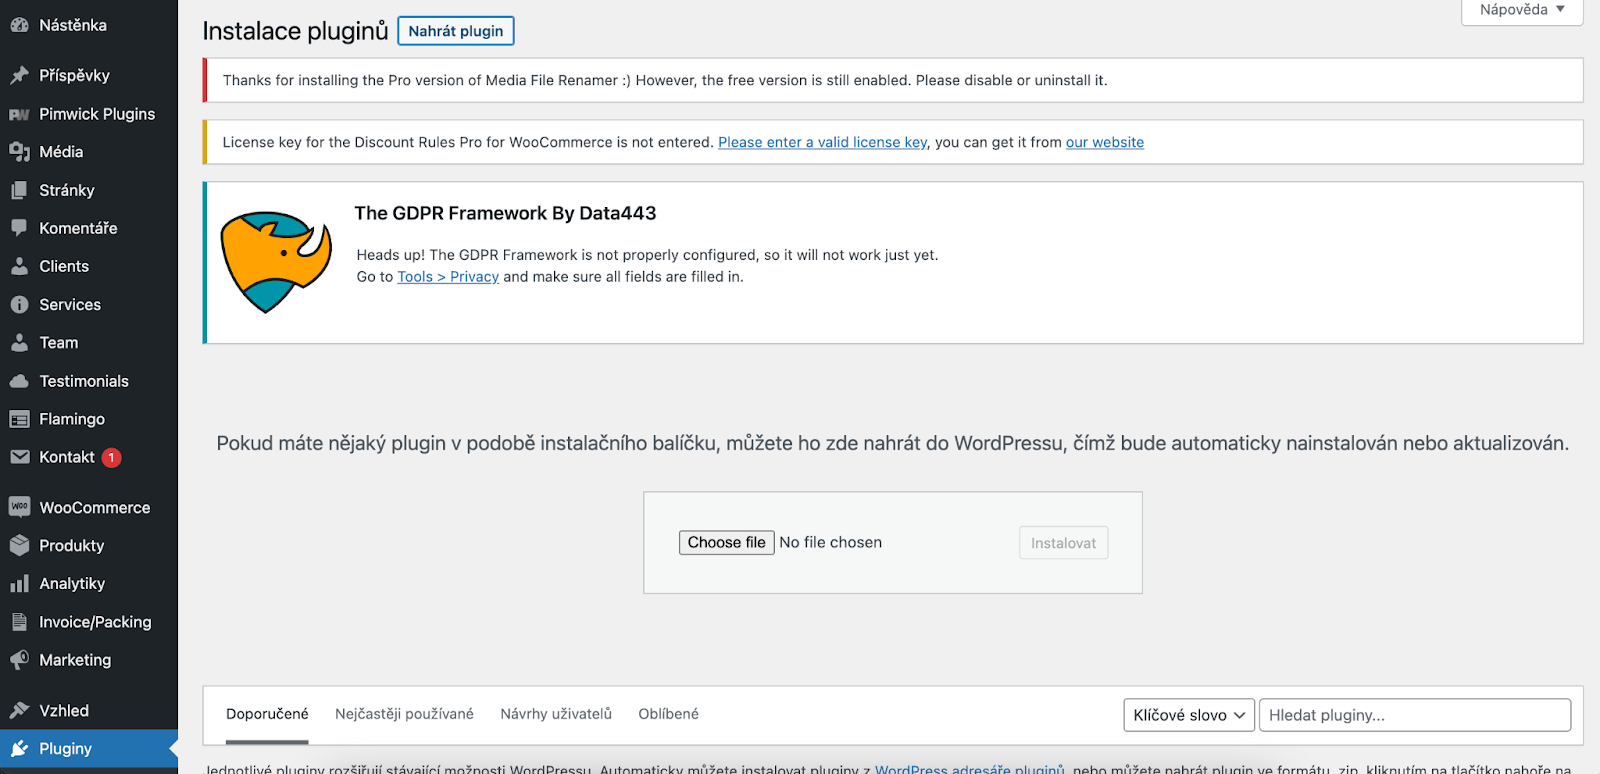
Here, select the downloaded plugin file, in zip format, and click “Install”.
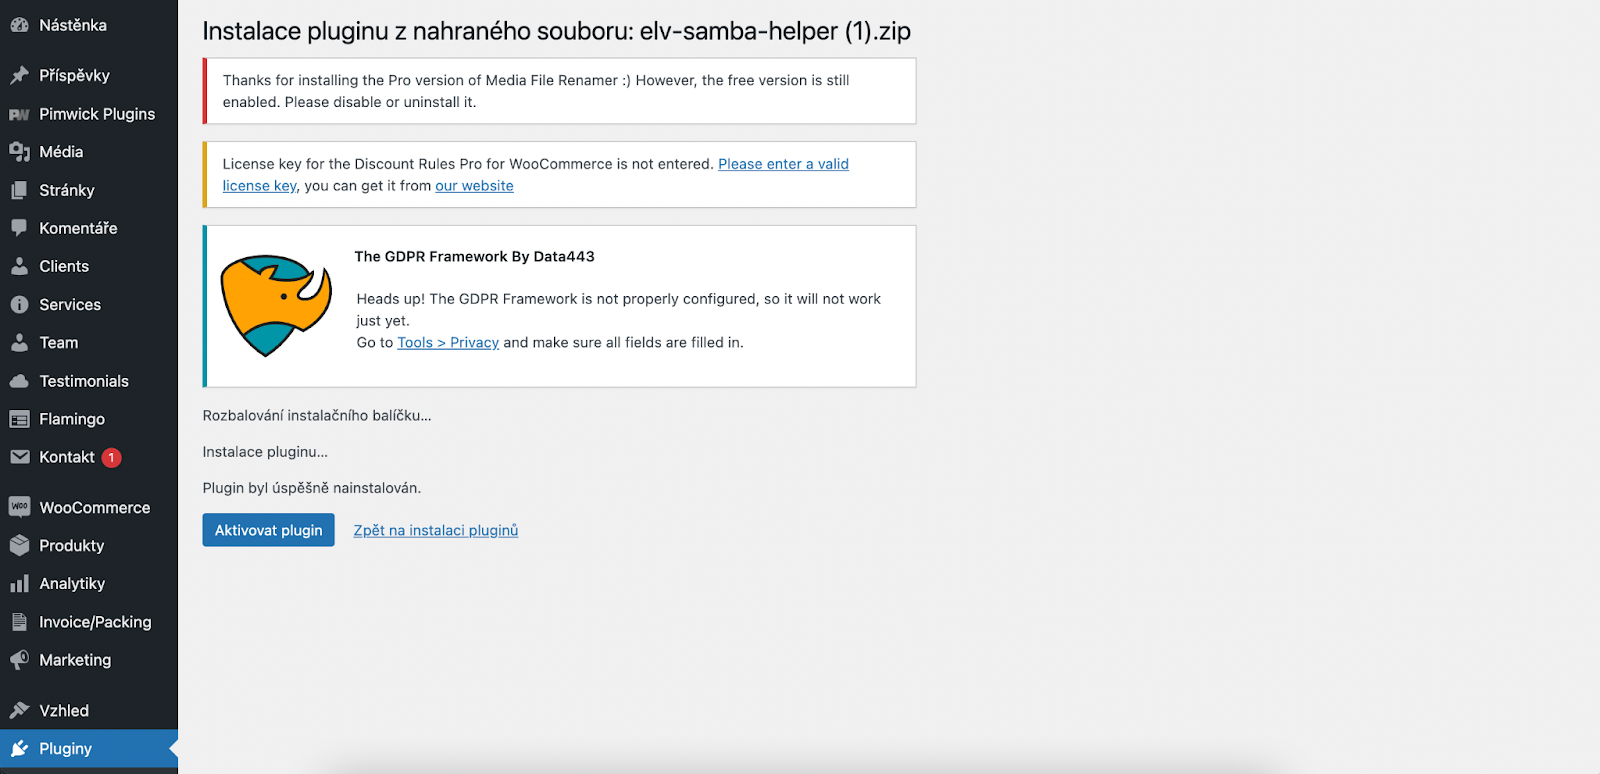
Once the plugin is installed, proceed with the “Activate plugin” button.
Downloading in WordPress
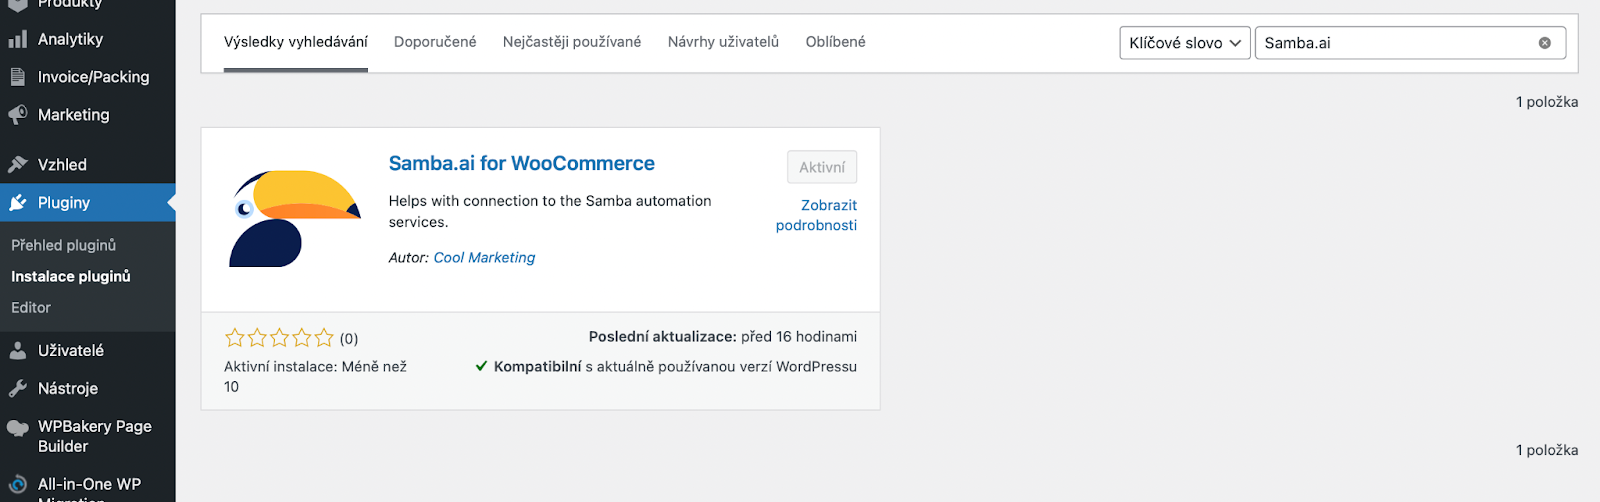
In the “Plugins” section in your WordPress admin navigate to “Install plugins”.

There is a search bar for Samba.ai – Plugin for Woocommerce. Then click install and “activate”.
Plugin settings
The settings are divided into three basic sections:
Data feeds
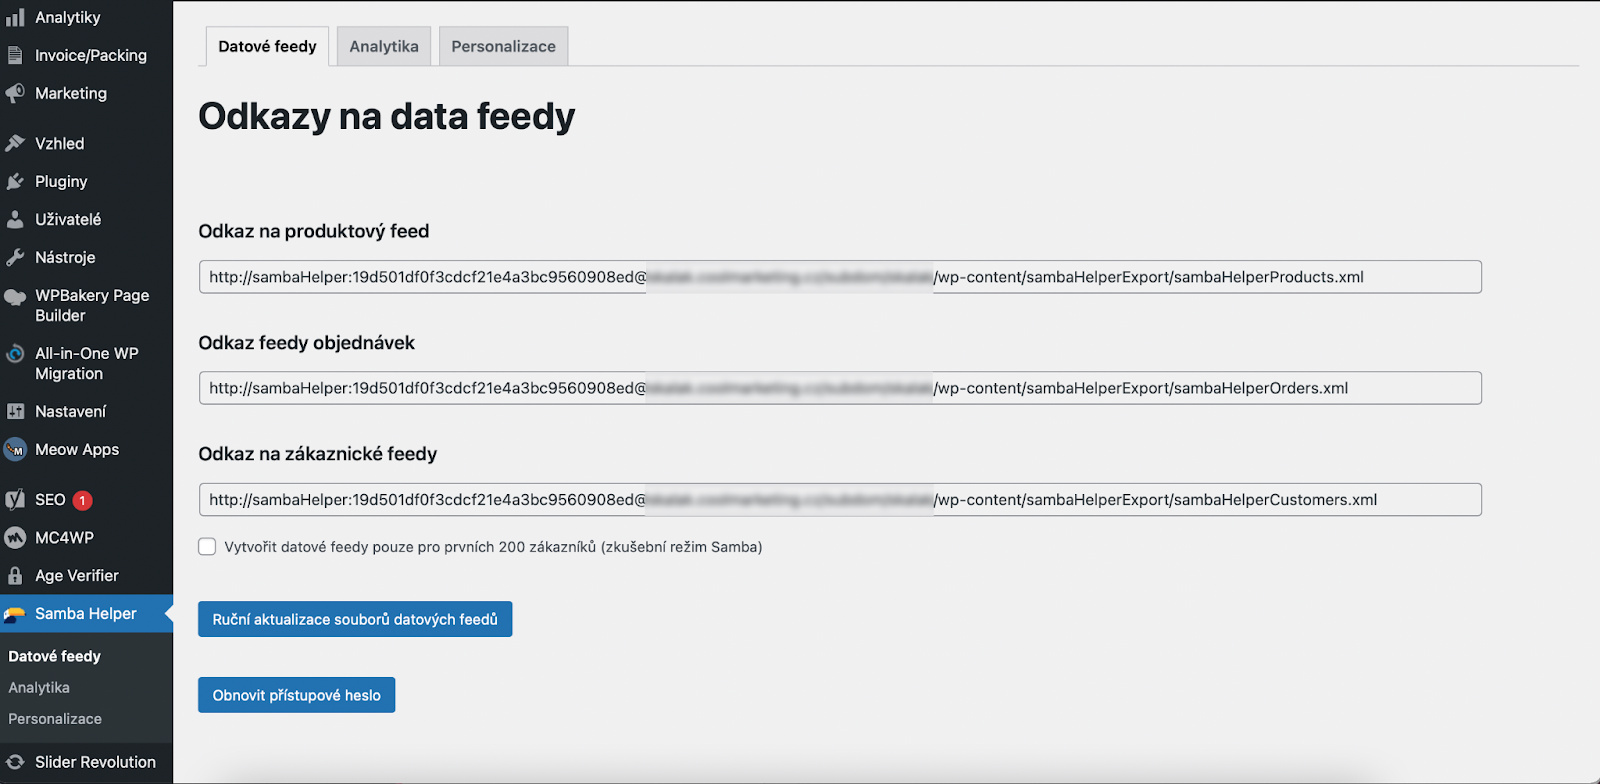
Here you can find links to the data feeds that are required for the proper functionality of Samba.ai.
Copy the links of all three data feeds into Samba.ai. In Samba open Eshop Settings > Integration > Connection settings and paste the feed links into the according rows.
- Only use the 200-user data feed creation if you are in Samba.ai test mode
- If you want to restore the security of the feeds, you need to copy their addresses back to Samba.ai after regenerating them
Measurement code
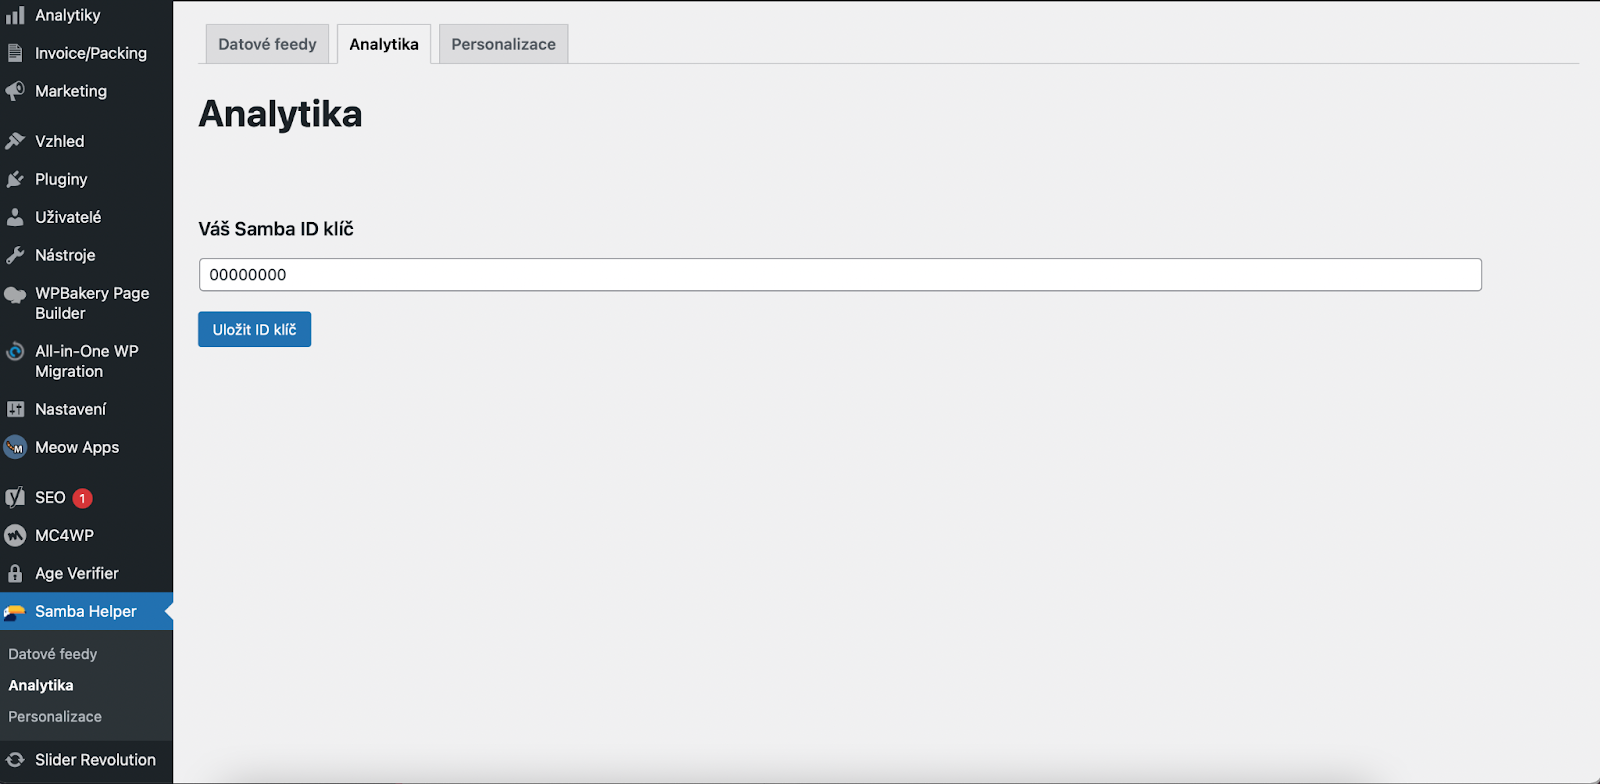
Copy your Trackpoint ID into the single field on this screen. Then save.
You can get your Trackpoint ID in Samba in Eshop Settings > Overview.
Setting the tracking ID automatically implements all tracking scripts.
Personalisation
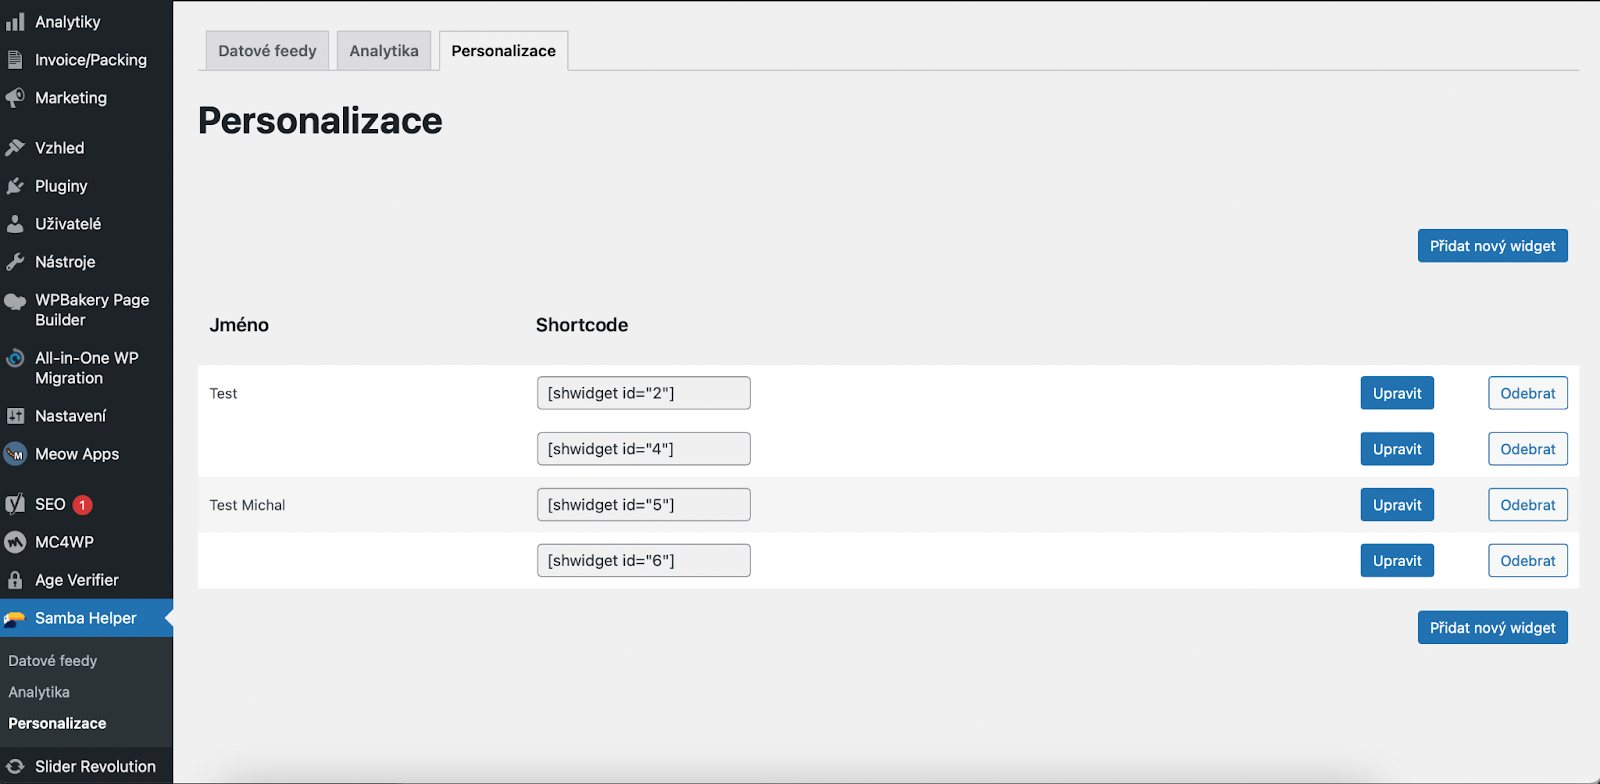
Use this screen to embed the Samba.ai personalization widget into your website.
First, use the “Add Widget” button to add and name the new widget you want to add to your site.
Then create and configure the widget in Samba.ai following the instructions here:
Web Personalization
In the WordPress module, click on “Edit” and a new window will open:
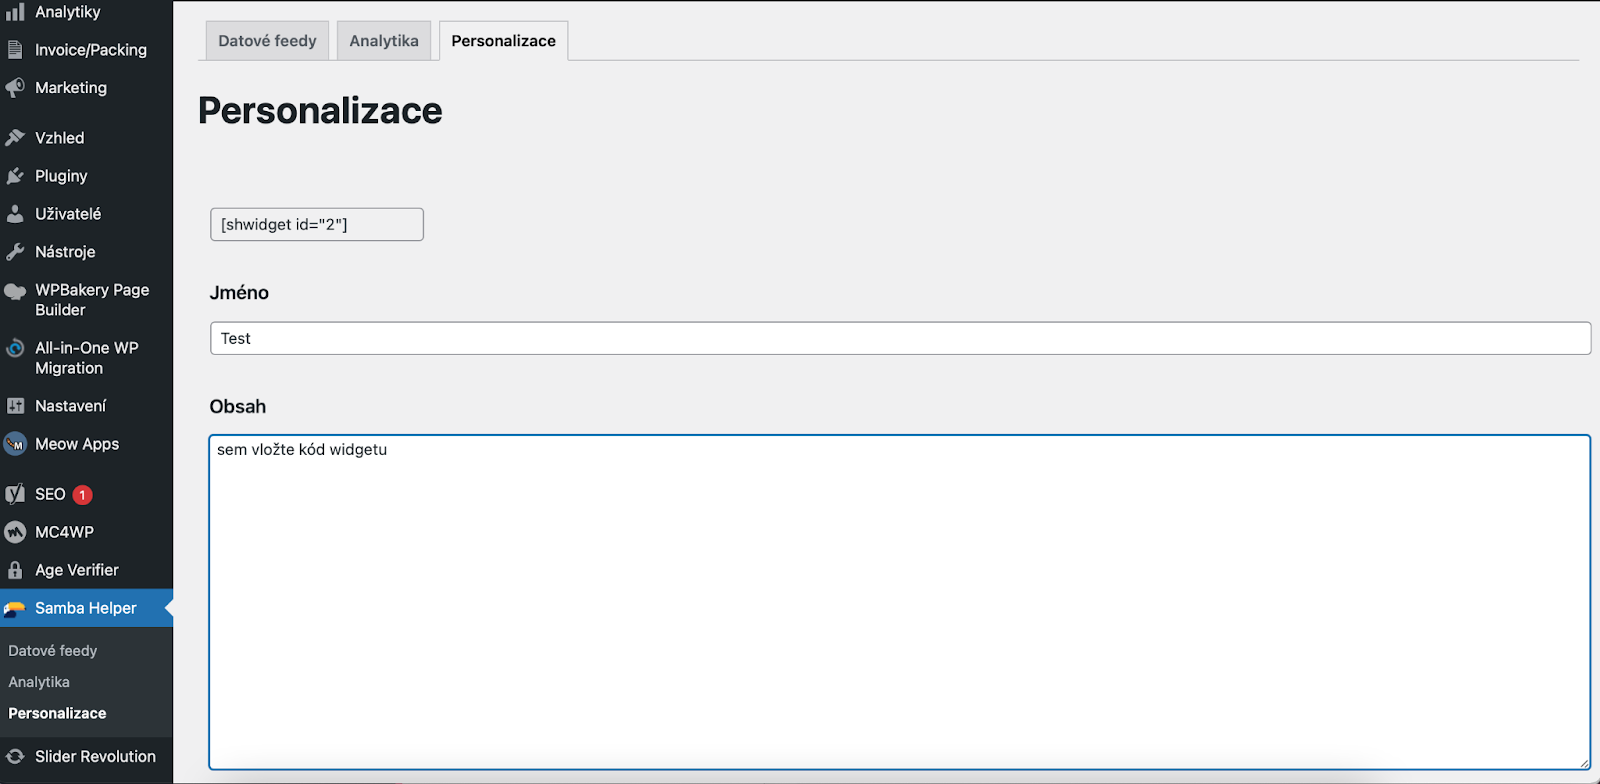
In the content field, enter the code that Samba.ai generated for you.
Now you can work with the shortcode, which can be found in the “shortcode” column. You can insert this shortcode into the template to display your personalization widget.
You can also use the shortcode in your favourite WYSIWYG editors like Guttenberg, Elementor or WP-Bakery. In these editors, add an “HTML” element and insert the appropriate shortcode.
Google Analytics
In Samba.ai, click on the “Google Analytics” section (under the “Data Integration” section). Here you can set up your Google Analytics ID if you have one. You can find more information here: https://doc.samba.ai/knowledge-base/google-analytics-4-integration/?lang=en.
DNS records
Click on the “Emailing Integration” section and add the displayed DNS records to your store’s DNS. This will allow us to send out marketing emails on your behalf. Click here for more information: https://doc.samba.ai/knowledge-base/dns-records/?lang=en.
This post is also available in: